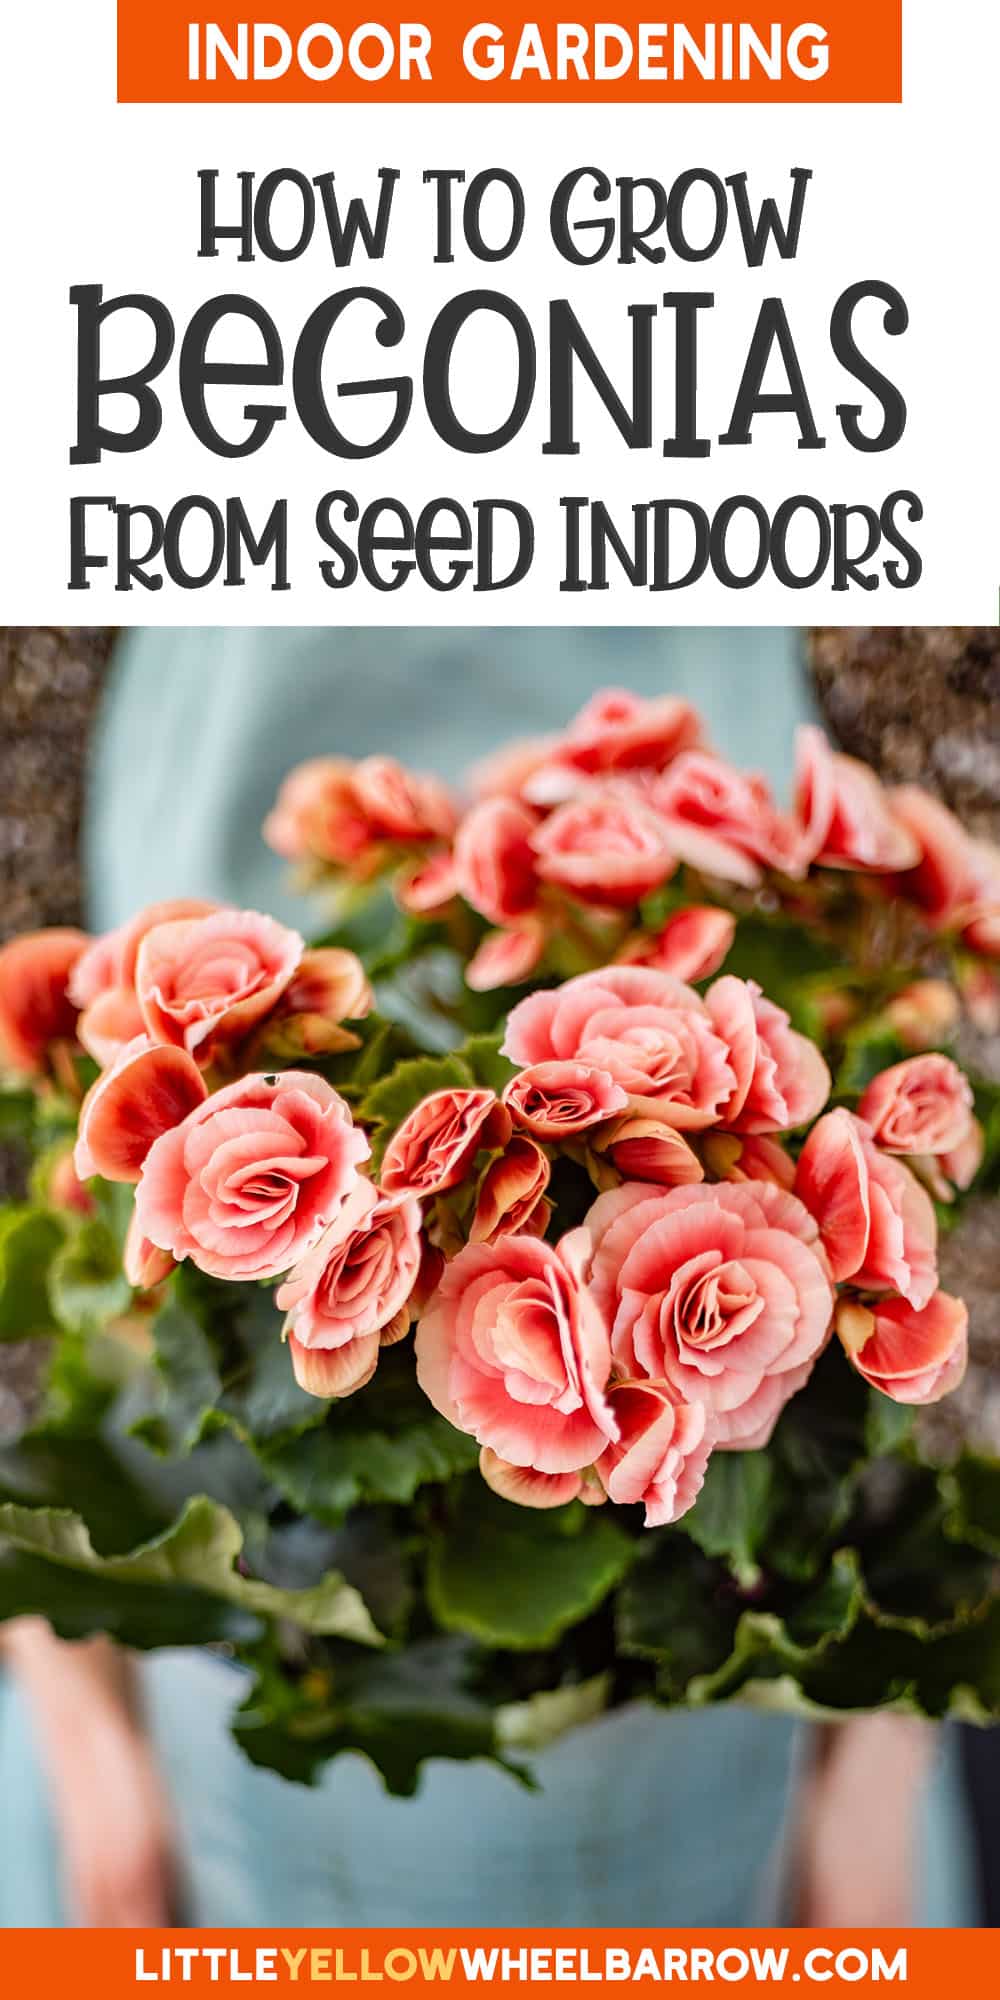
Begonias from Seed: Expert Tips for Successful Propagation
You are interested in growing begonias from seed but discouraged by the low germination rate. If I got that right, this guide is for you. Starting begonias from seed may seem complex, but it’s not. All that is required is seeds, soil, and proper growing conditions. In our article below we will take you through all the specifics to ensure that your efforts to grow your own begonias from seed prove fruitful and your gardens are rewarded with a bevy of beautiful flowers come spring.

Begonias can be a bit picky, but only because they require a specific growing environment. If you give them what they need, they’ll grow well, and you’ll be thrilled with how they turn out.
Here are the secrets for germinating begonia seeds at home:
- Warm temperature (70-75°F). A growing mat is usually required for consistent temperature.
- High humidity (>70%)
- Bright, indirect light
- And moist, well-draining seed-starting soil
We will explain each step and provide some do’s and don’ts to help prepare them for successful spring gardening.
Necessary Supplies for Seed Starting

Quality Seeds
Growing begonias from seeds requires high-quality begonia seeds, which you can obtain from reputable suppliers. Ensuring fresh seeds is crucial, significantly increasing the chances of successful germination.
There are also many different types of begonias, each with unique characteristics and growing requirements. Some popular types include tuberous begonias, which produce large, showy flowers and are ideal for containers or hanging baskets. Rex begonias are known for their striking foliage, intricate patterns, and vibrant colors. And our favorite, semperflorens begonias, used as bedding plants due to their continuous blooming nature. Choose your seeds based on your specific climate and display needs, and get planting!
Seed-Starting Mix
Another crucial supply for starting begonias from seed is a quality seed-starting mix. This specialized potting mix provides the texture and nutrients necessary for successful germination and early growth. Unlike regular garden soil, seed-starting mixes are formulated to be lightweight, sterile, and provide excellent drainage—essential for healthy seedling development.
Look for a mix specifically designed for starting flower seeds or one labeled as suitable for delicate plants like begonias. These mixes often contain ingredients such as coconut coir, peat moss, perlite, vermiculite, providing an optimal environment for young begonia plants.
Containers
Selecting the proper containers is vital when starting begonias from seed. Opt for small pots or trays with suitable drainage holes at the bottom to prevent waterlogging—the leading cause of seedling failure. Using individual cells or small pots helps minimize root disturbance when transplanting young begonia plants into larger containers later.
Consider using biodegradable pots or compressed soil pellets that can be planted directly into larger containers once the seedlings have matured. These options eliminate the need to disturb delicate roots during transplantation while promoting eco-friendly gardening practices by reducing plastic waste.
Light Source
Adequate light is critical during the early stages of growing begonias from seed. If natural sunlight is limited in your location (especially during late winter/early spring), consider investing in fluorescent grow lights specifically designed for starting seeds indoors.
Sowing Begonia Seeds Correctly

Proper Timing
Start sowing indoors 10-12 weeks before the last frost date in your area. This time allows the seedlings to grow and develop into robust plants when ready for outdoor planting.
Sowing too early can lead to leggy seedlings that struggle to thrive outdoors, while sowing too late may not give the plants enough time to mature. By timing your begonia seed sowing correctly, you ensure that the young plants have optimal conditions for growth and development.
Seed Planting Depth
When sowing begonia seeds, it’s essential to plant them at the correct depth for successful germination. The recommended planting depth for begonia seeds is about 1/8 inch deep. This depth ensures they receive sufficient light, which is crucial for their germination process. For tuberous begonias, the recommendation is to press the seeds into the top level of the soil.
Planting begonia seeds too deeply can result in poor or no germination because they don’t receive enough light. On the other hand, planting them too shallow might overexpose them and affect their moisture levels. Therefore, ensuring an ideal planting depth is vital for giving begonia seeds a favorable environment for sprouting.
Lighting and Temperature for Optimal Growth

Importance of Light
Light is crucial for the growth of begonias from seed. It provides the energy needed for photosynthesis, essential for plant growth. Without adequate light, begonia seeds may struggle to germinate and develop into healthy plants.
Begonias thrive in bright but indirect light. Direct sunlight can be too hard and damaging to the delicate seedlings. Placing the plants near a window with sheer curtains or using artificial grow lights can provide the ideal lighting conditions.
Ideal Temperature Range
Maintaining the correct temperature is also vital when growing begonias from seed. These plants prefer warm conditions but are sensitive to extreme heat or cold.
The optimal temperature range for begonia seed germination is between 70-75°F (21-24°C). Consistently warm temperatures promote successful germination and healthy growth of young begonia plants.
Providing Consistent Conditions
Consistency in lighting and temperature is key to ensuring the successful cultivation of begonias from seed. Fluctuations in either factor can negatively impact germination rates and overall plant health.
To achieve this consistency, consider using a heat mat to maintain stable soil temperatures during germination. Regularly monitor indoor temperatures if growing in a controlled environment.
Seasonal Considerations
When starting begonia seeds indoors, it’s important to mimic their preferred outdoor growing conditions as closely as possible. This includes considering seasonal changes in natural light and temperature.
When natural daylight hours are shorter in winter, supplementing with artificial grow lights becomes necessary to provide sufficient illumination for the developing seedlings. In contrast, during summer, it’s crucial to shield young plants from intense direct sunlight by adjusting their positioning or providing shade during peak daylight hours.
Caring for New Begonia Seedlings

Watering
Begonia seedlings need consistently moist soil. Water them when the top inch of soil feels dry. Overwatering can lead to root rot, while underwatering begonias can cause stress and stunted growth.
It’s crucial to strike a balance in watering begonia seedlings, as they are sensitive to both extremes. Consider using a spray bottle or a watering can with a fine spout to maintain moisture levels.
Fertilizing
When begonia seedlings have developed their first set of true leaves, fertilize them every two weeks. Use a balanced liquid fertilizer diluted to half-strength to avoid overwhelming the delicate roots.
Fertilizers provide essential nutrients from seeds for healthy growth and vibrant blooms in begonias. However, over-fertilization can result in burnt foliage or excessive vegetative growth at the expense of flowers.
Transplanting and Acclimatizing Young Begonias

Transplanting Process
You must transplant young begonia seedlings into individual pots if you want them to grow well. Once the begonia seedlings have developed their first set of true leaves, they are developed enough to be transplanted. Gently lift the delicate seedlings out of their original container, careful not to damage the roots. Prepare small pots filled with well-draining potting mix, then create a hole in the center using your finger or a tool. Carefully place each seedling into its new home and lightly pat down the soil around it to secure it in place.
Acclimatizing Process
Acclimatizing young begonia plants is essential for preparing them for life outdoors or in less controlled environments. Begin by placing the potted begonias outside for short periods each day, gradually increasing exposure over one to two weeks until they spend most of their time outdoors. Start by putting them in a shaded area and slowly introducing more sunlight as they adjust.
It’s important not to rush this acclimatization process; gradual exposure helps build tolerance against environmental factors like wind and direct sunlight while reducing plant shock when transitioning from indoor conditions.

Expert Tips
Here are our best tips to help you navigate your begonia growing journey – these tips will help prevent issues. They can help troubleshoot any problems you may encounter.
- Use a Sterile Seed Starting Mix: Begonia seeds are extremely fine and can be easily overwhelmed by fungi and bacteria in the soil. Using a sterile seed starting mix reduces the risk of diseases.
- Provide Consistent Warmth: Begonias germinate best in warm conditions. Using a gardening heat mat to maintain a consistent temperature between 70-75°F (21-24°C) is a great way to ensure germination.
- Lightly Cover Seeds: Due to their tiny size, begonia seeds need light to germinate. Lightly press them into the soil surface, but do not bury them.
- Use a Humidity Dome: Cover the seed tray with a clear plastic cover or plastic wrap to maintain high humidity, which is crucial for germination.
- Avoid Direct Sunlight: Place the seed tray in a location with bright, indirect light. Direct sunlight can overheat and damage the delicate seedlings.
- Gentle Watering: Water using a fine mist to prevent disturbing the tiny seeds. You can also water from below by placing the tray in a shallow bath, allowing the soil to absorb moisture from the bottom.
- Thin Seedlings Early: Once seedlings develop a couple of true leaves, thin them to prevent overcrowding, which can lead to disease.
- Feed with Diluted Fertilizer: After the seedlings have a few true leaves, feed with a half-strength balanced liquid fertilizer every two weeks.
- Gradual Acclimatization: Gradually acclimatize the seedlings to less humid conditions before transplanting to reduce shock.
- Transplant Carefully: When seedlings are large enough to handle, transplant them carefully into individual pots, held by the leaves, not the delicate stems.
Frequently Asked Questions
Yes, you can use a high-quality, well-draining potting mix. A blend of peat moss, perlite, and vermiculite is ideal for begonia seed starting, providing moisture retention and aeration.
Begonia seeds typically germinate within 14 to 21 days when kept at an optimal temperature range of 70-75°F (21-24°C) and provided with consistent moisture.
Yes, providing bright but indirect light is crucial for healthy begonia seedlings. Consider placing fluorescent grow lights near a south-facing window to ensure proper growth.
Common challenges include overwatering, which can lead to damping off, and inadequate light, causing leggy growth. Maintaining consistent humidity levels is essential for successful propagation.
Once your begonias have developed their second set of true leaves and are around 2 inches tall, they can be transplanted into individual pots or cell packs. The second set of leaves usually occurs about 6-8 weeks after sowing.

Final Remarks
You’ve now mastered the art of starting begonias from seed! With the right seeds, supplies, and know-how, you’re ready to begin your begonia-growing journey. Remember, patience is key. As you embark on this adventure, don’t be disheartened by any initial challenges. Instead, embrace them as part of the learning process. Remember that even the most experienced gardeners faced setbacks at some point. Now, get your hands dirty and watch those begonias flourish!
Related Posts
Editors Note: This post was written on January 20th, 2018, and updated on January 30th, 2024. The newest update includes better formatting, a full rewrite, and information for transplanting and climatizing new seedlings grown from seed.

Author: Laura Kennedy
Writer & Owner of Little Yellow Wheelbarrow


