Seed Saving Basics: How to Save Seeds From Your Garden


If you love growing your own vegetables, you can take it one step further by seed saving your favorite varieties. Here’s all you need to know about saving tomato seeds or any other veggie you’d like to see grow again.
If you are a gardener who loves eating fresh vegetables grown in your own garden, then you know the routine: every year you have to purchase new seeds to start your garden. I don’t know about you, but more than once I’ve thought about saving the seeds of my homegrown vegetables so that I don’t need to buy them year after year.
And you know what? It’s very possible to do that!
What is Seed Saving?
Seed saving is the practice of saving seeds from vegetables (it can also happen with herbs and flowers) to use in the future (presumably the following year). Seed saving from gardens has been a long-standing practice, and for centuries this was the standard way that gardens and farms were maintained.
For a while, seed saving seemed to be a lost art. However, it has begun to regain popularity with home gardeners.
The Basics of Seed Saving
Although buying seeds in a store is generally inexpensive, there are a few reasons why seed saving is experiencing a resurgence in popularity:
- Buying seeds is cheaper than buying produce or seedlings at the store, but saving your seeds is completely free.
- Saving seeds from your best vegetable plants will help them adapt to their microclimate and increase yearly yields.
- Seed saving can help to preserve a favorite variety you are growing – especially an heirloom variety.
It’s important to note that the seeds of certain vegetable plants save better than others and produce a good yield the following year.
For example, members of the squash family do not truly save well, while members of the legume family generally save very well and produce good yields! I save pumpkin seeds yearly with great success, but not my zucchini. You have to try and test.
How to Save Seeds From Your Garden
Especially when just starting out, save seeds from tomatoes, peppers, beans, and peas. These are the easiest plants to save seeds from because they have self-pollinating flowers and produce seeds that do not need much work prior to storage.
Saving seeds requires 3 basic steps:
- Getting seeds from the best plant specimens.
- Harvesting them correctly and at the right time.
- Preparing and storing your seeds properly until you are ready to plant.
Selecting the Right Plants
Start with open-pollinated or heirloom varieties—these will give you seeds that grow true to the parent plant every time. Skip hybrids since their seeds can be unpredictable.
Pick healthy, disease-free plants to make sure your saved seeds stay strong. When harvesting, go for the most productive plants with the best-looking fruit. That way, you’re naturally selecting for the best traits in your next crop!
Collecting Seeds
Allow seeds to mature fully on the plant before harvesting. Let the pods dry on the vine for beans and peas until they are brown and brittle. Tomato seeds require a fermentation process to remove the gelatinous coating; place the seeds and pulp in a container, add water, and let it sit for a few days until a mold forms. Then, rinse and dry the seeds thoroughly.
Cleaning and Drying
After harvesting, clean the seeds by removing any plant debris. Spread them out on a screen or paper towel to dry in a well-ventilated area, away from direct sunlight. Ensure seeds are completely dry before storing to prevent mold and decay.
Grab Our Ultimate PRINTABLE Garden Planner
With 39 pages of planning and organizing and the ability to customize your planner with the pages you need, you won’t need another planner for the rest of your gardening life!
$4.99 US

How to Save Seeds from Your Favorite Vegetables
There are countless types of plants from which you can harvest seeds, each with its own specific method for successfully saving seeds. I’ve focused on three of the easiest and most commonly saved garden crops to keep things simple.
Here are a few simple examples of how to save seeds from common garden vegetables:
Saving Tomato Seeds
When you want to save your tomato seeds, this is the process that you want to follow to properly harvest and save them to use next year:
- Once the tomatoes have fully ripened on the plant, remove the tomatoes from the plant.
- Open the tomatoes and scoop out the seeds and pulp.
- Place the seeds and pulp in a jar of water and leave them for two to three days, stirring them up in the water each day.
- After about five days, the mixture will ferment, and the seeds will break free from the pulp and sink to the bottom of the jar.
- Discard the liquid and save the seeds. Rinse them and let them dry on a paper towel.
- Once the seeds are fully dry, put them into an envelope and store them in a cool, dry spot over the winter.
Related:


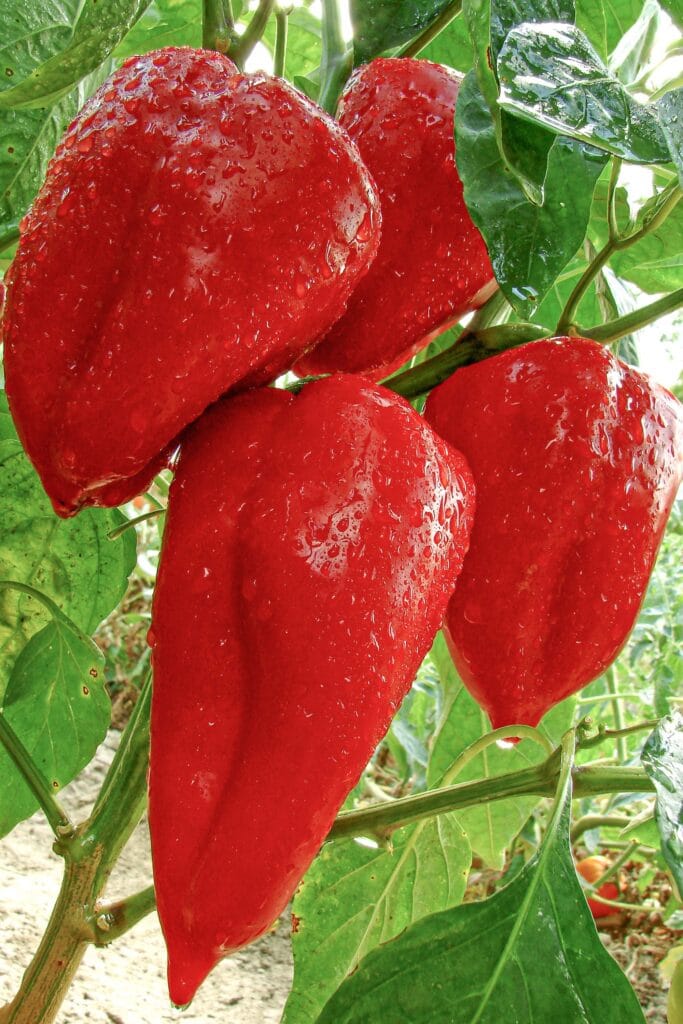
Saving Pepper Seeds
If you want to save pepper seeds for next year, follow these steps:
- Let your peppers fully ripen on the plant. Once they are ripe and wrinkling, remove the peppers from the plant.
- Open the peppers and remove the seeds.
- Spread the seeds out on paper towels to dry.
- Once the seeds are completely dry, place them in an envelope and store them in a cool, dry spot for the winter.
Learn More About Peppers:


Saving Seeds from Peas and Beans
In order to properly harvest seeds from peas and beans, follow this method:
- Let the pods stay on the plant and ripen until they turn brown and are dry (this could take up to a month when you would pick the pods for eating – you’ll hear the seed rattling inside).
- Remove the pods from the plant and lay them on a tray to dry inside the house.
- Let them dry for at least two weeks, then shell the pods.
- Alternatively, you can shell the pods when ready to plant the seeds next spring.
Learn More:


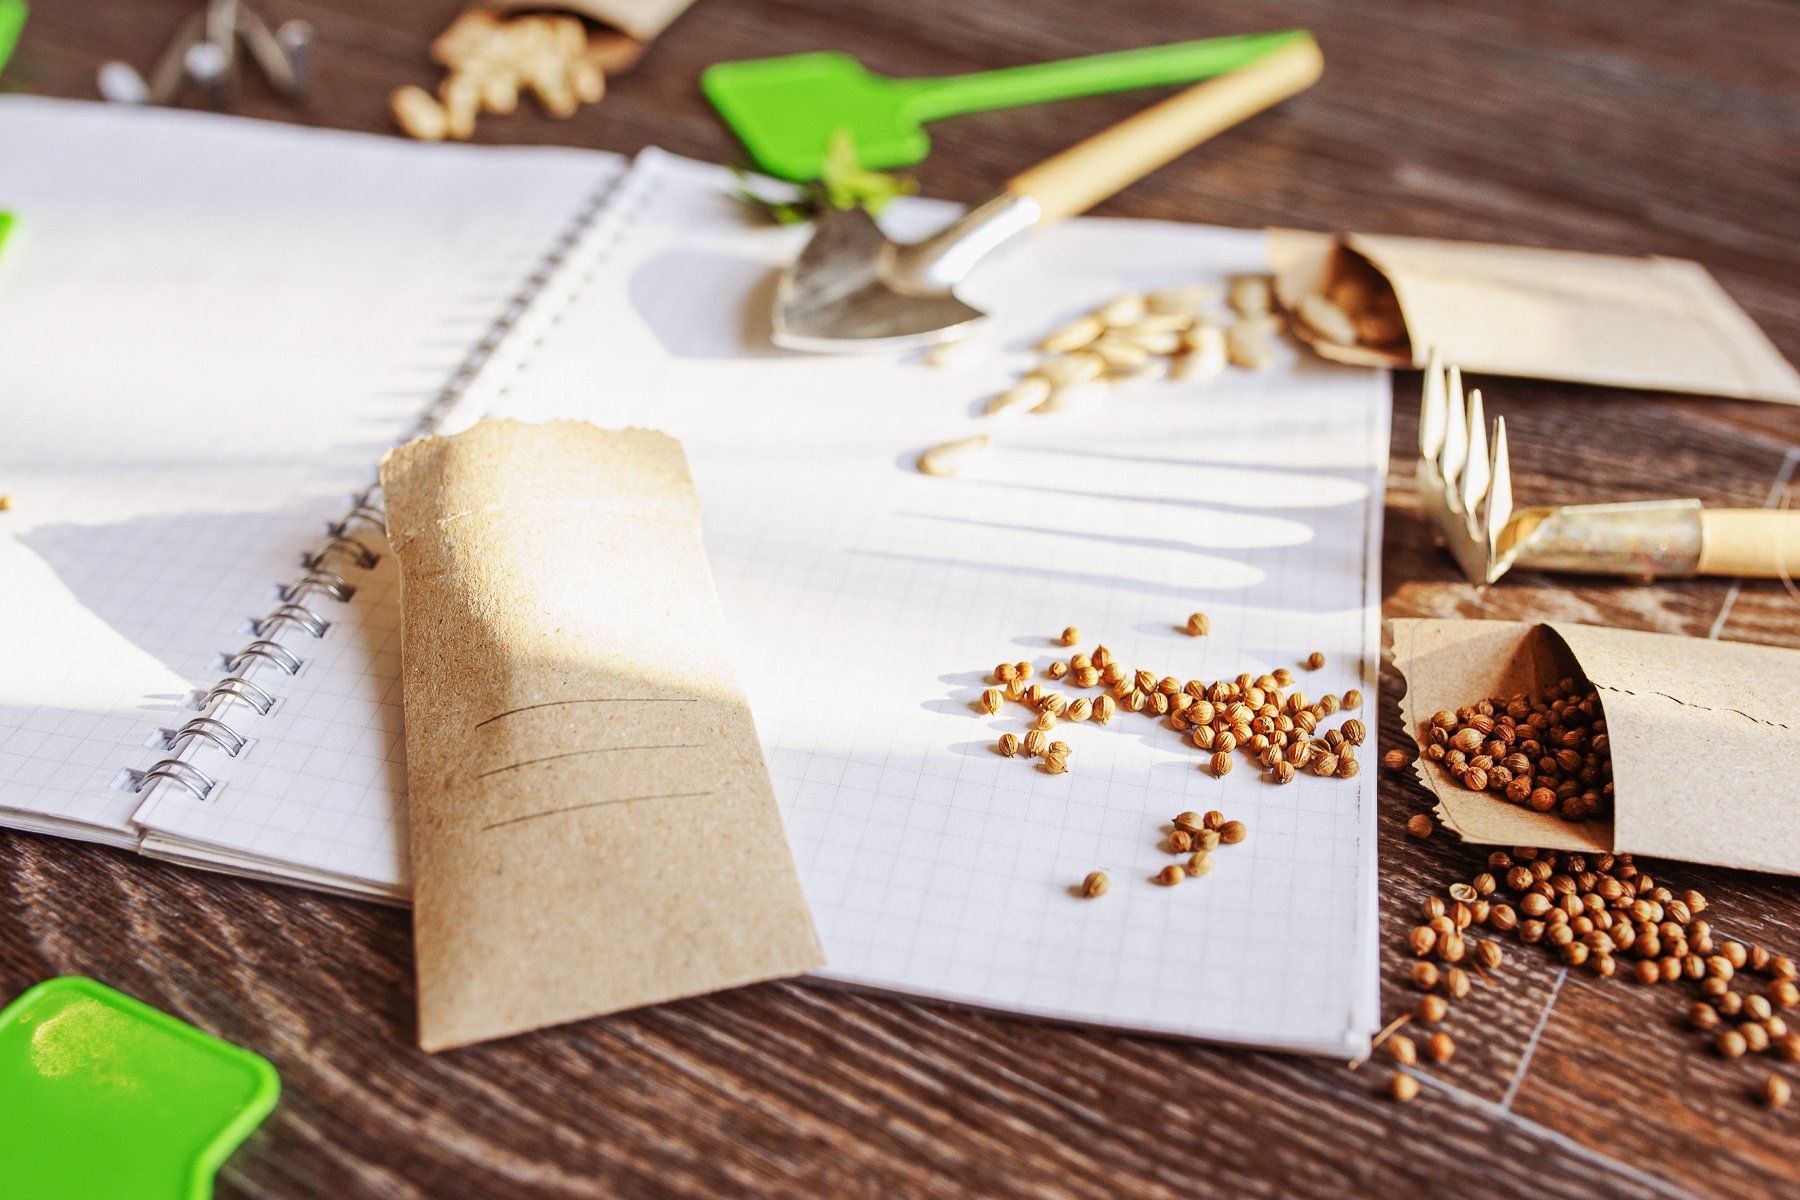
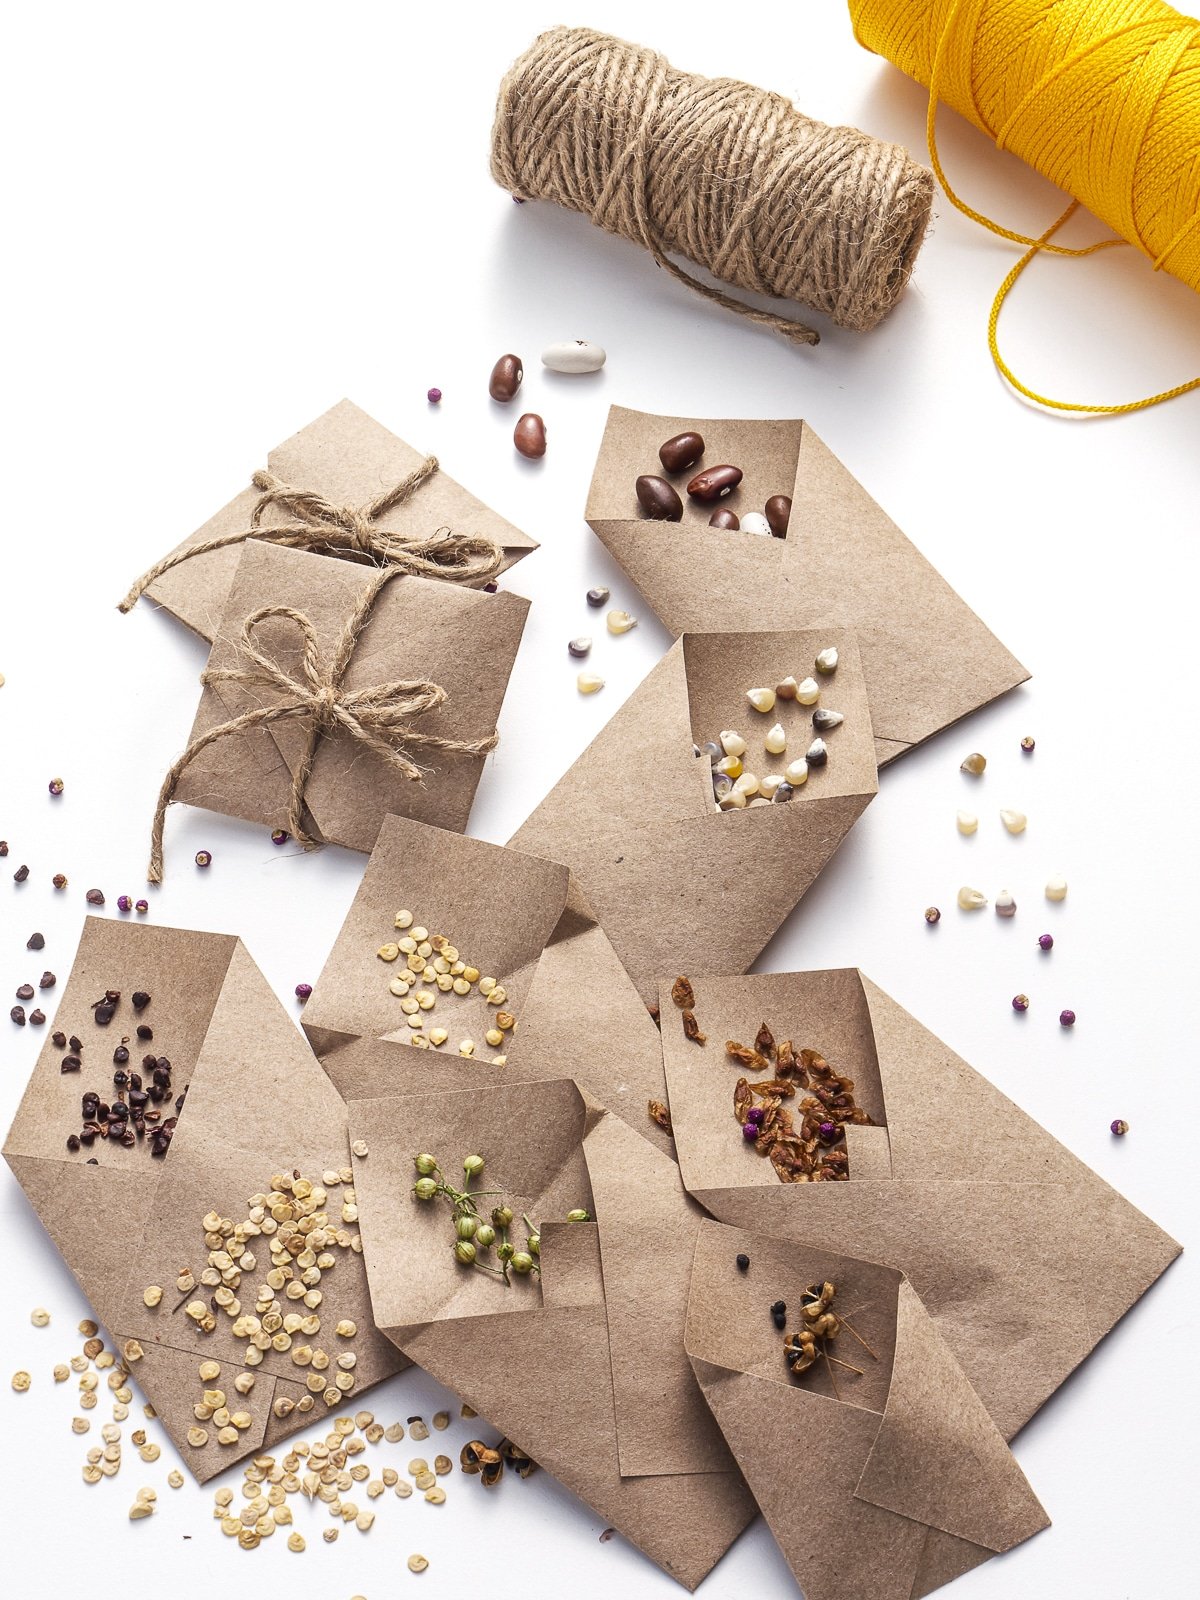
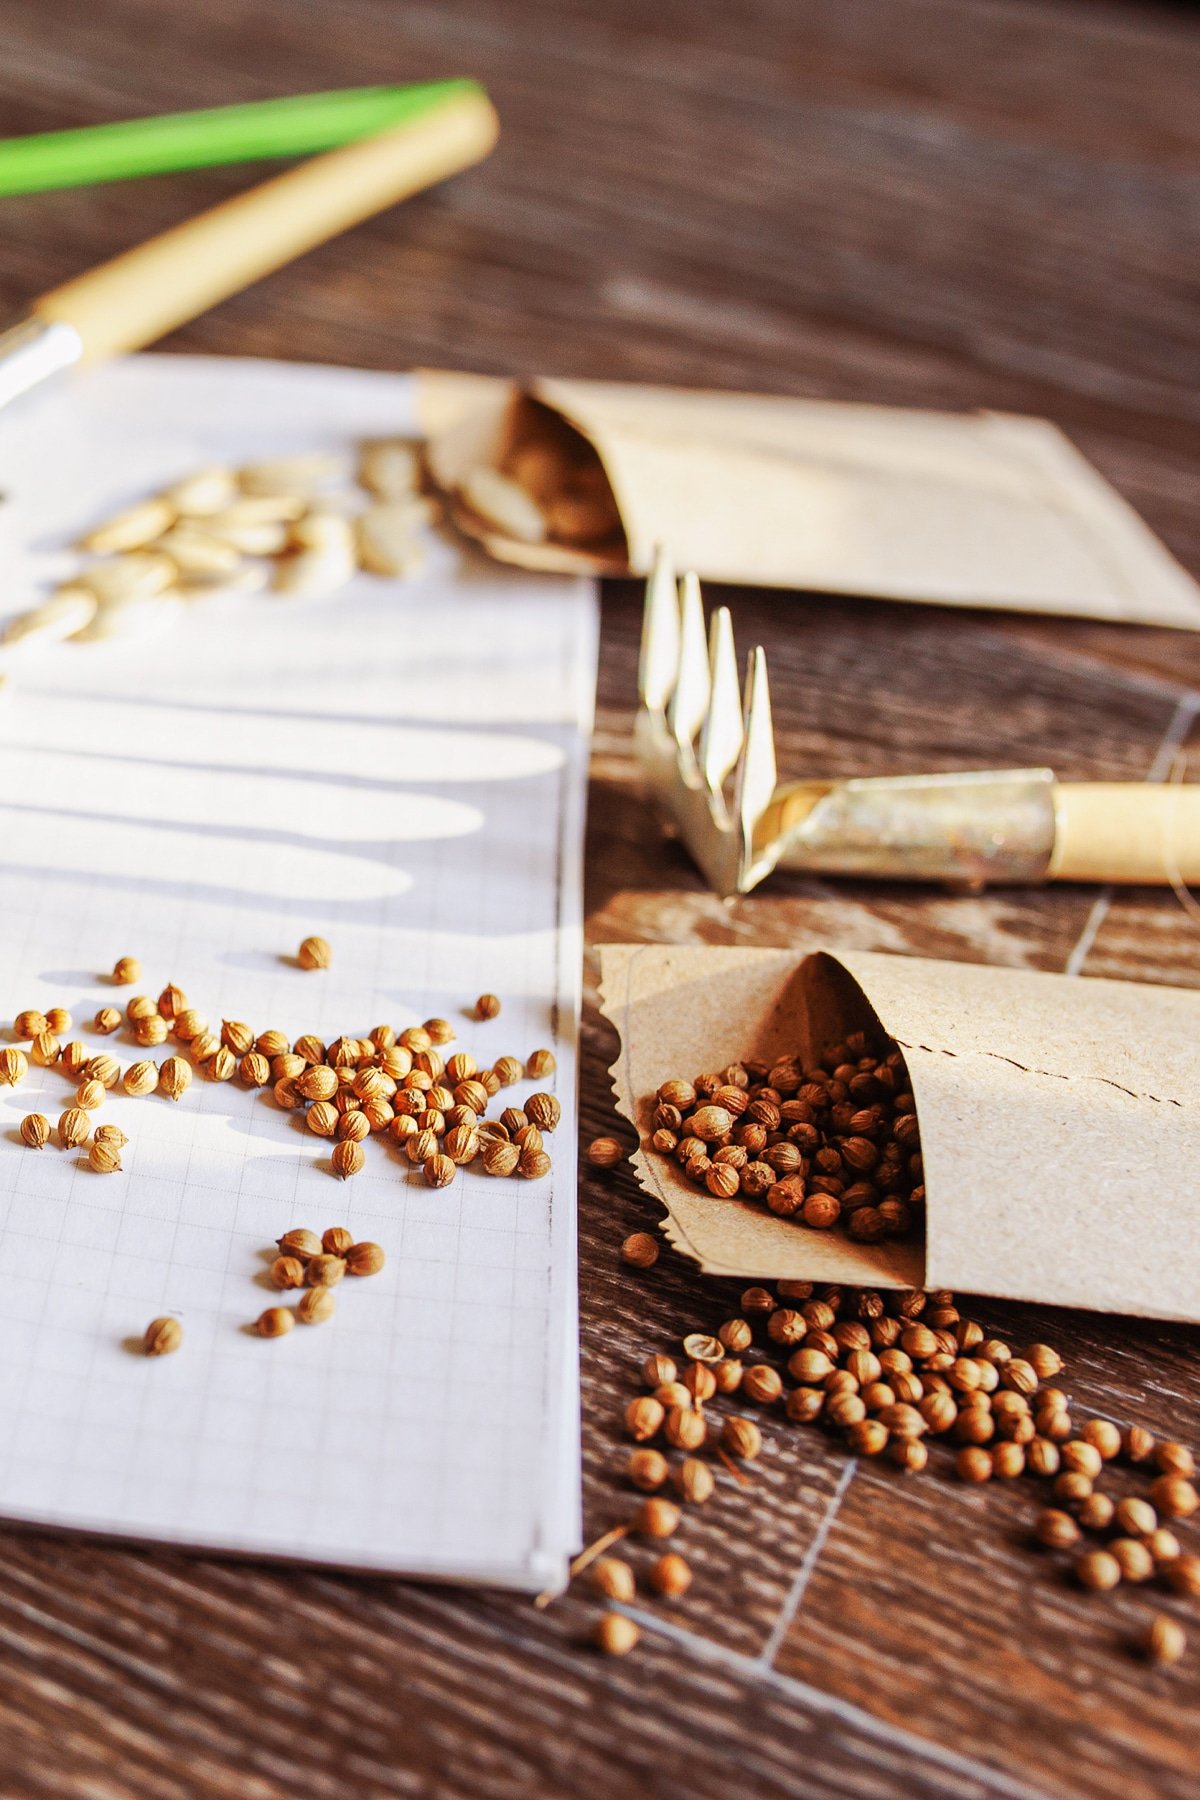
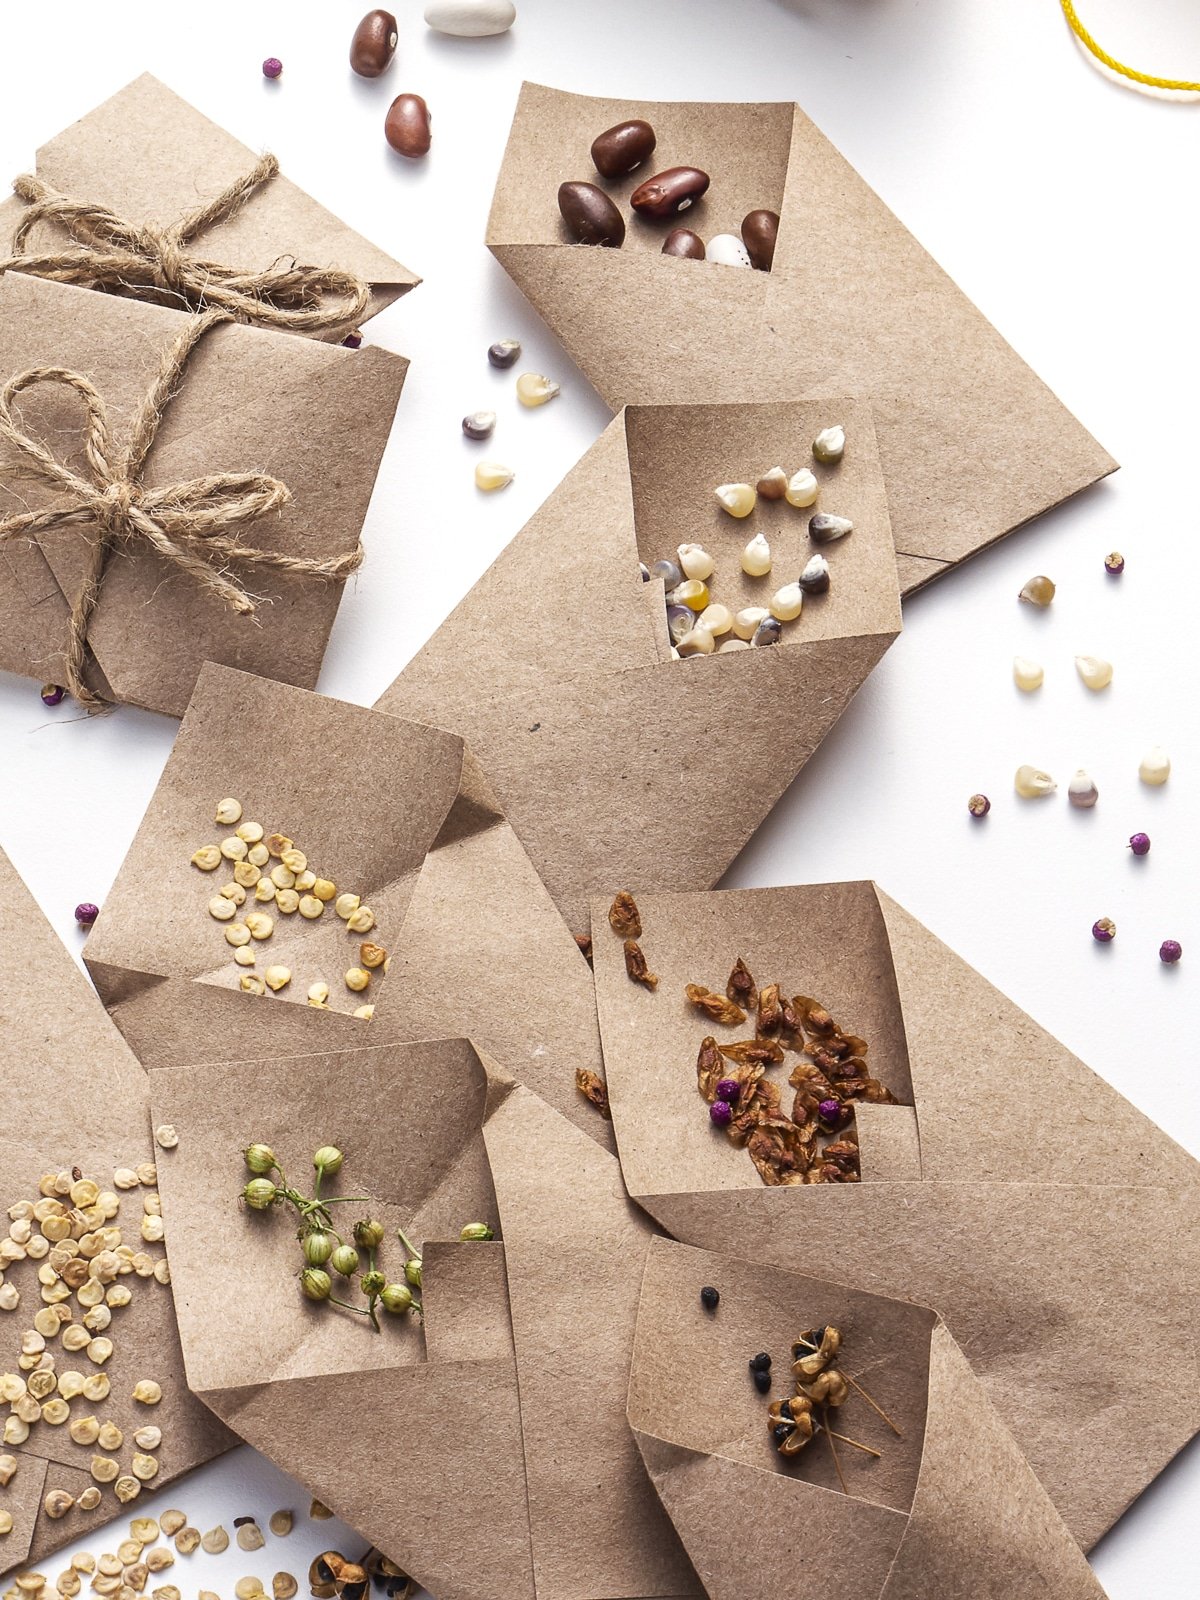
How to Store Your Saved Seeds
To properly store your seeds so they are viable the following spring, put them in individual envelopes.
Make sure to label your seed envelopes correctly with this information:
- Name and variety of crop
- Growing location
- The date you collected the seeds
This information will help you to verify not only that you are sowing the variety you think you are but also evaluate the success of your seed-saving efforts!
All your envelopes containing seeds can then go into an airtight container above ground level. This prevents moisture and pests (like mice) from ruining your seeds.
Additional Tips For Seed Saving
This post is a basic guide to seed saving to avoid getting too lengthy or confusing. Once you begin experiencing success with saving your seeds, you will likely start branching out to saving seeds from other vegetables (and maybe flowers!) in your garden.
Here are a few additional tips to help you as you get started on your seed saving journey:
- Don’t pick the fruit until it has reached what would be considered “overripe” for eating. If you try to harvest it too early, it won’t be viable next spring.
- The older the harvest date on your seeds, the lower your germination success rate will be, so plan to plant your stored seeds the following spring (or give some away if you have more than you need)
- Stick to seed saving with old-fashioned “heirloom” varieties. This is the only way for you to save seeds and know exactly what you will get with your plants next year. If you save hybrid variety seeds (not “heirloom”), you will end up with plants with random trait combinations.
- Make sure that your seeds are fully dry before storing them (so they don’t become moldy). To test whether they are fully dry, push your fingernail into it. If it gives, it’s not dry enough to store yet.
- If you have different cultivars of the same plant (tomatoes, for instance), it’s important to avoid cross-pollination. As soon as the blooms start to develop, place a see-through gauze bag over them and leave the bag on until the fruit begins to show. Mark that fruit for seed saving.
FAQs
Yes, but be aware that many store-bought vegetables come from hybrid plants, meaning their seeds may not produce the same quality fruit. Heirloom vegetables are best for seed saving.
Try a germination test: Place a few seeds between damp paper towels, keep them warm, and check for sprouting in 5-7 days. If most sprout, they’re still viable.
Store seeds in paper envelopes or glass jars in a cool, dark, and dry place. A sealed container in the refrigerator can extend seed life for several years.
Most seeds last 2-5 years if stored properly, but some, like onions and parsley, lose viability faster.
Final Thoughts
If you’ve never tried saving seeds, now’s the perfect time to start! It might seem a bit tricky at first, but trust me—it’s incredibly rewarding to grow plants from seeds you harvested. Plus, it helps you save money, preserve heirloom varieties, and create a stronger, more resilient garden.
Have you saved seeds before? What’s your favorite crop to collect from? Drop a comment or tag us on social media with your seed-saving success—we’d love to see what you’re growing!
More Gardening Resources:


Author: Laura Kennedy
Writer & Owner of Little Yellow Wheelbarrow
Laura is a highly skilled gardener and fervent flower enthusiast. Despite her playful battle with plant spacing guidelines, Laura’s work inspires gardeners to create thriving, beautiful spaces that reflect both creativity and sustainability.
Editor’s Note: This article was originally published on June 16, 2020. It was updated on November 13, 2024 for clarity and readability.
