Grow Cinderella Pumpkins for High Yield Harvests.

Cinderella pumpkins, or Rouge Vif D’Etampes (their correct name), are indeed the best pumpkins to grow in your garden. I am very adamant about this for numerous reasons.
Sure, all gardeners have their favorites; favorite cukes, favorite tomatoes, favorite peas, but for me, I change things up every year. I try different cultivars and never plant something twice unless it was an absolute superstar in my garden and kitchen.
I mean, my garden produce needs to put on a show and dance for me all season to get a call back for next year.
But these beautiful pumpkins are different. I planted a few Cinderella pumpkin vines in my first year gardening, and they wowed me! They are the only plants that ever got invited back to my garden every year.
If I could grow a field of them, I would; that is how much I love them.
A magical Pumpkin to grow in your vegetable gardens
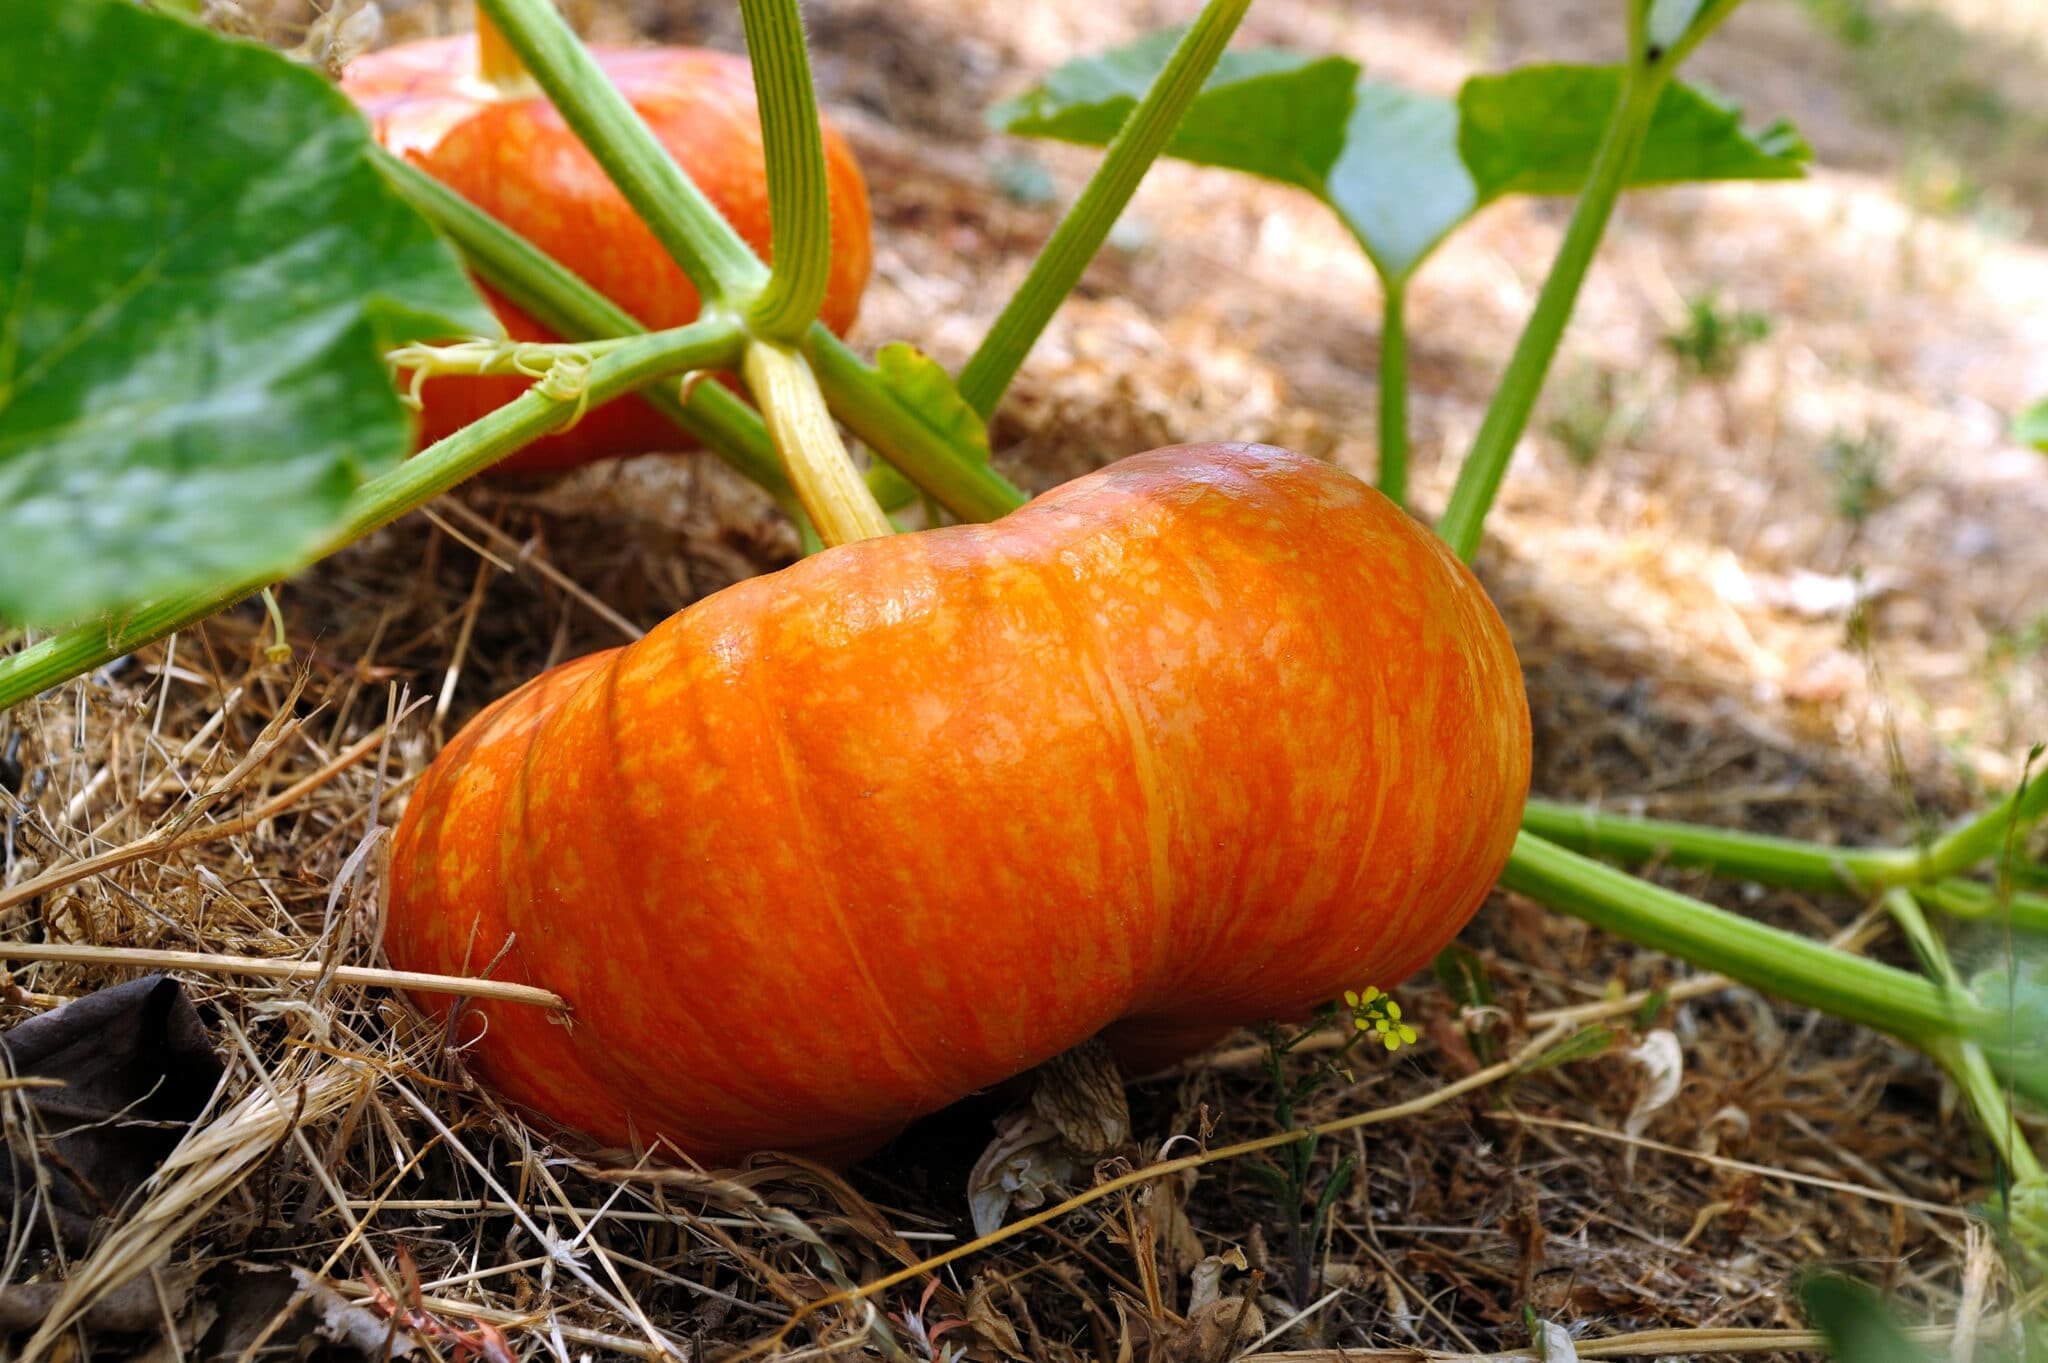
Rouge Vif D’Etampe (Cinderella pumpkins, Fairytale pumpkins) are heirloom French pumpkins with a strikingly bright red-orange color and look like a giant wheel of cheese. They were very popular in French farmer’s markets during the 1880s.
So why is it called a Cinderella pumpkin? It is rumored Disney used the Rouge Vif D’Etampes as the design inspiration for cinderella’s carriage. It does, after all, look like a carriage fit for Disney princesses.
Call it by its correct name or common name – it doesn’t matter to me – in the end, I call them all pies.
But if you want to plant them, search for Rouge Vif D’Etampe on your heirloom seed packets, or you will be on some wild endless glass slipper chase through the kingdom.
Cinderella pumpkins – all the reasons they belong in your garden
Growing season – harvest – storage
Cinderella pumpkins need a 100 day growing season, which works exceptionally well for me in my short season.
I’m a northern gardener, and I have trouble finding reliable, hearty cultivars for my area. Varieties I choose have to produce, and they have to grow quickly. With a short season, it’s sometimes hit or miss if I get some crops indoors before the first snow hits.
That first snow for us can be as early as mid-September. Yes, it is as bad as it sounds.
So if you’re like me and you want to carve pumpkins for Halloween, you need a sure-fire hit.
My Cinderella pumpkins are always the first to set and always the first to ripen. I usually get my pumpkins indoors before September, and with proper care and storage can last for months. I gave away two pumpkins in January that were still in perfect condition.
Disease resistance
The plants are also disease resistant to powdery mildew, which is a big deal in my garden.
I seem to struggle with powdery mildew with my pumpkins and my squashes.
In a bed where I had a few mounds of different pumpkins, all but the Cinderella pumpkins succumbed to powdery mildew. Nothing I did seemed to matter, and I pulled all the plants leaving behind only the Cinderella, which continued to thrive and produce all season.
I stopped planting other pumpkins; it just wasn’t worth the hassle!

Cinderella pumpkin yields
Last year I planted four seeds and wound up with 18 reasonably large Cinderella pumpkins. I had a few small pumpkins, but generally, they were all over 20 pounds. However, if you want to grow giant pumpkins, this is not the variety.
Each one, regardless of size, was perfectly round, beautifully flat, and vibrantly colored a deep red-orange.
It’s like that every year; they set quick, set heavy, and produce right up to the end of the season and ripen perfectly. As a result, these pumpkins are my most reliable crop every year.
I’ve planted other pumpkins and have never had the production and quality that I get from my Cinderella pumpkins.

How to grow a bumper crop of Cinderella pumpkins
Cinderella pumpkins are excellent producers if you provide the right environment and care through the season.
Seed start early
Cinderella pumpkins take about 100 days to harvest. So I give myself a bit of leeway by seed, starting indoors about three weeks before the last frost of my season.
Plant in 4-6 inch pots, with a good seed starting soil, like Pro-mix.
Good lighting is a must, as is good airflow.
Harden off for a week before planting out, usually two weeks after your last frost date when the soil has warmed to at least 65F. Pumpkins require full sun to produce a good harvest so be sure to find a bright and sunny location for them to grow and trail.
You can directly sow pumpkins in the ground so long as your season is long enough to allow the pumpkins to mature.

Prepare your bed in advance
Preheat your garden beds: I cover all my beds with clear plastic sheeting as soon as I can clear the snow off. The clear plastic heats the soil in the garden beds significantly and lets me plant out a bit earlier. The warmer beds also help germination if you are planting directly with seeds.
Heating the beds also allows any weed seeds lying dormant to grow, get cooked, and die before I even plant out.
Lots of compost and fertilizer: The other important piece in preparing your pumpkin bed is to ensure that you fertilize well with healthy, rich compost. Pumpkins grow fast and require nutrients to produce blooms, set, and grow all season long, so make sure they have what they need to thrive.
plant Companion plants with your Cinderella pumpkins
I have as many flowers in my small 600 square foot potager as I do vegetables. They attract beneficial insects, like ladybugs, lacewings, and bees and add a great deal of beauty and charm.
When I harvest my pumpkins at the end of the season, my nasturtiums are still growing strong and in bloom, adding a much-needed punch of color to the autumn garden.
But there are several excellent companion plants that you can grow with your pumpkins for increased harvest, pest control, and for improving the growing environment.
See: Companion Plants for Pumpkins

BAD BUG BEGONE!
$5.99
Are harmful insects running your gardening season?
Our guide to organic pest control methods offers practical solutions for dealing with common garden pests without using harmful chemicals. With step-by-step instructions and easy-to-follow tips, you’ll learn how to create a pest-resistant garden that is safe for your family and the environment. A great on-hand resource for any gardener!
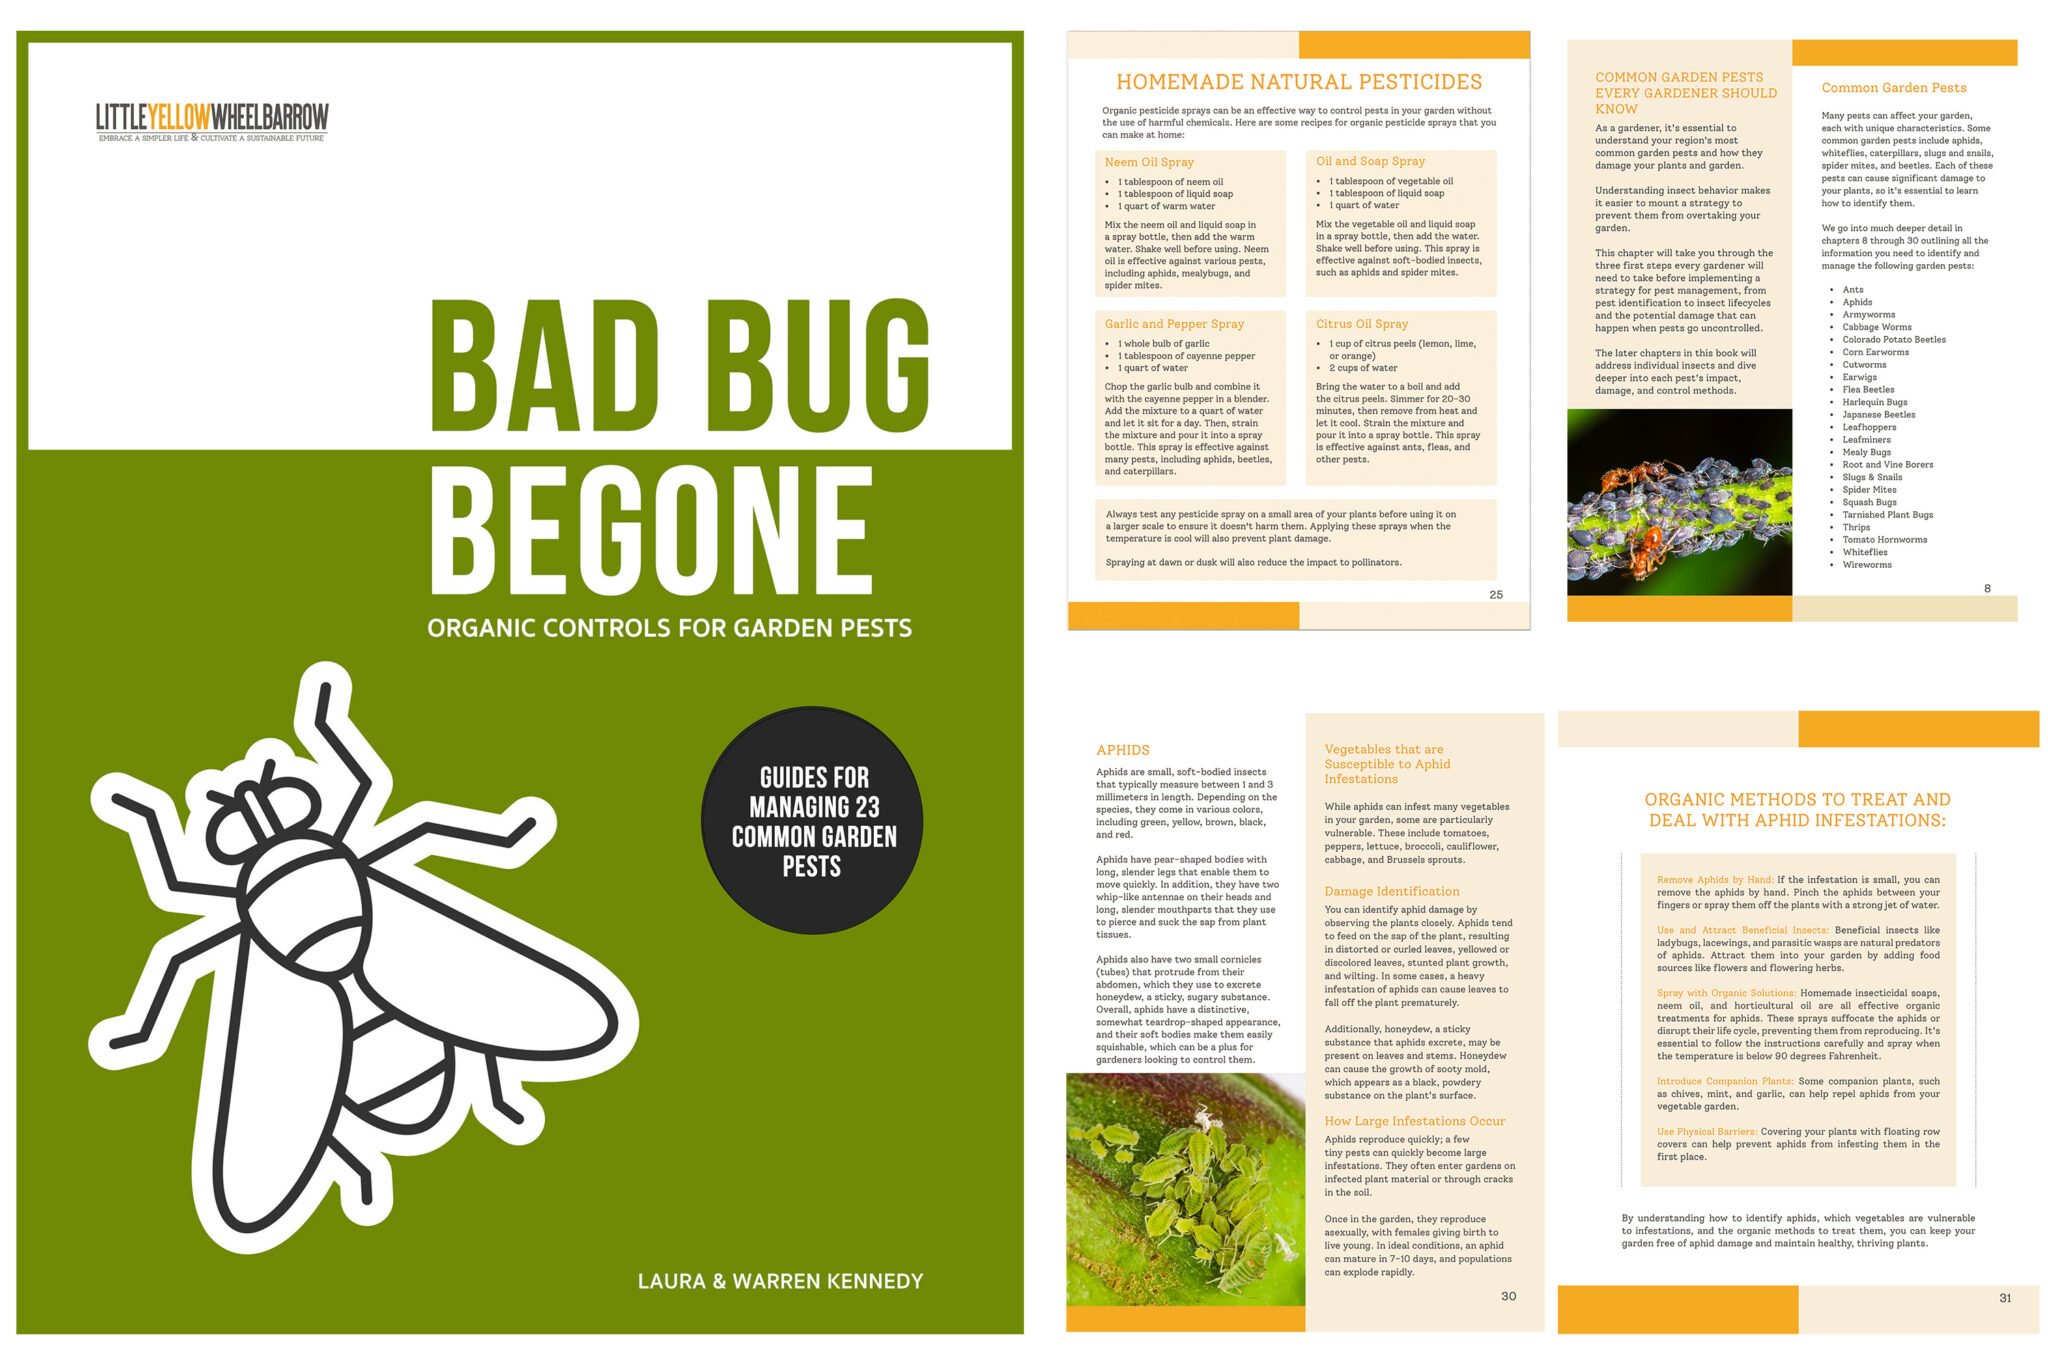
A must-have resource for Gardeners
Our digital e-book is for you if you’re a home gardener passionate about growing healthy, pesticide-free plants! Over 100 pages of organic pest management information are perfect for beginner gardeners and pros alike.
Space requirements and what I do in my garden
You do not need a lot of space to grow cinderella pumpkins. The vines trail, but I don’t find they go crazy, and they are pretty manageable. The vines wind down our brick paths and out over the yard.
This year I planted eight vines. Last year, in that bed, I planted four vines with a bed of corn. No issues. I plant as tight as I can to maximize my space. I’ve yet to have yield issues with such close planting, but I water well all season and fertilize every other week.
Since the Cinderella pumpkins are resistant to powdery mildew, I pack them in. So even though I planted eight vines in a bed, they did not overlap as I let them wander and trail outside the bed on the lawn and brick paths.
So long as you have room to let them wander, planting pumpkins only takes a few square feet to create a pumpkin patch.

Hand pollinating pumpkins
No bees? Not enough pollinators? Sometimes this can be an issue, and you get lots of blooms, lots of starts, but your baby pumpkins fall off the vine. When pumpkins drop, it is usually due to a lack of fertilization.
I have lots of bees in my garden, I created a buffet for them to come and hang around, but I still give my pumpkins every chance they have.
When a flower opens, I grab a stamen from another flower and manually pollinate with it. You need to go gentle and get as much of the pollen in there as you can. It is not always 100% successful, but it is another way to ensure a large crop of pumpkins comes fall.
If you find your first set of baby pumpkins fall off the vine, give hand-pollinating a try.
Water and more water
Water, water, and then more water. Pumpkins need watering. Not a sprinkle from a hose. They need a good deep soaking about every three days. I sometimes do it every two days if it is sweltering.
I set out soaker drip hoses and let them go for an hour at a time unless we have a good rain.
Pumpkin roots go deep as they search for water. So the more you can give them, the healthier the plants will be.

Don’t forget Bi- weekly fertilizer
As I said earlier, pumpkins are hungry little beasts. They do need the weekly boost from fertilizer or compost.
I used a good all-around organic fertilizer like Pro-mix Organic granular. I sprinkle it around the plant base, careful not to get it on the stem, and water it in with the hose.
A quick treat like this once a week and your garden bed will reward you with a healthy, beautiful crop of pumpkins.
Keep them off the wet ground to avoid blemishes
I put pieces of wood and upside-down plates under the pumpkins for them to rest. Supporting the bottoms of the pumpkins helps keep them dry and off the ground and prevents rotting and diseases from taking hold in the garden.
Grass also surrounds my garden, and the paths are brick, so I do not want to leave my Cinderella pumpkins to rest on either surface as they will create blemishes. The bricks will leave indents on the rind, and if you leave your pumpkins to grow in the grass, the bottoms will turn very yellow. You also risk the bases rotting on you if they are always sitting in a moist environment.

Why Cinderella pumpkins belong in your kitchen
These bright orange pumpkins have creamy flesh that is perfect for baking. Oven-roasted, they produce a pumpkin puree that is neither watery nor bitter.
These pumpkins have a sweet flavor, almost as sweet as sugar pumpkins. Cinderella pumpkins make excellent pumpkin pies, delicious savory soups, and

How to make pumpkin puree
Cinderella pumpkins are easy to prepare in the kitchen. Their flatness makes it easy to roast two at once in the oven. They are easy to deseed, and once cooked, the flesh pulls easily away from the outer shell. The puree freezes beautifully and stores for up to a year.
From one single large twenty-pound pumpkin, you can expect to process about 20 cups of puree. That’s a lot of pumpkins!
The taste is mild, slightly sweet, and creamy, and puts canned pumpkin to shame. However, the puree makes delicious pumpkin pies.
Measure your pumpkin puree before you freeze it, so you always pull out what you need. I save mine in 1-cup and 2-cup increments, perfect for pumpkin pound cakes or savory soup.
And if you want a great recipe for that pound cake, I found this one for a cinnamon cream cheese-coated pumpkin pound cake.
Oh, and don’t forget to roast those pumpkin seeds too!
SAFETY NOTE: *** Never water bath can pumpkin puree. You can pressure process the puree, but water bath canning will not penetrate the puree far enough to destroy all bacteria. ***
Learn More: We do have many food-preserving posts you may want to check out that are safe for long-term pantry and freezer storage:
- How to Freeze Green Beans To Preserve Texture and Flavor!
- Canning Tomatoes Whole – The Quick and Easy Cold Pack Method
- Jalapeno Pepper Jelly Recipe – Quick & Easy Instructions!
- How To Make Perfectly Crunchy Homemade Dill Pickles
- Easy Peach Preserves Recipe for Canning – No Pectin Required
- How to Dehydrate Jalapeno Peppers at Home
pumpkin Storage
You do not need to bake and freeze all your pumpkins at once. If you have somewhere to store your pumpkins whole, they last for a long time before needing to be processed.
Some folks use a mild bleach solution on their pumpkins; I choose to give my pumpkins a good spray with hydrogen peroxide and let it sit for 5 minutes before I wipe and dry them. I never had one rot on me, and the skin always stays fresh.
The recommended time for storage is 12 weeks, but I have had cinderella pumpkins in my cold room for five months without any issue.

Watch em grow!
Rouge vif d’etampes grow quick. They are fun to watch in the garden due to the rapid growth spurts that they go through. It’s also fun to watch them turn from bright yellow to brilliant orange and then take their final transition to the deep red-orange they turn at the end of the season.
Then, of course, their inevitable transition into pies…..or jack o’lanterns.
Oh, and if you like garden-to-table type recipes, you might enjoy this delicious gooey, rhubarb jam recipe that requires no sugar! Or check out my favorite pickle recipe that I salvaged from a 100-year-old homesteading manual.
Or, if you want a smokey kick to your pumpkin spice soup, check out this method for making smoked salt. The smoked salt is a perfect addition to any savory pumpkin recipe!
Want to Learn More About Vegetable Gardening and Food Self Sufficiency?
Check out these posts for more information about the vegetable garden and food storage:
- Vertical Vegetable Gardens – High Yields In Less Space
- Pros and Cons of Square Foot Gardening
- Easy Quick Pickled Red Onions Recipe
- Carrot Preserves- An Easy Carrot Cake Jam Recipe
- The Best Companion Plants For Cucumbers And The Ones to Avoid
- How To Pickle Jalapenos To Last You All Winter
- How to Freeze Green Beans To Preserve Texture and Flavor!
- How to Fertilize Pepper Plants


.
