How to Identify Early Signs of Spider Mites
Did you just go into your garden or notice a house plant with white webbing or spots and wonder if they were early signs of spider mites? I don’t want to be the bringer of bad news, but yes, those are indeed early signs of a spider mite infestation!
Spider mites may be tiny, but their impact can be significant. They feed on plant sap, causing leaves to turn yellow and wilt. If left untreated, they can quickly multiply and cover your plants with fine webbing. Identifying these early signs is crucial for effective management and overall plant health and survival.
By learning to recognize the presence of spider mites in their early stages, you can take immediate action to protect your beloved plants from further damage.
In the following sections, we will explore the range of early signs that indicate spider mite damage and provide practical tips for managing them effectively.

Affiliate Disclosure
This post may contain affiliate links. If you click one and purchase, I may receive a commission at no additional cost. You can read our disclosure policy here.
Article Key Points:
Identifying Early Signs of Spider Mites Infestation:
- Look for stippling or tiny white/yellow spots on leaves as an early sign of spider mite damage.
- Check the undersides of leaves for fine webbing or silk threads produced by spider mites.
- Be alert for distorted growth or curling leaves caused by spider mite feeding.
- Monitor discoloration, such as yellowing or bronzing of foliage, which can indicate spider mite infestation.
- Pay close attention during hot and dry periods when spider mites thrive.
Effective Management and Treatment Strategies for Spider Mites:
- Isolate-infested plants to prevent the spread of spider mites.
- Use a strong stream of water to dislodge adult mites from plant surfaces.
- Apply insecticidal soap or neem oil to control spider mite populations.
- Introduce natural predators like ladybugs or predatory mites into your garden.
- Regularly prune affected plant parts to remove heavily infested areas.
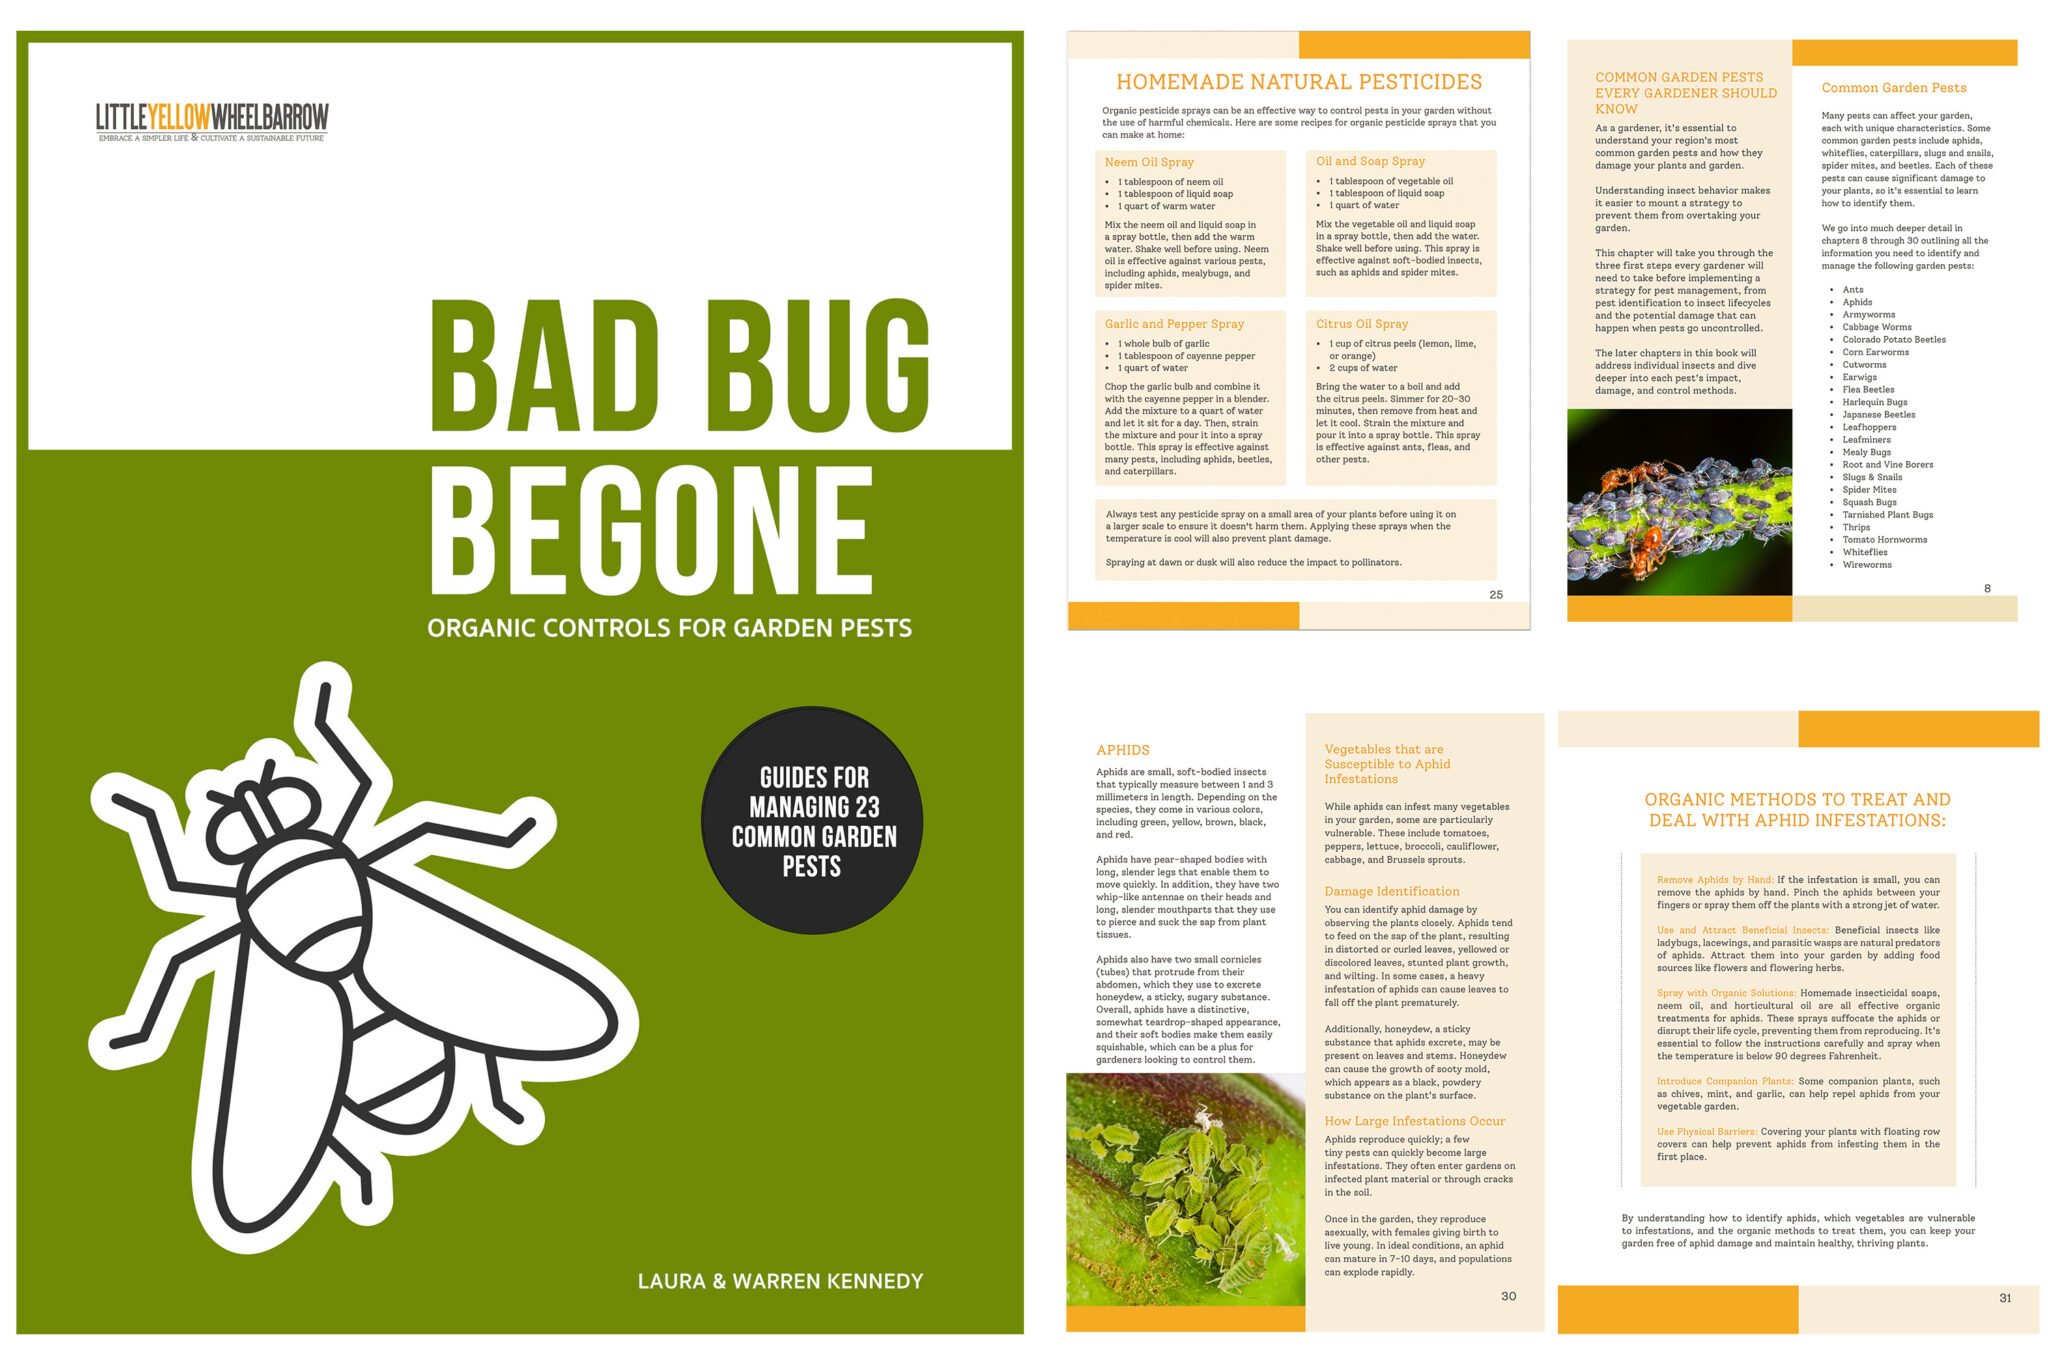
BAD BUG BEGONE!
$5.99
Are harmful insects running your gardening season?
Our guide to organic pest control methods offers practical solutions for dealing with common garden pests without using harmful chemicals. With step-by-step instructions and easy-to-follow tips, you’ll learn how to create a pest-resistant garden that is safe for your family and the environment. A great on-hand resource for any gardener!

A must-have resource for Gardeners
Our digital e-book is for you if you’re a home gardener passionate about growing healthy, pesticide-free plants! Over 100 pages of organic pest management information are perfect for beginner gardeners and pros alike.
Identifying Early Signs of Spider Mites
There are four very early and distinct indications you may have a spider mite infestation:
Look for stippling or tiny white/yellow spots on leaves, indicating feeding damage.
One of the key indicators is the presence of stippling or tiny white/yellow spots on leaves. These spots result from the spider mites feeding on the plant’s sap. As they puncture the plant cells and suck out the sap, they leave behind small puncture marks that appear as dots or specks on the surface of the leaves.
To identify this type of damage, closely inspect the foliage of your plants. Pay attention to both upper and lower leaf surfaces, as spider mites feed on both sides. It is likely a sign of spider mite activity if you notice numerous tiny white or yellow spots scattered across the leaves.

Examine the undersides of leaves for fine webbing or silk threads.
In addition to stippling, another telltale sign of spider mite infestation is the presence of fine webbing or silk threads on the undersides of leaves. Spider mites produce these webs to protect themselves and their eggs from predators while providing them with a suitable environment for reproduction.
To check for webbing, carefully flip over a few leaves and inspect their undersides. Look for thin strands of silk connecting different parts of the leaf or forming a delicate network between adjacent leaves. Webbing suggests an established population of spider mites actively reproducing and colonizing your plants.

Check for distorted growth or curling leaves caused by spider mite feeding.
Spider mites can cause significant damage to plants by piercing their cells and extracting nutrients from within. This feeding behavior often leads to distorted growth and curling leaves. As spider mites continue to feed on a plant, they may struggle to develop properly, resulting in stunted growth and abnormal leaf shapes.
Inspect your plants for any signs of distorted growth or curling leaves. Look for leaves that appear twisted, misshapen, or have irregular edges. These abnormalities can be an indication of spider mite feeding damage. If left untreated, the plant’s overall health and vitality may decline as the infestation worsens.

Observe any discoloration, such as yellowing or bronzing of foliage.
Another early sign of spider mite infestation is the discoloration of foliage. Spider mites extract chlorophyll from plant cells to obtain nutrients, which can lead to a loss of green pigmentation in affected leaves. This often results in yellowing or bronzing of foliage, particularly on older leaves.
Take a close look at the coloration of your plant’s leaves. If you notice patches of yellow or bronze hues spreading across the foliage, it could indicate that spider mites are present and actively feeding on your plants. Prompt action is crucial to prevent further damage and potential loss of the affected plants.

Monitor plants closely during hot and dry periods when spider mites thrive.
Spider mites thrive in hot and dry conditions, making these periods favorable for population growth. It is essential to monitor your plants closely during such weather conditions to catch early signs of spider mite infestation before it escalates into a full-blown problem.
Effective Management and Treatment Strategies for Spider Mites
Isolate-infested plants to prevent the spread of spider mites.
When dealing with early signs of spider mites in your home garden, it is crucial to take immediate action to prevent the infestation from spreading.
One effective strategy is isolating plants that show signs of spider mite presence. By separating these plants from the rest of your garden, you can minimize the chances of mites transferring onto unaffected plants.
To isolate infested plants, consider placing them in a separate area or indoors. This will create a physical barrier preventing mites from reaching other susceptible plants. Regularly inspect nearby vegetation for signs of spider mite activity to ensure early detection and isolation.
Use a strong stream of water to dislodge adult mites from plant surfaces.
One natural and non-toxic method to manage spider mite populations is using a strong water stream to dislodge adult mites from plant surfaces.
These tiny pests thrive in dry conditions, so spraying your affected plants with water can help disrupt their habitat and reduce their numbers.
When using this technique, direct the stream towards both the upper and lower leaf surfaces and stems where spider mites tend to congregate. Adjust the water pressure accordingly, ensuring it is forceful enough but not too powerful that it damages delicate foliage.

Apply insecticidal soap or neem oil to control spider mite populations.
Another effective approach for managing early signs of spider mites at home is using organic insecticides such as insecticidal soap or neem oil. These products are readily available in most garden centers and can be applied directly to affected plant parts.
Insecticidal soap suffocates adult spider mites upon contact, while neem oil disrupts their feeding habits and reproductive cycles.
When applying these treatments, thoroughly coat the affected foliage, including the undersides of leaves where mites often hide. Be sure to follow the instructions on the product label for proper application and safety precautions.
Because many of these insecticides also harm helpful insects, it’s best to spray early in the morning or late in the evening when helpful insect populations will be lowest in your garden.

Introduce natural predators like ladybugs or predatory mites into your garden.
Nature provides pest control solutions, and introducing natural predators into your garden can be an effective long-term strategy for managing spider mite populations. Ladybugs and predatory mites are two examples of beneficial insects that feed on spider mites, helping to keep their numbers in check.
You can attract ladybugs by planting flowers such as daisies, marigolds, or yarrows, a food source for these voracious predators.
Alternatively, you can purchase ladybugs or predatory mites from reputable suppliers and release them onto your infested plants. These natural enemies will actively seek out spider mites and help control their population over time.

Regularly prune affected plant parts to remove heavily infested areas.
Pruning infected plant parts is an essential management practice when dealing with early signs of spider mite infestation.
Removing heavily infested areas reduces the number of active mites and eliminates their eggs and webbing that may harbor future generations.
When pruning affected plants, use clean and sharp pruners to make precise cuts. Focus on removing damaged leaves stems with visible webs or discoloration caused by feeding damage.
A good Pair of Pruners is a must for every gardener!
#1 best-selling pruners

Summary: Spider Mite Identification and Spider Mite Control
Now that you have the tools to combat spider mites, it’s time to take action! Don’t let these pesky critters wreak havoc on your beloved plants.
Start by closely monitoring your garden for any signs of infestation. If you do spot them, don’t panic! Implement the management techniques we’ve discussed and stay consistent in your efforts. Remember, a little TLC goes a long way in keeping spider mites at bay.
We have more articles to help you manage harmful pests:
If you want to learn more about spider mites, the damage they do, and their life cycle and habits, check out this article from Ohio State University.
FAQs
Are there any natural remedies to control spider mites?
Several natural remedies can help control spider mite populations without resorting to harsh chemicals. These include using neem oil or insecticidal soap sprays, introducing predatory insects like ladybugs or lacewings into your garden, and regularly washing plant leaves with a strong stream of water.
How often should I check my plants for spider mites?
It’s recommended to check your plants for spider mite damage at least once a week during warmer months when they are most active. However, if you notice any suspicious signs, such as yellowing leaves or tiny webbing, it’s best to inspect your plants immediately.
Are there any specific plants that are more prone to spider mite infestations?
While spider mites can attack many plants, some species are more susceptible than others. Plants like roses, tomatoes, cucumbers, strawberries, fruit trees and houseplants like spider plants and palms are particularly vulnerable. Regularly monitoring these plants for signs of infestation is essential for their well-being.

Author: Laura Kennedy
Writer & Owner of Little Yellow Wheelbarrow
Laura is a highly skilled gardener and fervent flower enthusiast. Despite her playful battle with plant spacing guidelines, Laura’s work inspires gardeners to create thriving, beautiful spaces that reflect both creativity and sustainability.


