How To Grow Lavender From Seeds for Outdoor Transplant
Growing lavender from seed is a cost-effective and rewarding way to start your plants. With a wide variety of lavender species and cultivars, starting lavender from seeds allows you to grow versatile plants for pennies.
By providing proper care and attention, you can successfully nurture lavender plants from the early stages of germination through their full lifecycle.
And why would one want to grow lavender? Well, from culinary uses, beauty and bath products, home decor, and the simple pleasure of the plants themselves in full bloom at top fragrance wafting through your garden – I can’t think of a reason why you wouldn’t want to grow it! And if you’re thinking “Yeah, all that, I want all that,” read on, and we will teach you everything you need to know to get started growing your very own lavender garden, starting with a simple packet of seeds.

Section Summary Cards:
You will find section summary cards at the beginning of each main section. Each section card will briefly summarize the key points and allow you to skim to find the information you require quicker and easier than before. Just look for the yellow boxes!
Benefits of Growing Lavender from Seed
Section Summary: Benefits of Growing Lavender From Seed
Starting lavender plants from seed is a cost-effective and rewarding option for gardeners. You have greater control over plant quality and can experiment with different varieties. It also allows for chemical-free cultivation, making it an excellent choice for organic gardening.
More Affordable Option
One of the significant benefits of starting lavender plants from seed is its cost-effectiveness. Buying established lavender plants can be expensive, especially if you’re looking to fill a large area in your garden. However, by growing lavender from seed, you can significantly reduce expenses and enjoy beautiful blooms and aromatic foliage.

Greater Control over Quality and Health
Growing lavender from seed allows you to have greater control over the quality and health of your plants. When purchasing established plants, you may only sometimes know their exact origin or how they were cultivated. By starting from seed, you can carefully select high-quality seeds from reputable sources, ensuring that you are working with healthy genetics right from the start.
Experimentation with Different Varieties
Another exciting benefit of growing lavender from seed is experimenting with different varieties. Numerous types of lavender are available, each with unique characteristics, such as flower color, fragrance intensity, or growth habit. By starting from seed, you can explore these options and create a diverse collection of lavenders in your garden.
Unique Combinations in Your Garden
In addition to experimenting with different varieties, growing lavender from seed allows you to create unique combinations in your garden. You can mix colors, heights, and fragrances to design a customized design that suits your preferences and complements other landscape plants. This creative freedom adds an element of personalization and uniqueness to your garden space.
Satisfying Growth Process
Witnessing the growth process of your cultivated lavender plants, starting right from the seed stage, is incredibly satisfying. From germination to transplanting into larger pots or directly into the ground, every step of the journey allows you to connect with nature and experience the joy of nurturing a living organism. It’s a rewarding experience that brings a sense of accomplishment and fulfillment.

Chemical-Free Cultivation
Growing lavender from seed allows you to ensure that no harmful chemicals or pesticides are used during cultivation. This is especially important for those who place a high value on organic gardening practices or have concerns about the potential impact of synthetic substances on their health and the environment. By starting from seed, you have full control over how your lavender plants are grown and can maintain an all-natural approach.

Easy Methods to Start Lavender Seeds
Section Summary: Easy Methods To Start Lavender Seeds
Growing lavender from seeds can be tricky, but following the right steps can lead to success.
First, sow the seeds indoors in well-draining soil and ensure they receive appropriate light and moisture. You can also try cold-stratify the seeds before sowing.
Once the seeds have sprouted, transplant them to larger containers and continue to care for them until they are large enough to be transplanted outdoors.
Starting Seeds Indoors with Well-Draining Soil Mixtures
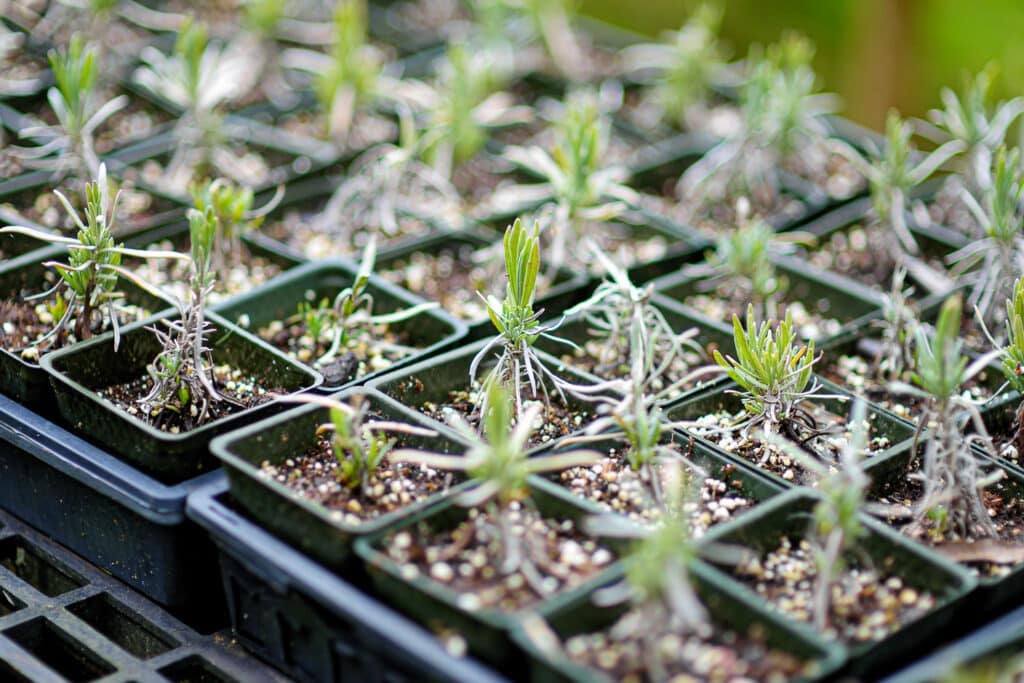
One effective method for starting lavender seeds is by sowing them indoors using trays or pots filled with well-draining soil mixtures. This method allows you to control the growing conditions for most plants and provide the optimal environment for seed germination.
Fill your trays or pots with a well-draining soil mixture to get started. You can create your own lavender seed starting soil by combining equal parts of potting mix, perlite, and vermiculite. This combination helps to promote good drainage while retaining enough moisture for the seeds.
Next, sow the lavender seeds thinly on top of the moist soil. It’s important not to overcrowd the lavender seeds, as this can hinder their growth. Cover them lightly with additional soil or vermiculite, ensuring they are still exposed to some light.
Once planted, keep the soil consistently moist until germination occurs. Mist the soil regularly or water gently without causing waterlogging. Lavender seeds typically germinate under ideal conditions for around 2-3 weeks.
Materials and Tools Required:
- Seed Trays or Containers
- Seed starting soil
- Perlite
- Vermiculite
- Lavender seeds

Stratifying Seeds for Improved Germination
Another successful approach in starting lavender seeds is by stratifying them before sowing. Cold stratification involves exposing the lavender seeds to freezing temperatures, mimicking winter conditions that naturally break seed dormancy.
To stratify lavender seeds, place them in a plastic bag with some damp peat moss or paper towel. Seal the bag and refrigerate it for about 4-6 weeks. This chilling process helps break down any inhibitors that may prevent germination.
After stratification, sow the chilled seeds in containers or directly into the garden. Follow the same steps mentioned earlier, planting them thinly on top of moist soil and lightly covering them with additional earth or vermiculite.
Providing Adequate Light and Moisture
During the germination and early growth stages, lavender seeds require adequate light to thrive. Place your seed trays or pots in a location where they receive at least 12 hours of sunlight per day. If natural light is limited, you can easily supplement the lighting requirements with artificial grow lights.
In addition to light, maintaining the soil with consistent moisture levels is crucial for successful seed germination. Mist the soil regularly or water gently without causing waterlogging. Ensure that the soil remains slightly moistened but never fully wet.

Patience is Key
Growing lavender from seed requires patience as it may take some time for the seeds to germinate and establish themselves. Be patient (I know it’s hard) and continue to provide proper care by monitoring moisture levels, ensuring adequate light, and protecting them from extreme temperatures.
Once your lavender seeds have germinated, you can gradually introduce them to outdoor conditions by hardening them off before transplanting them into your garden or containers.
By following these easy methods for starting lavender seeds successfully, you’ll be well on your way to enjoying beautiful lavender plants in your garden or home. Ensure optimal growing conditions, including well-draining soil mixtures, soil stratification, adequate light exposure, and consistent moisture levels. With patience and care, you’ll soon be rewarded with fragrant blooms and lush foliage.
Transplanting Lavender Seedlings to the Garden
Section Summary: Transplanting Lavender Seedlings To The Garden
Transplant lavender seedlings after the last frost date to a sunny, well-drained spot.
Harden off the seedlings before planting, dig holes slightly larger than root balls, and space according to the variety. Water thoroughly after planting.
Lavender thrives in full sun and well-drained soil. Ensure proper care by watering sufficiently, pruning regularly, applying organic mulch, and providing minimal fertilization if your soil lacks nutrients.
Wait until after the last frost date in your area before transplanting your lavender seedlings outdoors.
Lavender is a hardy plant, but it’s still susceptible to damage from frost. To ensure the survival of your lavender seedlings, it’s crucial to wait until all risk of frost has passed before moving them outside. Check with your local gardening resources or consult an experienced gardener in your area to determine when it is safe to transplant.
Not sure of your last frost date or your exact growing zone? Try this interactive map that can help you figure out your precise growing zone.

Choose a bright, sunny location with well-draining soil for transplanting your lavender seedlings.
Lavender grows best in full sun, so choose a bright location in your garden that receives at least six hours of direct sunshine daily. Lavender prefers well-drained soil that isn’t too heavy or soggy. If you have rich clay soil, consider amending it with organic matter or creating raised beds to improve drainage.
Harden off the seedlings gradually by exposing them to outdoor conditions.
Seedlings grown indoors need time to acclimate to outdoor conditions before being planted directly into the garden. This process is called “hardening off.” Start by placing your lavender seedlings outside for a few hours each day, gradually increasing their exposure over a period of one to two weeks. This helps them adjust to temperature fluctuations and wind, preventing shock when they are finally transplanted.
Dig holes slightly larger than the lavender root ball.
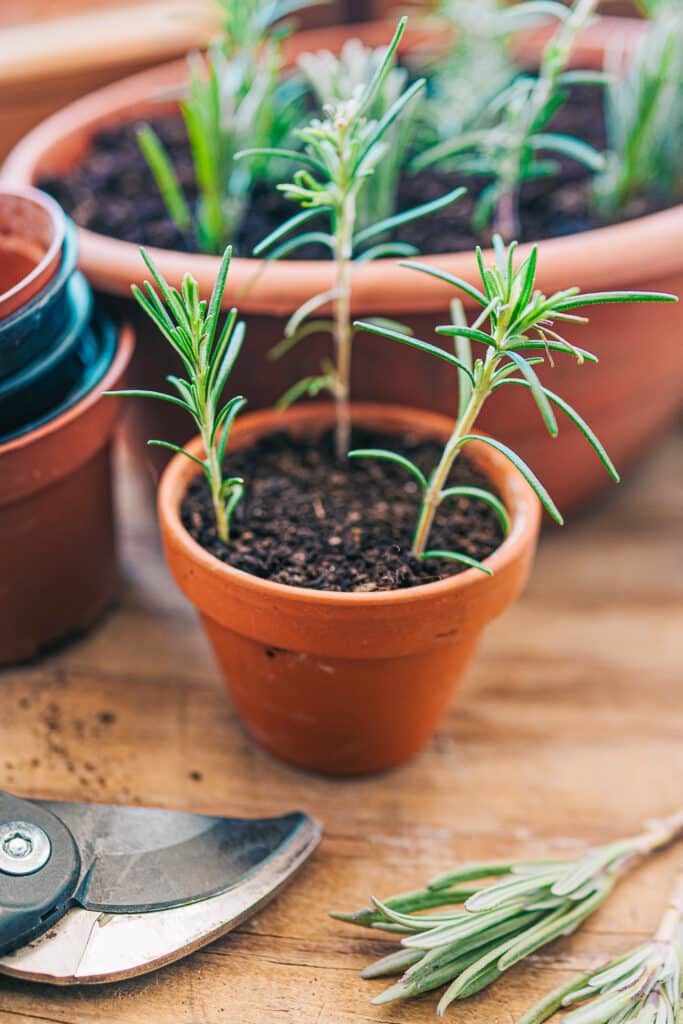
When it comes time to plant your lavender seedlings, dig holes slightly larger than their root balls. That extra space allows their roots to spread and gain a foothold in the soil.
The spacing between each seedling will vary depending on the specific variety of lavender you are growing, so refer to the plant’s instructions or consult a gardening resource for guidance.

Gently place the seedlings into the holes, backfill with soil, and water thoroughly to settle the roots.
Carefully lift each lavender seedling from its container and place it into its designated hole. Be gentle with the plants and roots to avoid bruising or damaging them.
Once in place, backfill the hole with more soil, firming it gently at the base of the lavender seedling. After planting, thoroughly water your lavender seedlings to help settle their roots into their new surroundings.

Maintain proper care for your transplanted lavender seedlings.
After transplanting your lavender seedlings, it’s essential to continue providing them with proper care to ensure their growth and health:
- Water: Lavender prefers dry conditions once established but needs regular watering during its first year. Water deeply but not often to encourage root growth to go deep.
- Pruning: Regularly prune your lavender plants to promote bushier growth and prevent legginess. Remove any dead or damaged stems as well. See our complete guide on how and when to prune lavender.
- Mulching: Apply a layer of organic mulch around your lavender plants to help retain moisture, suppress weeds, and regulate soil temperature.
- Fertilizing: Lavender is a low-maintenance plant that generally doesn’t require much fertilization. However, if your soil lacks good nutrients, you can apply a balanced fertilizer sparingly during spring.
By following these steps and providing ongoing care for your transplanted lavender seedlings, you’ll be well on your way to enjoying beautiful blooms and aromatic foliage in your garden.
For more transplanting tips, check out our full article on transplanting lavender.
More Seed Starting Guides
Are you excited to get all your seedlings going this spring? Check out these articles on starting seeds indoors:
Enjoy the Rewards of Growing Lavender from Seed
Now that you know how to start lavender seeds and transplant the seedlings into your garden, it’s time to get your hands dirty! Gather your supplies, choose a sunny spot in your garden, and let nature work its magic.
Learn More About Growing Lavender
Do you want to grow a lavender garden and not sure where to start? We have everything you need to know broken down into easy guides about everything you need to know to grow and care for lavender. Here are our best guides:
FAQs
Can I grow lavender indoors?
Yes, it is possible to grow lavender indoors if you provide adequate sunlight or use artificial or grow light from lights. However, remember that lavender requires at least 6-8 hours of direct sunlight per day.
How long does it take for lavender seeds to germinate?
Lavender seeds germinate slowly and under ideal conditions it could take 2-4 weeks. However, some varieties may take longer, so be patient and continue providing proper care until they sprout.
Can I sow lavender seeds directly in my garden?
While it is possible to sow lavender seeds directly in the garden bed, starting them indoors gives them a better chance of survival, as young seedlings are more vulnerable outdoors.
When should I transplant my lavender seedlings?
Transplant your lavender seedlings outdoors when they have developed sturdy stems and at least two sets of true leaves. This usually occurs when the seedlings are 6-8 weeks old.
How often should I water my lavender plants?
Lavender plants prefer dry conditions, so it’s important not to overwater them. Water deeply once a week, allowing the soil to dry out between watering sessions. Adjust the watering frequency based on weather conditions and the moisture level of the soil.
Learn More About Seed Starting

Author: Laura Kennedy
Writer & Owner of Little Yellow Wheelbarrow
Laura is a highly skilled gardener and fervent flower enthusiast. Despite her playful battle with plant spacing guidelines, Laura’s work inspires gardeners to create thriving, beautiful spaces that reflect both creativity and sustainability.


