How to Grow Clematis And Keep it Coming Back
Clematis is the Queen of the flowering vines. There are so many clematis varieties in many hues that there is something for every garden. So if you’re wondering how to grow clematis vines in your garden this summer, we have all the information you need to start new plants in your garden and give them the very best start.
Growing clematis isn’t tricky; there are just a few environmental factors required to grow vigorous, healthy plants that bloom abundantly:
Choose clematis varieties that are suitable for your zone. Plant in full sun to partial shade and provide rich, well-draining soil with proper support (like a trellis). Finally, deal with pests and diseases as soon as possible and prune away any dead wood you find.

Choose the right varieties of clematis for your Growing zone
The first step to growing clematis is choosing a variety that is right for your growing zone. Many types are hardy to zones 4-9, but a few can be grown in colder areas, three winter zones.
If you are unsure of your growing zone, you can check here for your worldwide growing zone and USDA equivalent.
Clematis Recommendations for Each Blooming Season:
Clematis also have varieties that bloom in different seasons. Here are a few of our suggestions for other bloom times during spring and summer:
- Spring blooms: Like C. alpina with rich purple flowers and C. Montana with light pink flowers. Hardy to USDA zone 6-9.
- Early summer blooms: C. henryi with white blooms and C. x jackmani in blues to purples. Hardy to USDA zone 4-11. Or the popular “Nelly Moser” with dark pink petals with light pink centers.
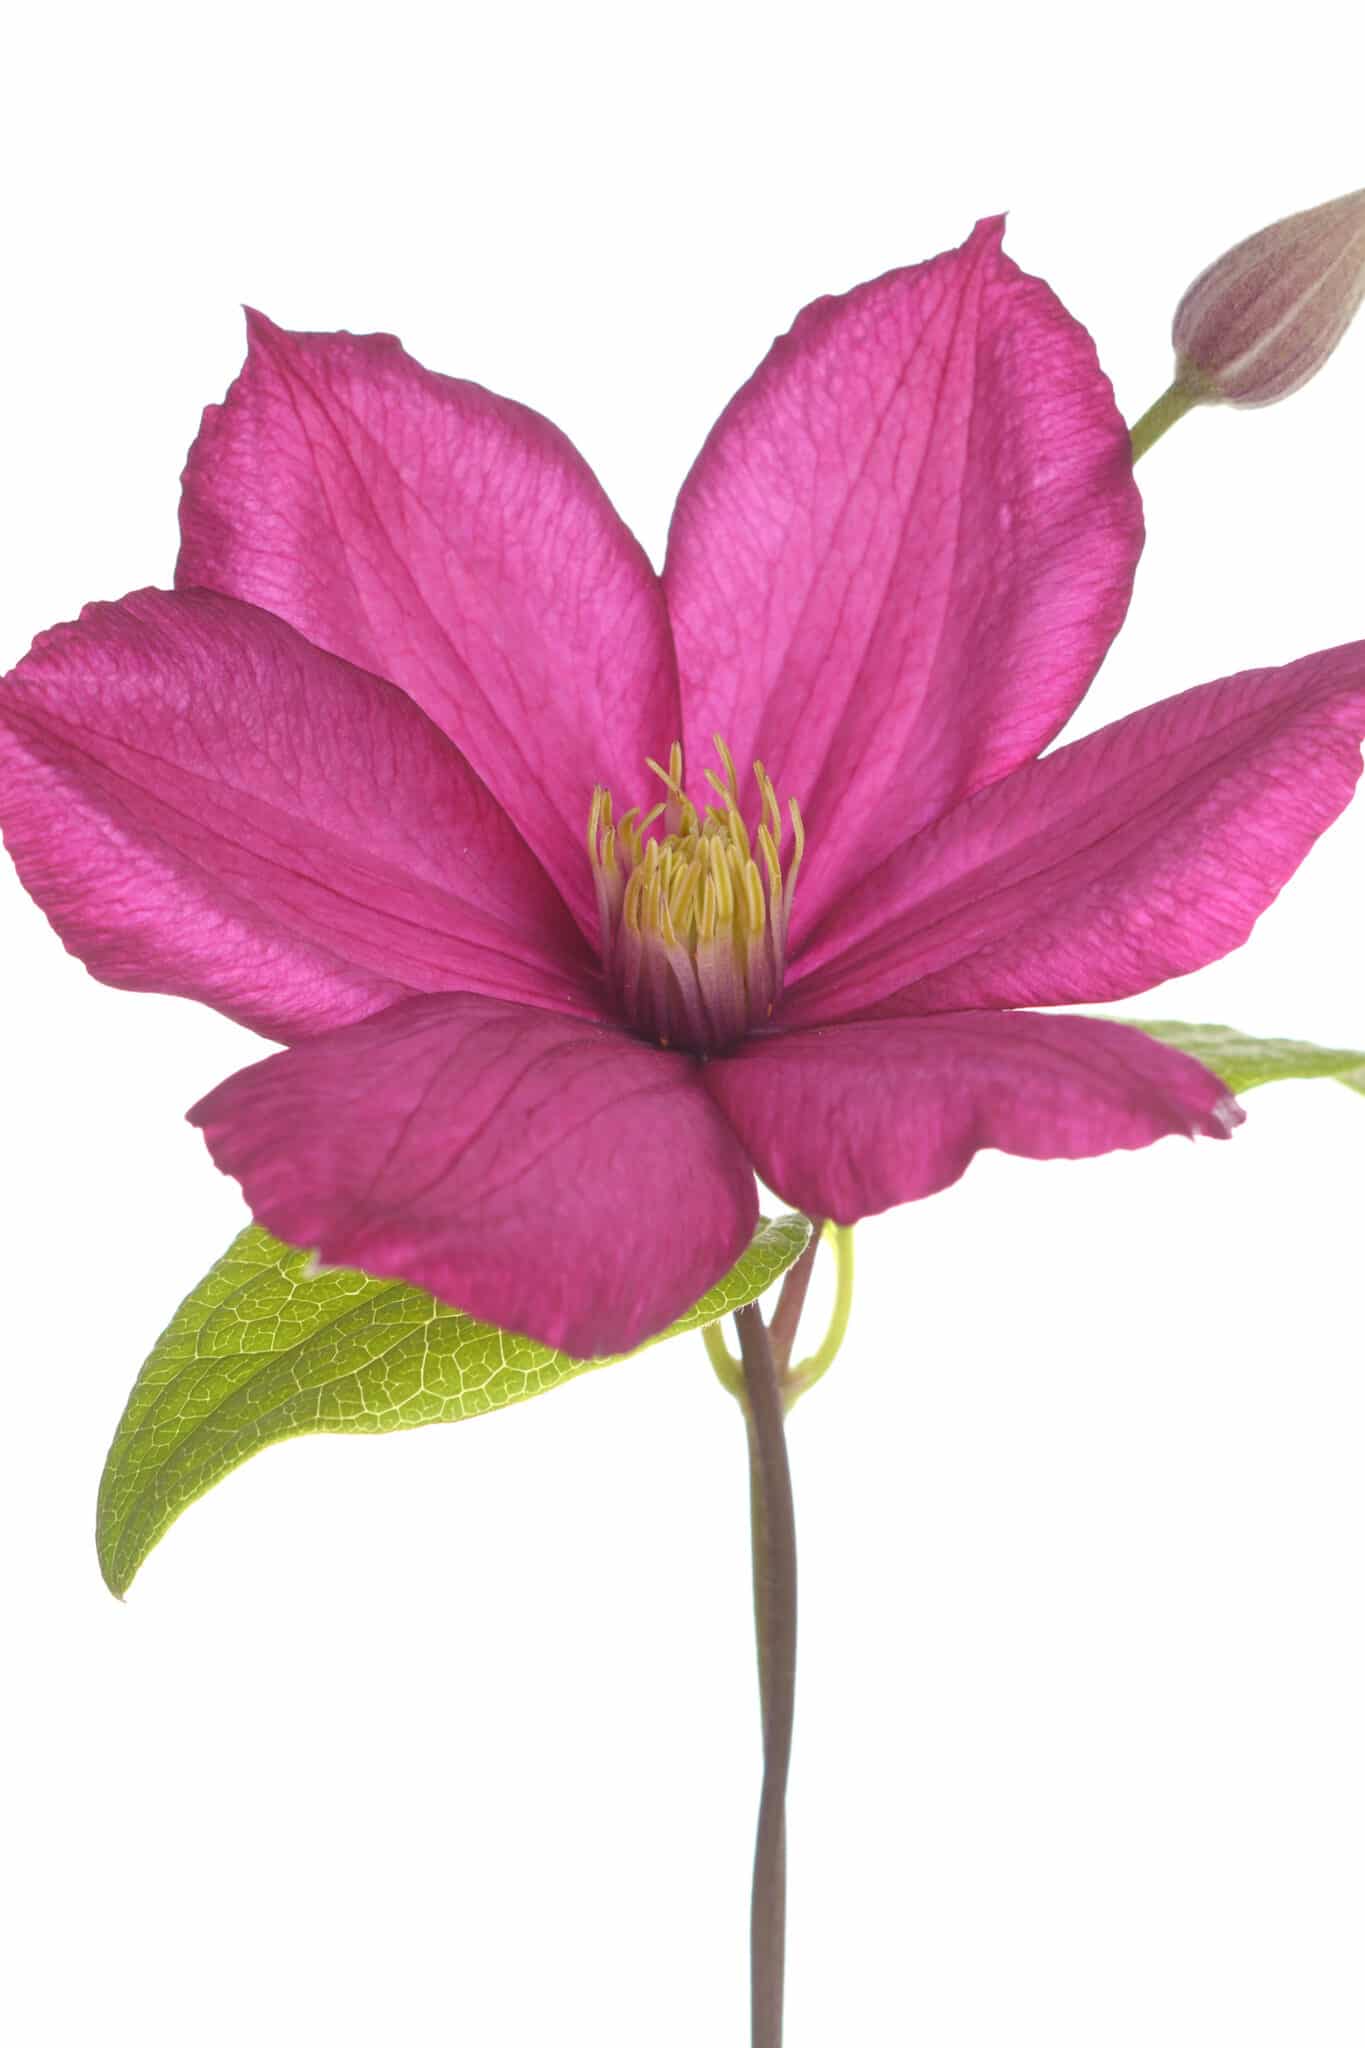
- Late summer blooms: Try C. tangutica with its beautiful golden yellow showy flowers and my personal favorite, “Ville de Lyon” with its deep perfect reddish-purple flowers, it’s truly a showstopper. Hardy to USDA zones 4-11. Sweet autumn clematis is another incredibly showy plant with loads of small white flowers with a heady scent
Cold Winter Zone Clematis Recommendations:
There are also types of clematis that are hardy to zone 3. These clematises are usually in the Class C types that produce flowers on new wood and get sheered to the ground in fall. If you are in zone three, you can try these winter-hardy varieties:
- Blue Bird – Purplish-blue.
- Blue Boy– Silvery blue.
- Ruby clematis – Mauve-red.
- White Swan- Creamy white.
All clematis can be grown as ground cover, but they look much more stunning climbing an arbor, trellis, or porch supports. Planting clematis near a trellis or archway is a great way to add height to your garden. There are many varieties available in numerous hues, single and double flowers, small petite flowers to large dinnerplate blooms – there is something for everyone in the clematis species.
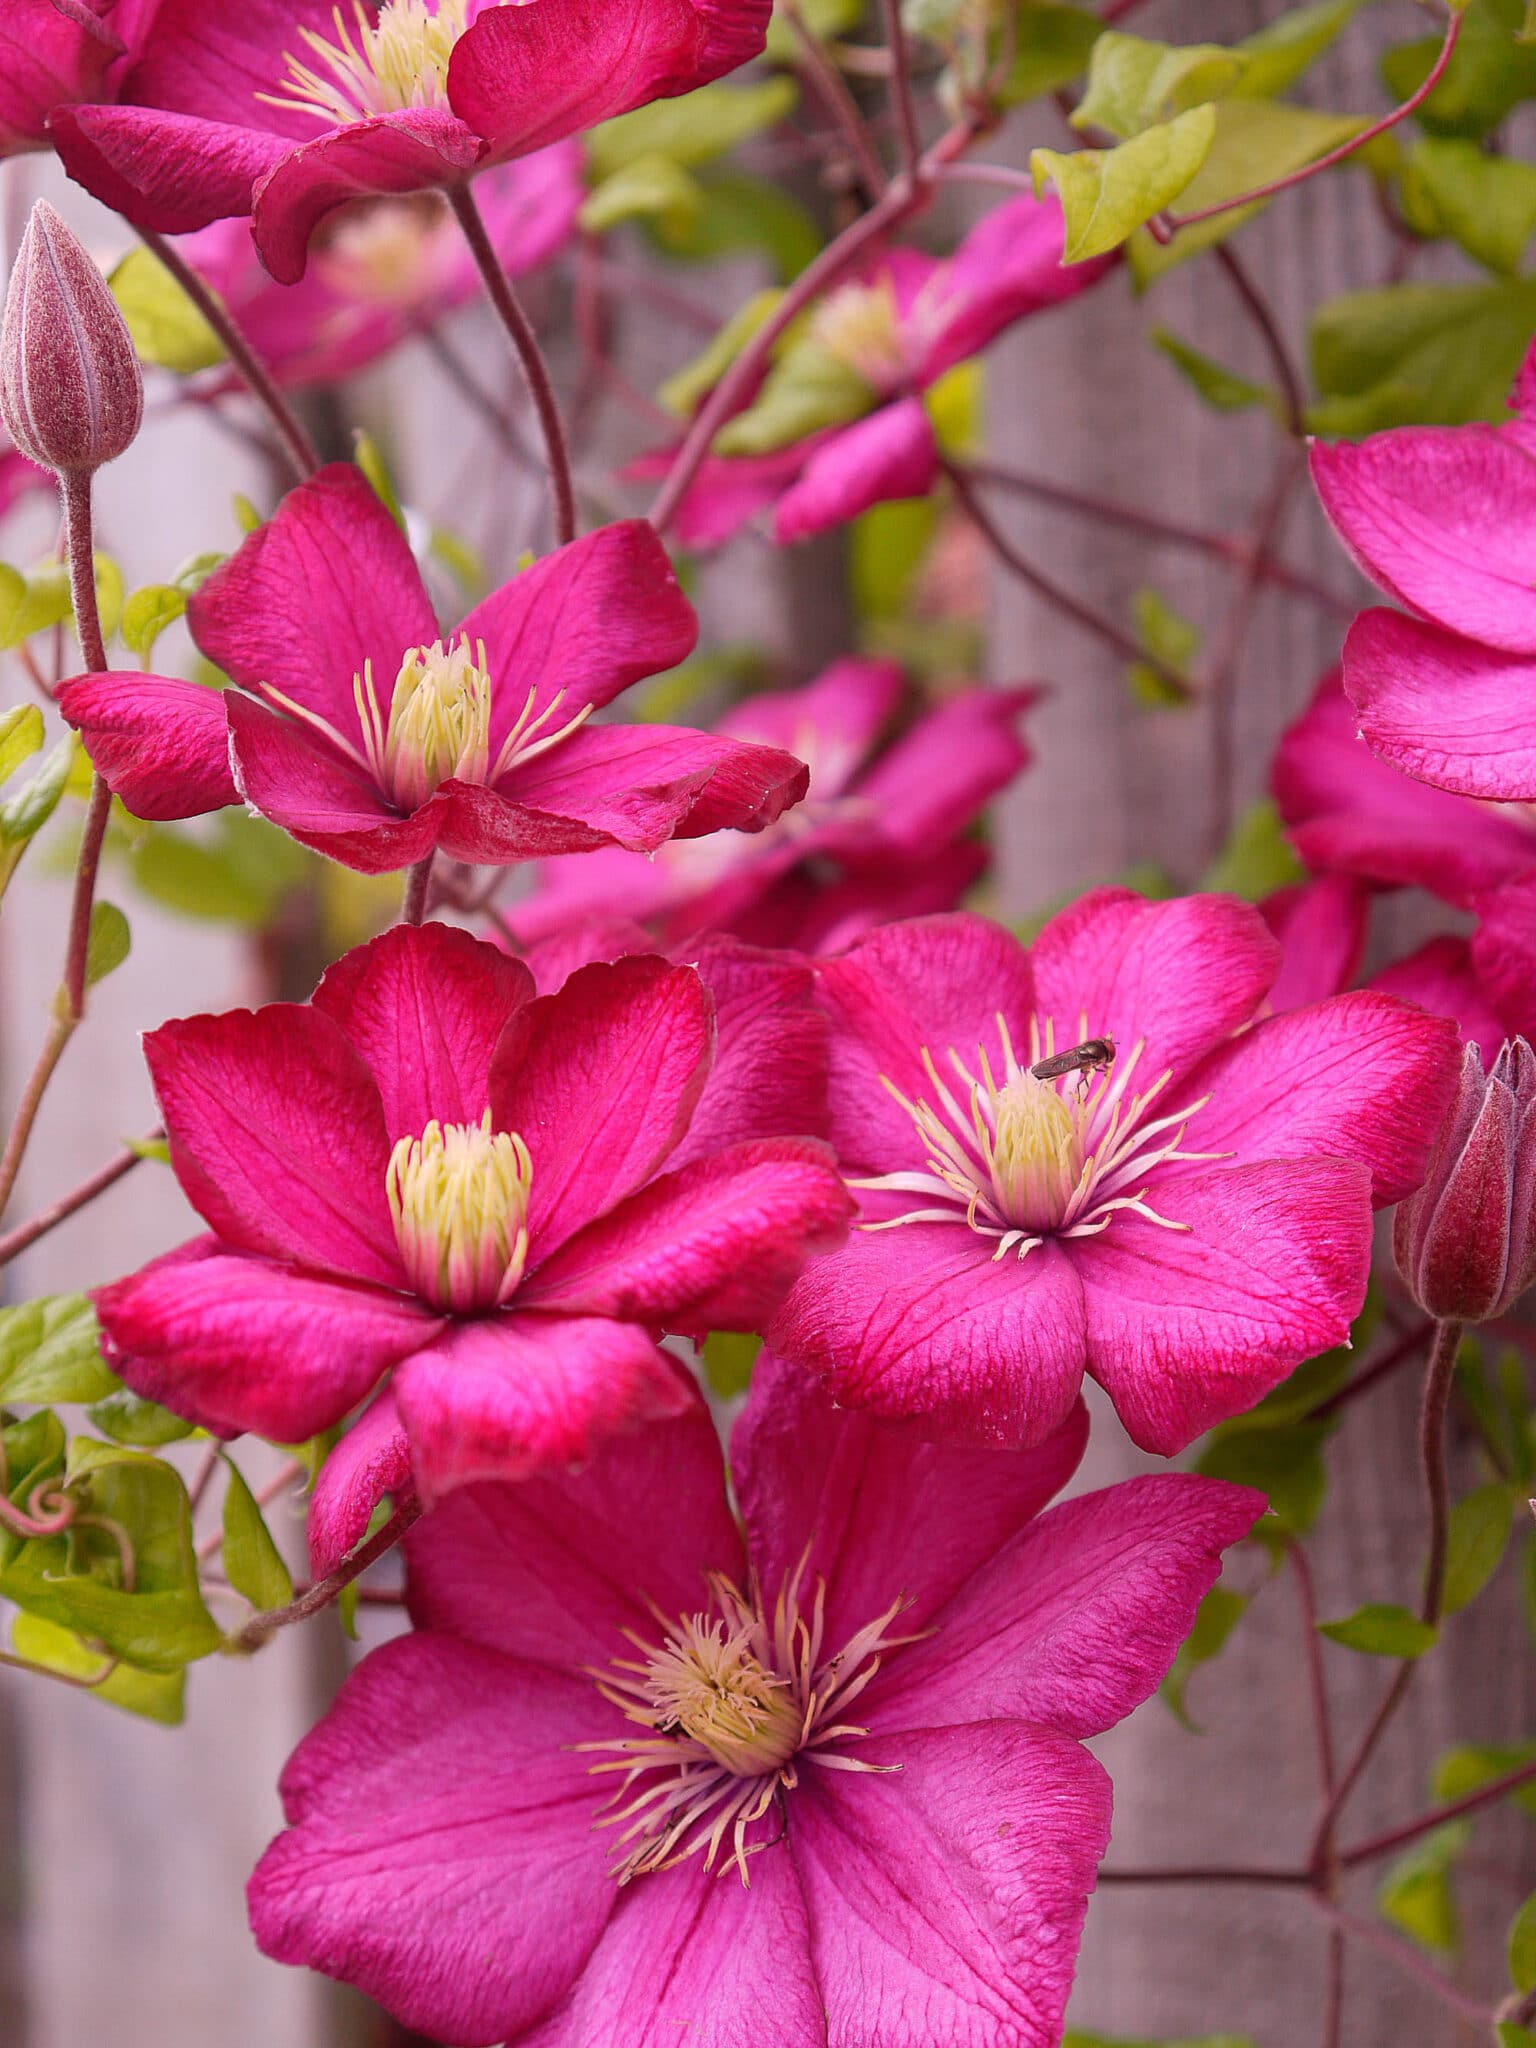
Step 1: Pick a growing site with lush fertile soil & lots of sunlight
Clematis require full sun and evenly moist but well-draining, fertile soil. The soil should also be slightly acidic. They grow better if their flowers are in the sun, but their roots remain in the shade. The plants are not drought tolerant and will wilt significantly if not provided with adequate water.
When to Plant a Clematis
You can plant new plants purchased from the garden center in late spring after the last possible frost in your region. First-year plants will likely not bloom, but new growth will be dramatic. Clematis is a vigorous grower and will put on a significant amount of foliage the first year.
- Hardiness Zones: Most clematises are hardy to zones 4-9 although there are a few that are hardy to zone 3.
- Best time to plant: In early spring, or early fall.
- How deep to plant: Clematis prefer to be planted so the crown of the plant is at least 3-4 inches below soil level. Clematis roots are large, so be sure to dig a hole large enough to not damage the root ball.
- Hours of sunlight: At least 3-4 hours of early morning sunlight is best.
- Soil conditions: Slightly acidic fertile well-drained soil.
- Bloom times: From spring to late summer, and some varieties even bloom well into fall.
Learn More: Clematis likes to have its roots in shady areas and you may want to plant a few extra flowers around the base to have it look its best. We have a list of 14 shade flowers that will grow right along with your clematis.
Step 2: Plan For at least one inch of water a week
Clematis require evenly moist water during the growing season and do not work well during droughts. Plan for at least 1 inch of water a week either through rain or manual watering. In hot, dry zones or warm summers, clematis may require more water. It is essential to keep a close eye on your Clematis plants during the summer heat when drought conditions can cause stress to the plants and make them more respectable to diseases like wilt.
Step 3: Fertilize at the start of spring and then every 4 weeks
Clematis plants are very heavy feeders. Therefore, you will need to supply a low nitrogen fertilizer such as 5-10-10 in spring when buds are new and about 2 inches long. Then, additional feedings every four weeks with a balanced fertilizer until the end of the growing season, will ensure the plant has what it needs to flower and grow.

Step 4: Prune Your Clematis Vine to Keep it Healthy
There are different types of clematis based on their bloom time and pruning requirements, and it is essential to know what type you have to ensure pruning happens at the right time of year.
Pruning clematis prevents the vines from turning into a tangled mess, which can inhibit growth and blooms.
- Class A – Early bloomers that flower on old wood generally do not require a significant amount of pruning other than to trim to keep them under control. Class A clematis should be pruned immediately after flowering if required. Remove winter-damaged branches only after the danger of frost has passed in late spring.
- Class B – Class B plants bloom off both old and new wood and include the huge flowering species that begin to bloom in June. These types of flowering vines may require a hard prune if needed, but generally only need light pruning to remove the dead stems. Prune in late winter or in early spring before new growth begins.
- Class C – Class C plants produce flowers off new wood. These are pruned to the ground in fall or early spring and can start blooming in early summer and continue to bloom until the first frost. Prune in late winter or spring when buds show signs of growth.
Step 5: Deal with pests as soon as you find them
Fortunately, clematis plants do not have many pests that cause them much damage. However, there are a few challenges that you could encounter with your clematis over the growing season.
Slugs Can Be a Problem For New Plants
Slugs, for instance, will go after the young plants because the leaves are at ground level. They will attack young shoots aggressively, so it is a good idea to put out slug bait in early spring to protect the tender plants from being eaten. Once the clematis establishes itself, slugs tend to leave the plant alone.
Small Mammals Can Wreak Havok on Your Newly Planted Clematis
Rabbits and chipmunks can also be a problem for new shoots in early spring. If you have a problem with small mammals eating your clematis, it’s a good idea to protect the plant with a cloche or with some chicken wire tall enough that the rabbits or chipmunks cannot get at the plant.
The excellent news is clematis is somewhat deer resistant.
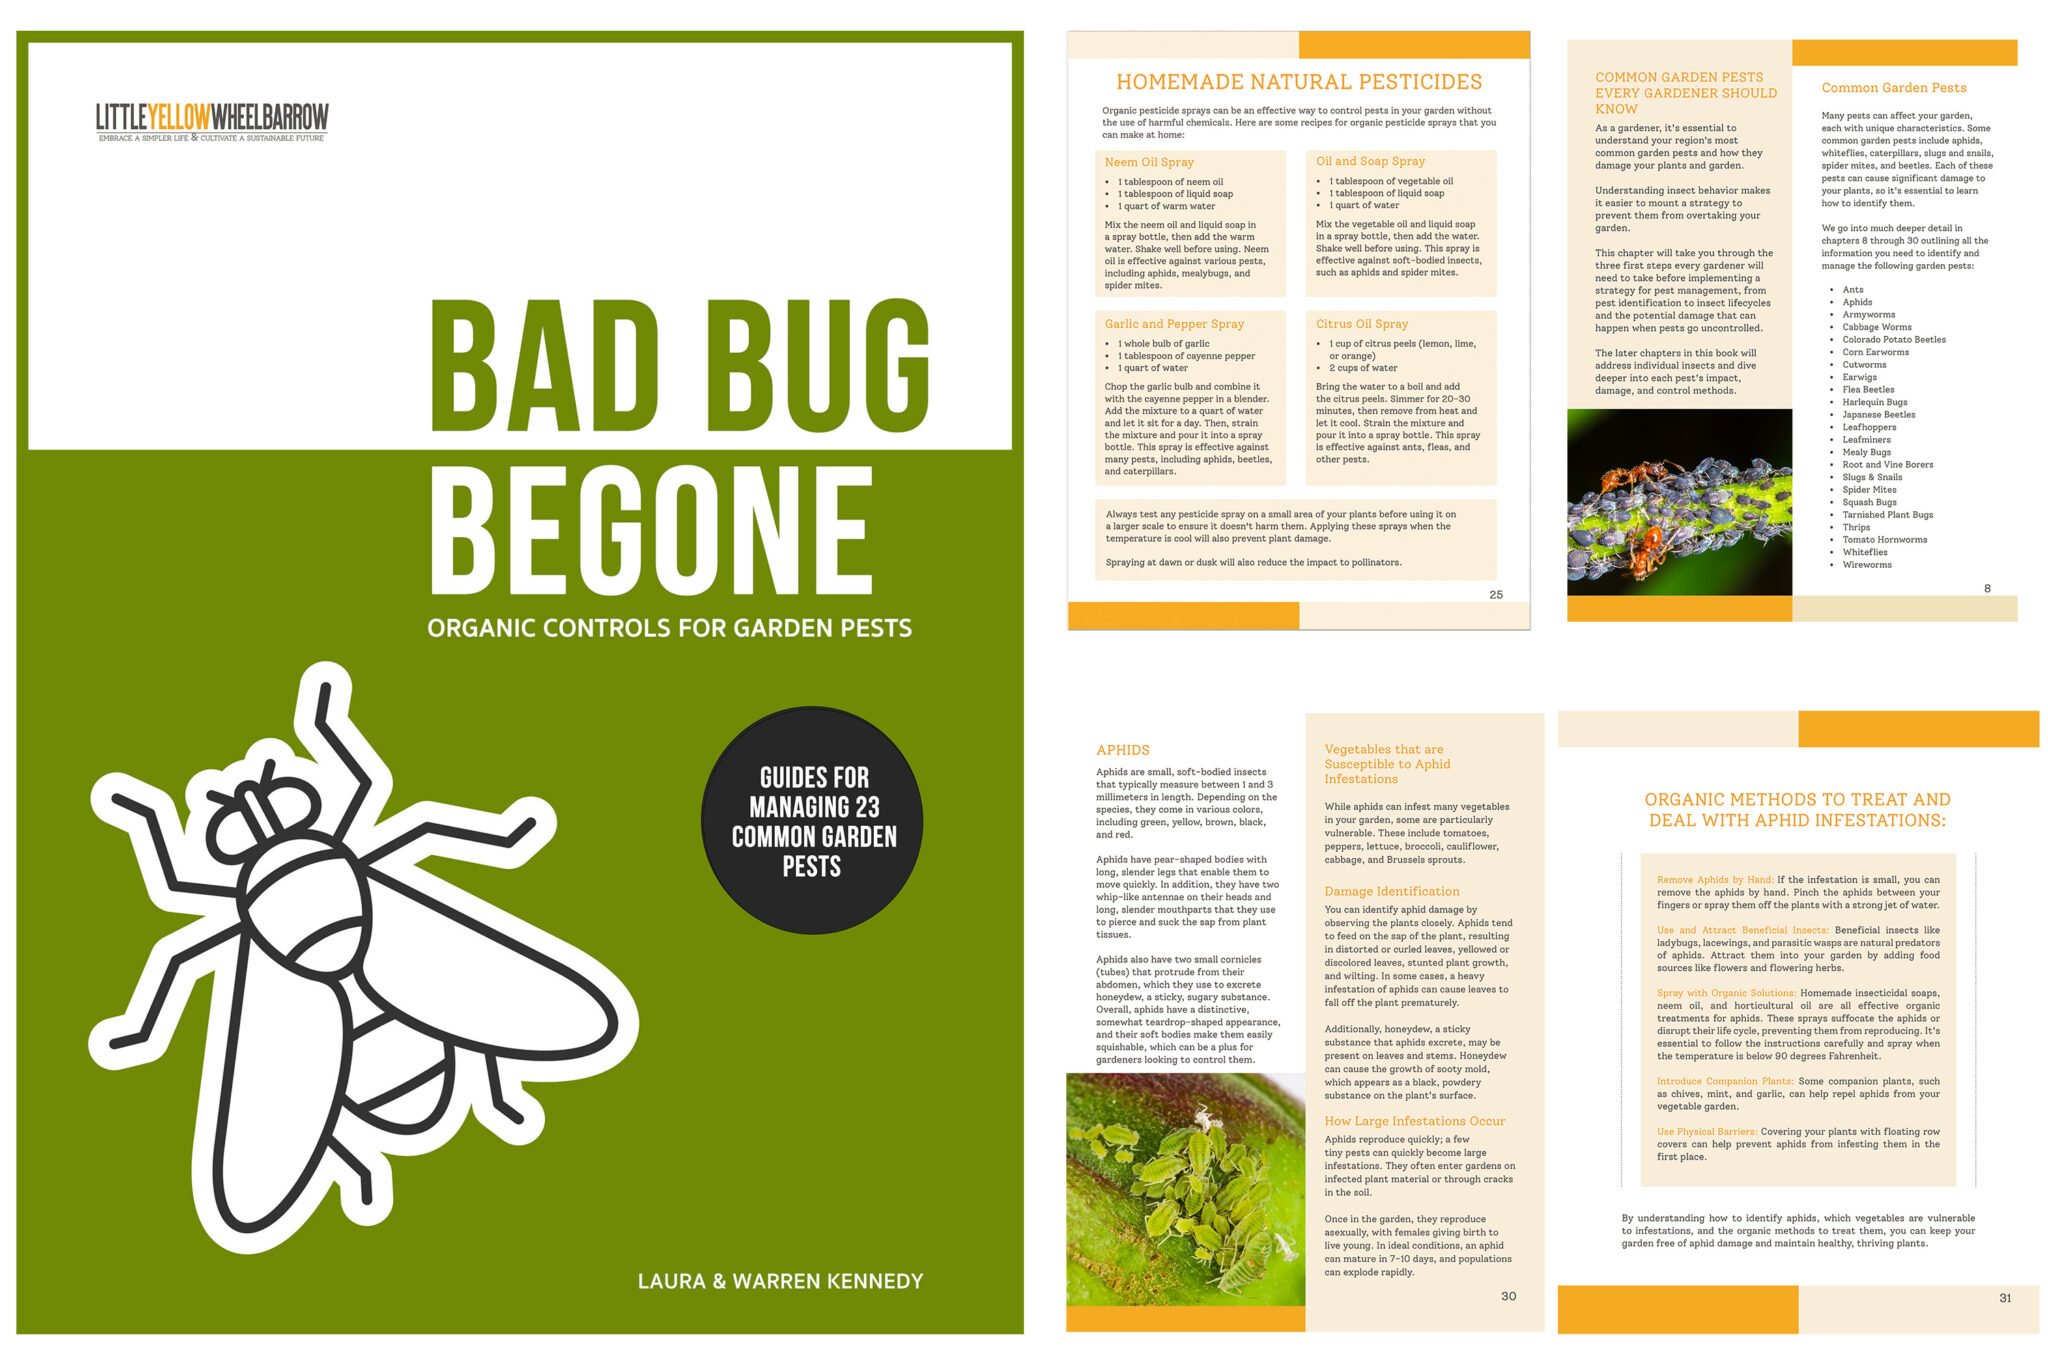
BAD BUG BEGONE!
$5.99
Are harmful insects running your gardening season?
Our guide to organic pest control methods offers practical solutions for dealing with common garden pests without using harmful chemicals. With step-by-step instructions and easy-to-follow tips, you’ll learn how to create a pest-resistant garden that is safe for your family and the environment. A great on-hand resource for any gardener!
A must-have resource for Gardeners
Our digital e-book is for you if you’re a home gardener passionate about growing healthy, pesticide-free plants! Over 100 pages of organic pest management information are perfect for beginner gardeners and pros alike.
Step 6: Address diseases swiftly to prevent spreading
There are only a handful of diseases that will impact your clematis vine.
Powdery Mildew
Fungal diseases can affect clematis plants, and the primary one you will see the most is powdery mildew. Powdery mildew will present on leaves like a white powder. Watch out for fine mildew development during hot, humid weather. If left untended powdery mildew will kill the leaves and eventually stunt the growth of your clematis plant.
Preventative measures are best to prevent powdery mildew. Be sure to keep plants at least 36 inches from each other to allow adequate air circulation. Do not overwater or leave standing water anywhere near your plants, the plants like moist soil but do not like being soggy wet. Be sure to clean up any debris in the garden as well. Debris infected with powdery mildew can blow around and contaminate other areas of your garden.
Clematis Wilt
A fungus causes clematis wilt. The fungus usually enters the plant through a wound made by an insect or a cut. It’s spread by water splash and blocks water uptake in the stems, causing instant collapse and death of the plant. There is no cure for clematis wilt, but you may be able to save the plant with aggressive pruning to remove all the infected plant parts. Destroy the removed plant parts, do not compost.
The best prevention against wilt is to water from below to avoid splashing. In addition, keeping the garden tidy and removing all debris will help keep diseases down and prevent them from spreading.
Step 7: Pair your Clematis with Companion Plants
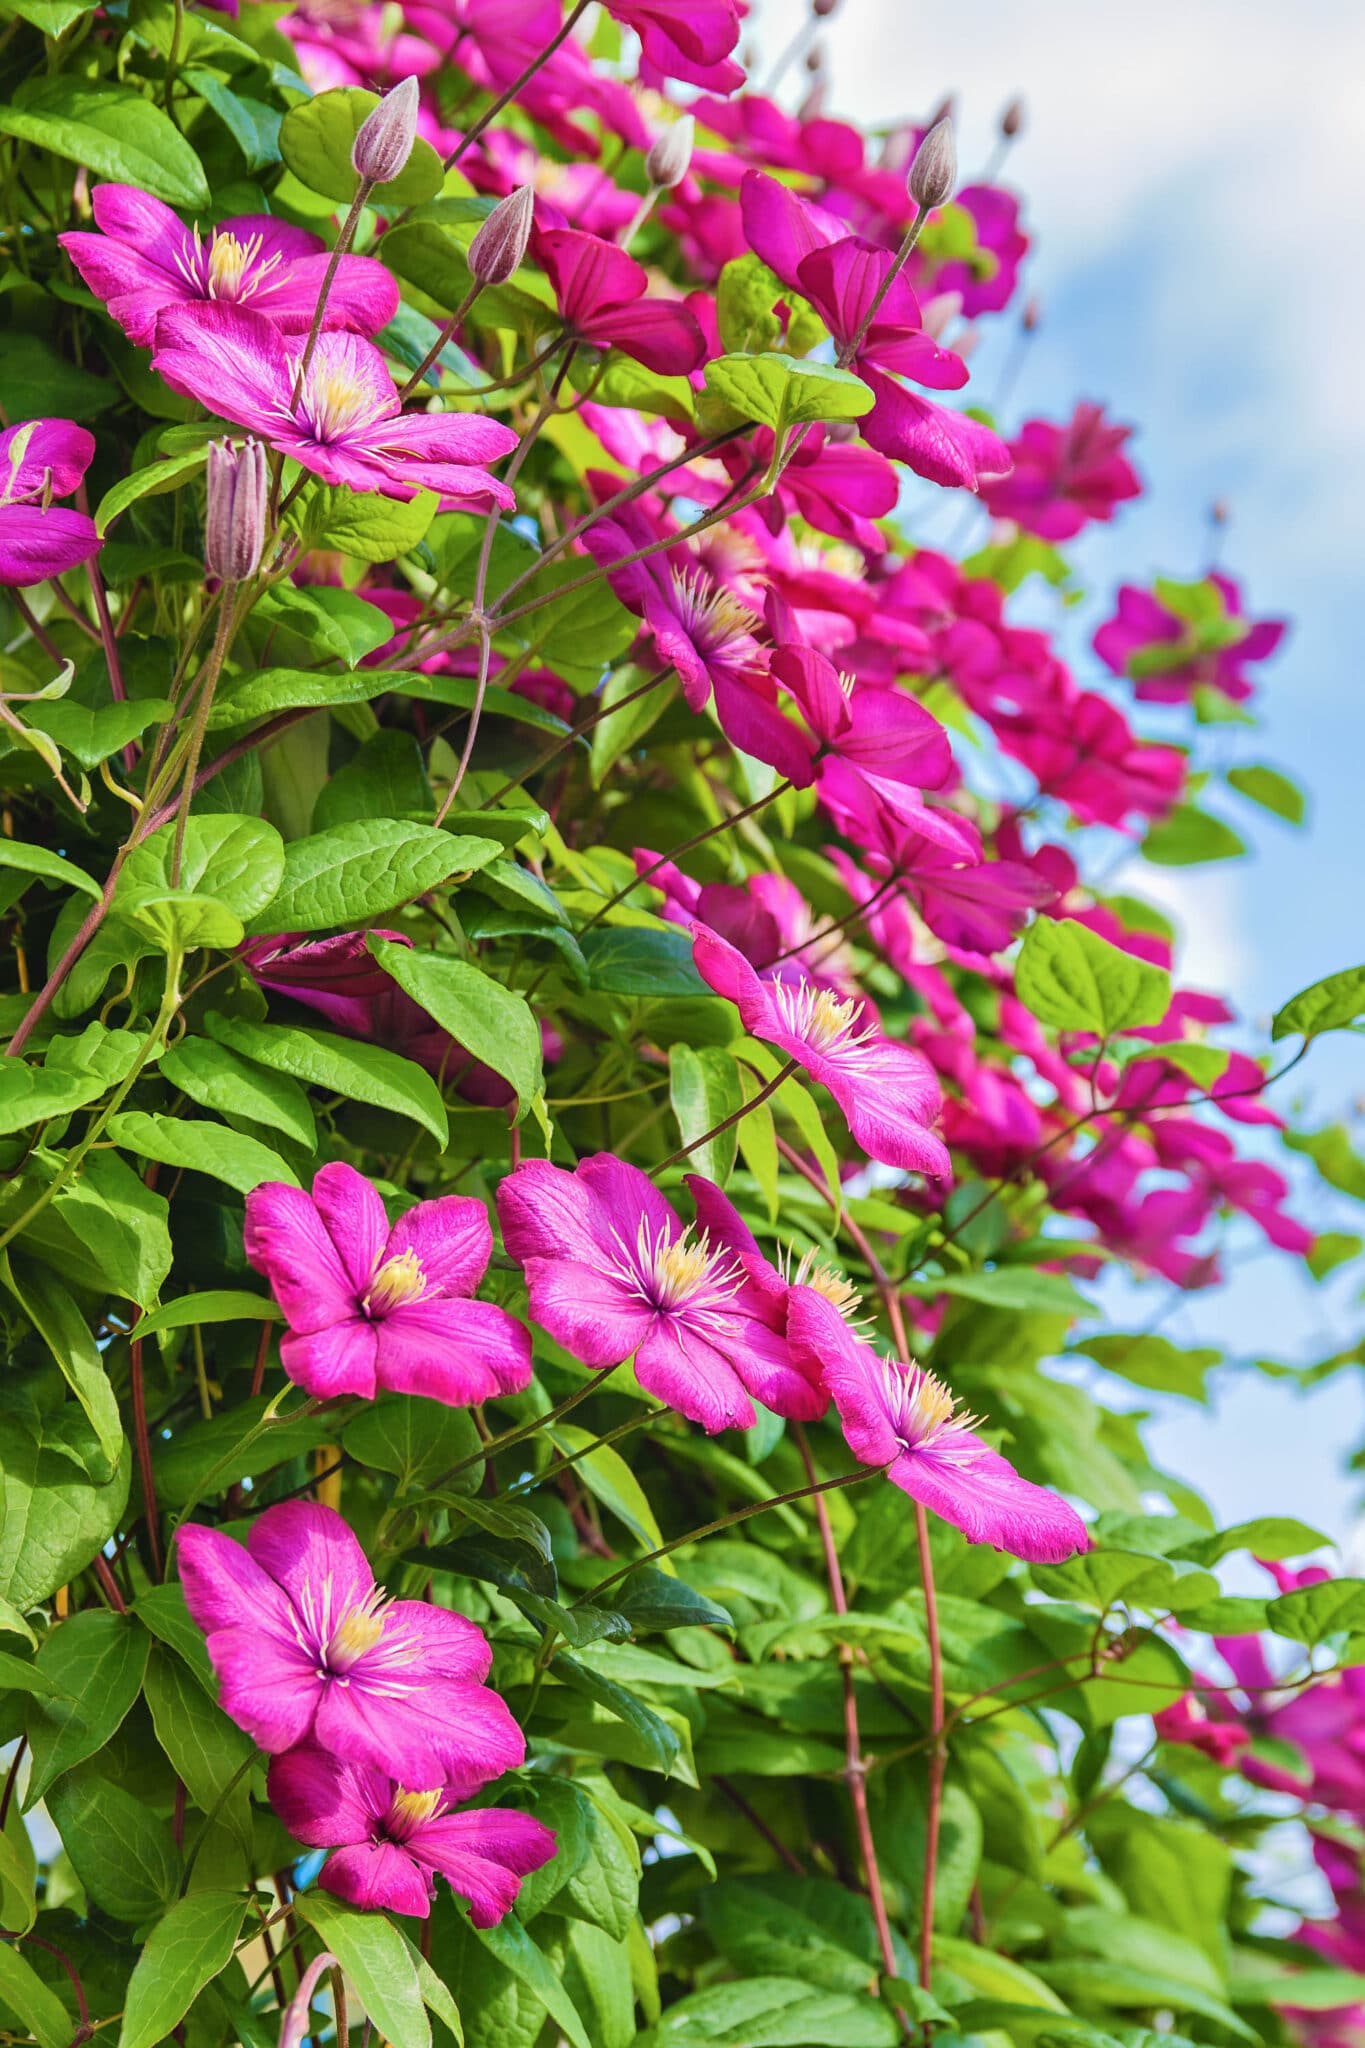
Clematis has many companion plants, but two different types of plants make the perfect pairing for the flowering vine:
Ground Cover Roses & Flowering Shrubs: Clematis looks incredible growing over shrubs and ground cover roses. The flower scrambles over the tops and adds additional color and texture to the landscape.
If you’re interested in pairing your clematis with roses or other flowering shrubs, we have posts that you may want to check out:
Shade-grown vegetables: Clematis also pairs exceptionally well with shade-grown vegetables. Ornamental and edible plants look great together, creating an attractive potager look. In addition, shade vegetables like lettuce make an excellent living mulch at the base of the plants, which helps keep the roots cool.
We have an entire article listing the best shade vegetables you can grow in your garden, and all of them would pair well with clematis:
Step 8: Propagate your clematis
Propagating clematis from seed is challenging. It could take up to 3 years for seeds to germinate. Therefore, it is best to take a cutting or buy plants at your garden center in spring or just before fall.
The best way to propagate clematis is by taking softwood cuttings in late spring. Remove a section of new growth from the stem and place it in a compost container covered with a layer of fine grit. Water and cover with a clear plastic bag to help keep and retain moisture. Move the pot to a sunny window or somewhere the plant will receive at least 4 hours of sunlight a day.
It can take up to 3 months for clematis to root, and there is no guarantee your cuttings will be successful. To improve the chance of probation by cuttings, use a root stimulator and take a few cuttings to increase your chances of success.
Step 9: Take cuttings for floral arrangements
Clematis blooms make lovely cut filler flowers for arrangements and bouquets. The flowers will last 5-8 days, depending on varieties, if some of the old wood is cut with each spray. Cut sprays when newly opened or just before petals unfold. Smaller blooms should be cut when more than 1/4 of the flower is open.
Split woody stems by cutting directly up the center of the stem about 3/4 of an inch. Splitting will provide more water to the flowers and keep them fresher for longer.
- Learn More: If you’re interested in cut flowers, check out our post on starting your very own cut flower garden.
Step 10: Prepare your clematis for winter By Deadheading
Winter preparation for clematis starts with deadheading in fall. Next, clean off the spent clematis flower using a sharp, clean pair of gardening shears. Also, remove any damaged or dead vines you come across. It is also important to mulch your clematis plants, especially in colder zones. You can start to mulch as soon as the ground begins to freeze. Use straw, bark, dry leaves, or any other organic materials to mulch to a depth of at least 3 inches around the base of the plant.
The mulch will act as an insulator and protect the plant from harsh winter temperatures.
Looking for More Flower Inspiration?
We have guides and information on all types of flowers for your landscaping needs:


