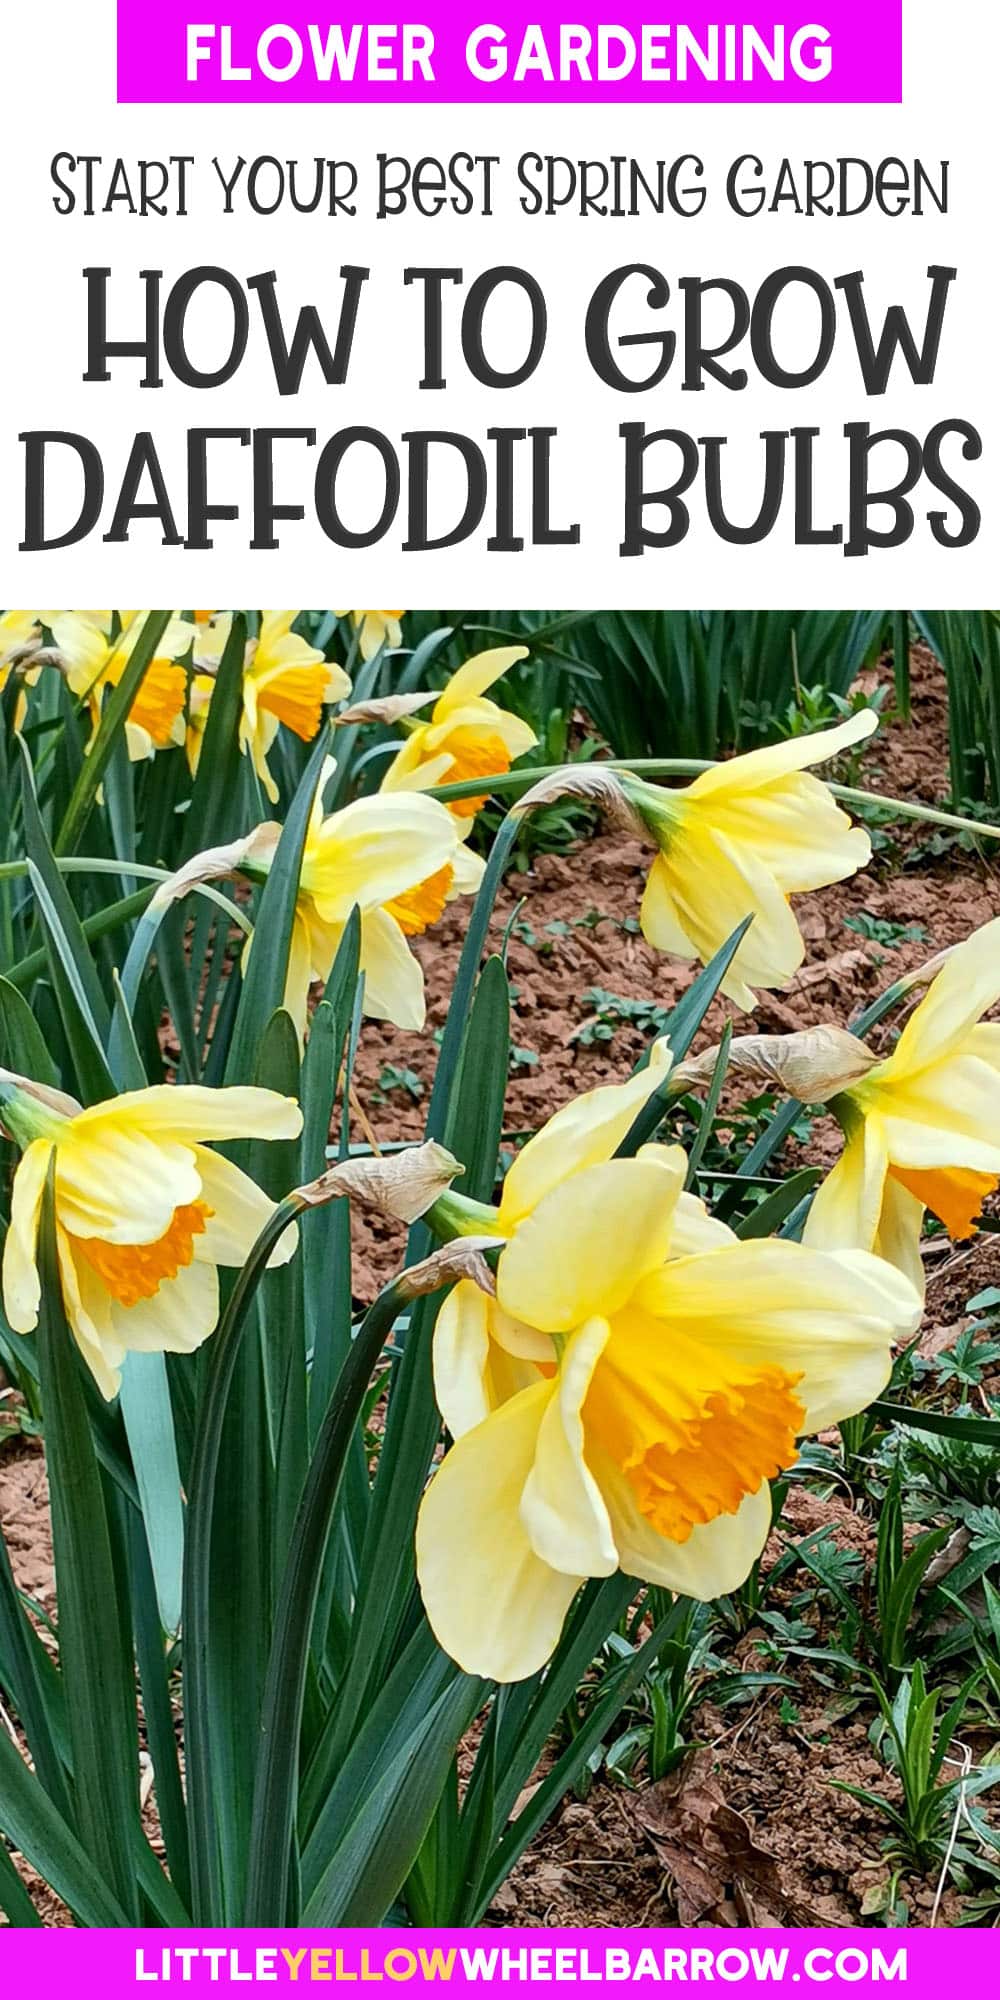
How to Grow Daffodil Bulbs from Bulb To Bloom


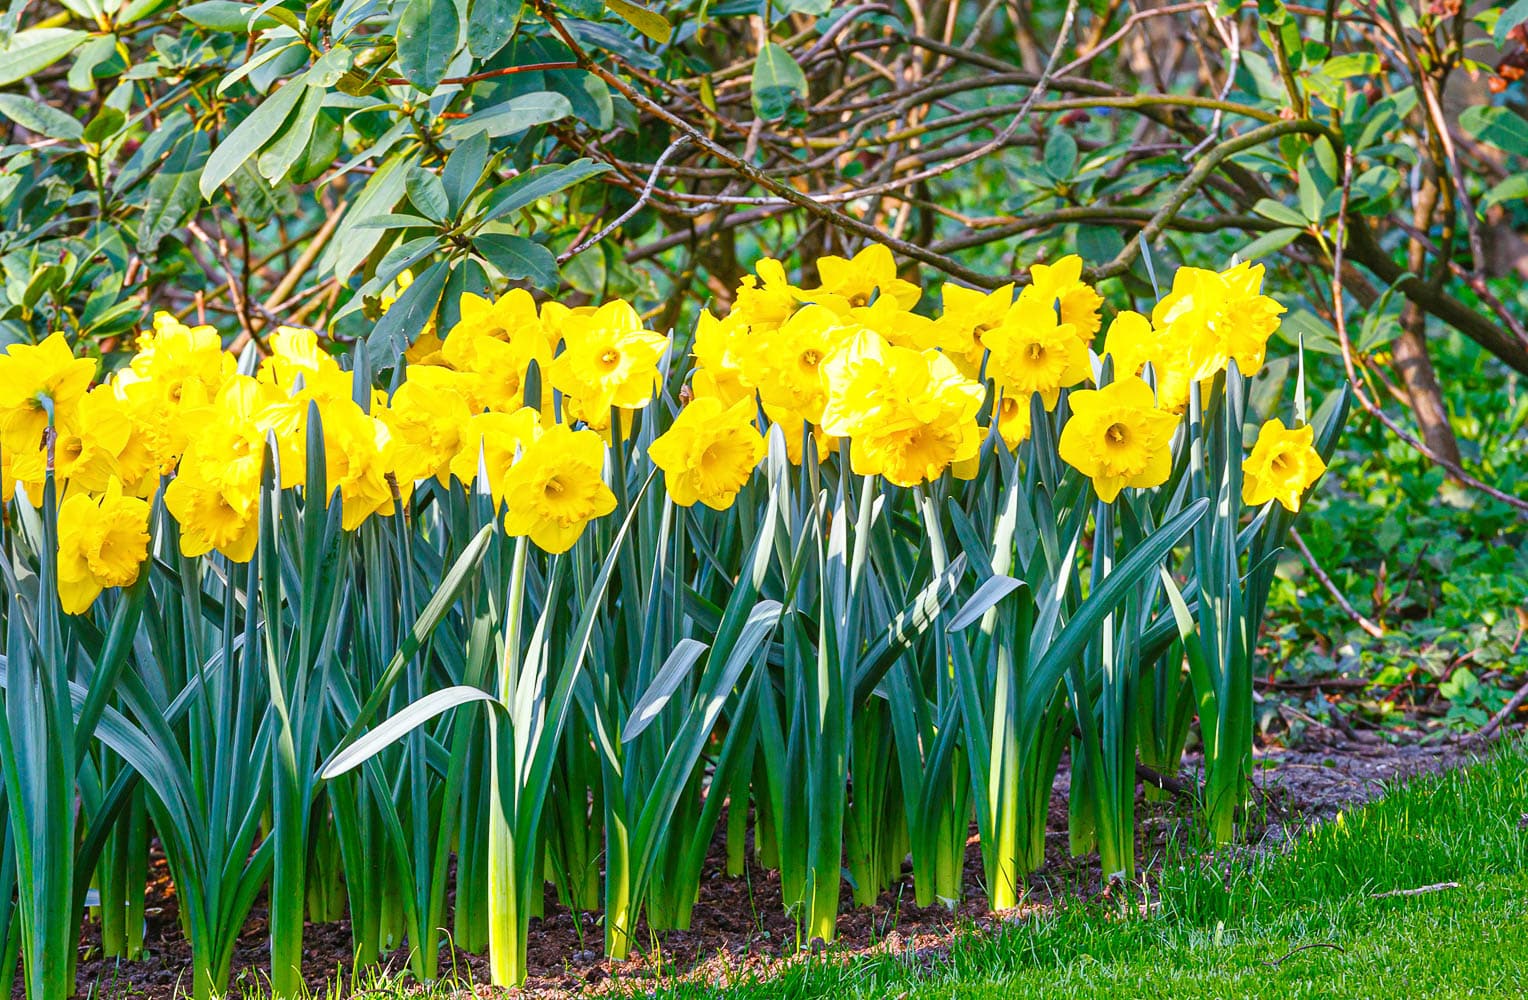
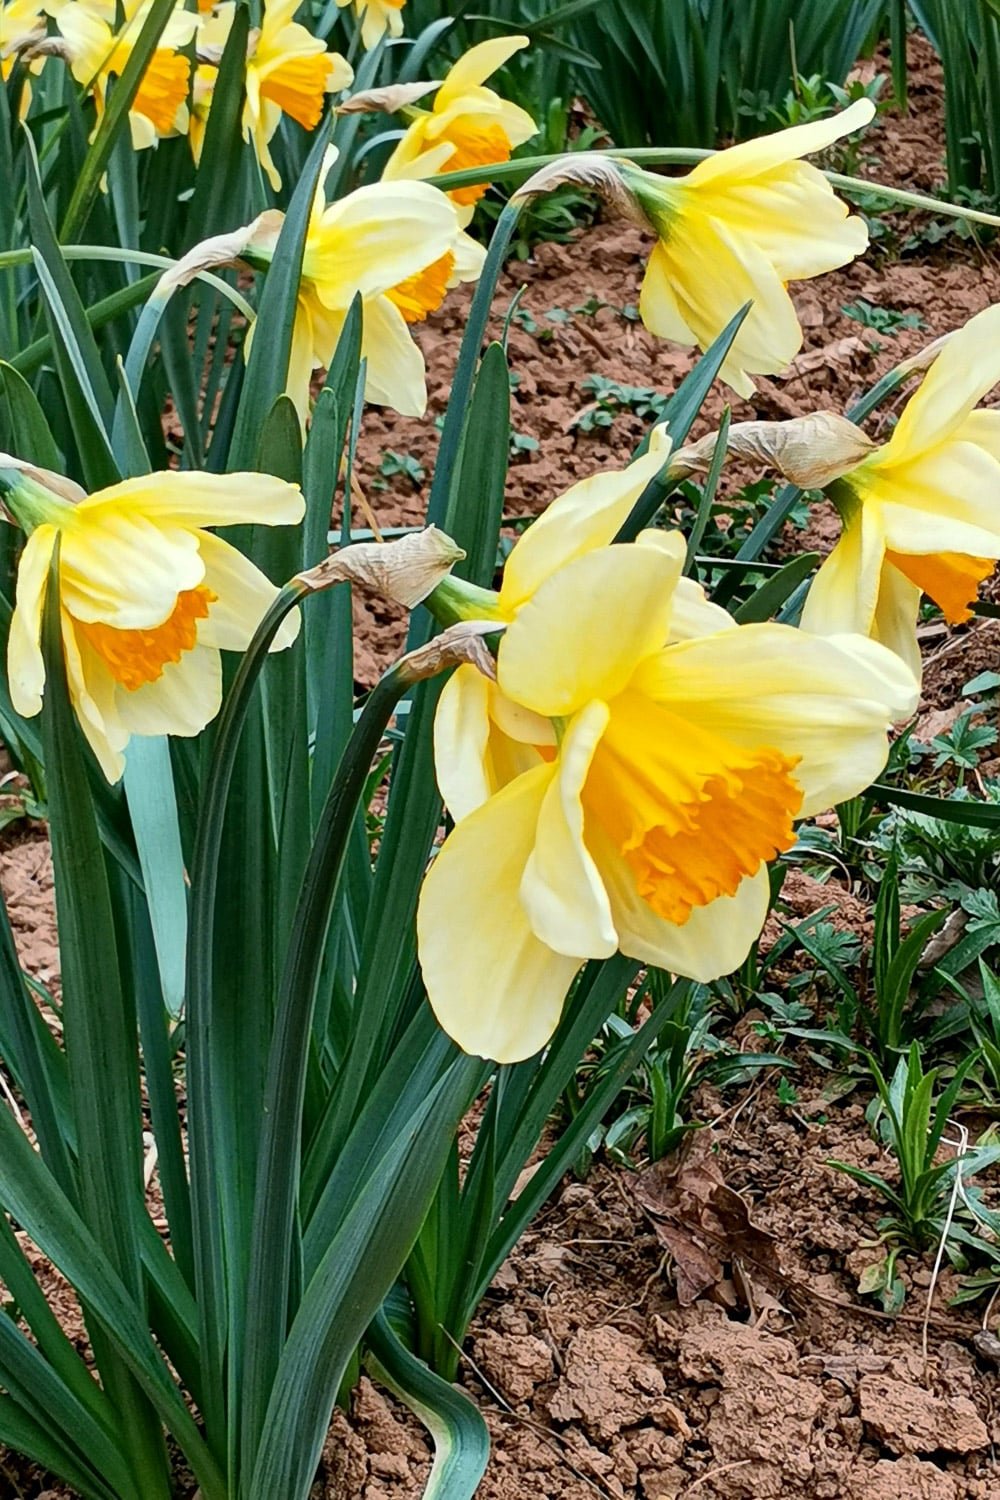
Did you know that daffodils, those vibrant early spring flowers, symbolize new beginnings and the arrival of spring? It’s true! These trumpet-shaped blooms add beauty to any early spring garden. But here’s an even more surprising fact: Some daffodils are known for their delightful fragrance, which can improve your mood and reduce stress, and I can’t think of a better reason to plant hundreds of daffodil bulbs for next spring.
Planting daffodils is the perfect solution to add color and joy to your outdoor space. These perennial bulbs come in various colors and sizes, allowing you to create stunning displays year after year. And the best part? Daffodils are incredibly easy to grow and require minimal maintenance.
So, let’s roll up our sleeves, dig around in some dirt, and get these happy flowers planted!
- Learn More: Having a tough time deciding which variety of daffodil to grow? Check out our full guide to daffodil colors.

Best practices for planting daffodil bulbs
Planting daffodil bulbs is a rewarding and enjoyable experience that can bring vibrant color to your garden. Following these best practices, you can plant bulbs that ensure successful growth and beautiful blooms.
Choose healthy, firm bulbs without any signs of damage or decay.
It’s crucial to choose daffodil bulbs that are in good condition. Look for bulbs that are firm to the touch and free from soft spots or mold. Avoid bulbs that show damage or decay, as they may not produce healthy plants. Opting for high-quality bulbs will give your daffodils the best chance of thriving.
Related: Looking for more flowers to grow from bulbs? Check out this guide to growing crocus from bulbs!

Tips To Pick Healthy Daffodil Bulbs
- Season: Purchase bulbs in late summer or early fall for planting in the fall.
- Size: Opt for larger bulbs as they produce larger and healthier flowers.
- Weight: Bulbs should feel heavy for their size, indicating good moisture content.
- Skin: Look for bulbs with dry, papery outer skin that is intact and free from blemishes.
- Color: Healthy daffodil bulbs are usually brown or tan, not soft or mushy.
- Avoid Softness: Avoid bulbs that feel soft or squishy, as they may be diseased or rotting.
- Inspect Roots: If possible, check for healthy roots emerging from the bulb’s base.
- Purchase from Reputable Sources: Buy bulbs from reputable nurseries or garden centers to ensure quality and authenticity.
- Plant Promptly: Plant your daffodil bulbs immediately after purchase to prevent deterioration.
Select a well-draining location with full sun or partial shade for optimal growth.
Daffodils prefer well-draining soil to prevent waterlogging, which can lead to bulb rot. Choose a location in your garden that receives full sun or partial shade throughout the day. This will provide the ideal conditions for their growth and ensure they receive adequate sunlight to fuel photosynthesis. It’s important to note that daffodils may struggle in areas with excessive moisture or heavy clay soils, so selecting the right spot is key.
Dig a hole two to three times deeper than the bulb’s height.
Affiliate Disclosure
This post may contain affiliate links. If you click one and purchase, I may receive a commission at no additional cost. You can read our disclosure policy here.
Dig a hole two to three times deeper than the bulb’s height to give your daffodil bulbs enough space to establish roots and grow properly. This depth allows room for root development while stabilizing the plant as it grows taller. A deeper planting hole can also help protect against frost damage during colder months by allowing you to cover the bulb with more soil.

Make Planting 100’s of Bulbs easier on your back!
Simplify the process of planting bulbs by using a bulb planter. It ensures precise planting depth and speeds up planting considerably, saving unnecessary time on your knees. Trust me, your knees and back will thank me!
Place the bulb in the hole with its pointed end facing upwards.
When planting your daffodil bulb, position it correctly in the hole. Place the bulb with its pointed end facing upwards and its flat or rounded end at the bottom. This ensures that the emerging shoot will grow in the right direction, towards the surface. Planting bulbs upside down may result in stunted growth or failure to bloom altogether.

Backfill the hole with soil, ensuring good contact between the bulb and the soil.
After placing the bulb in the hole, gently backfill it with soil. Take care to ensure that there is good contact between the bulb and the surrounding soil.
Choosing the right time to plant daffodil bulbs
Timing is everything. The success of your daffodil garden depends on choosing the right time to plant the bulbs.
Plant daffodil bulbs in the fall, ideally six weeks before the ground freezes.
Fall is considered the ideal season for planting daffodil bulbs. Planting them in autumn gives the bulbs enough time to establish their roots before winter dormancy. This allows them to absorb essential nutrients from the soil and prepare flower buds for a vibrant spring bloom.
Aim to plant your daffodil bulbs approximately six weeks before the ground freezes to ensure optimal growth. This timeframe provides flower bulbs with ample opportunity for root development while avoiding planting too close to freezing temperatures. Giving your flowering bulbs a head start increases their chances of thriving in spring.
Fall planting allows roots to be established before winter dormancy sets in.
One of the key benefits of fall planting spring bulbs is that it allows daffodil bulb roots to establish themselves before winter dormancy begins. During this period, deciduous trees shed their leaves and enter a state of rest. Similarly, many plants go dormant during winter as they conserve energy and focus on root development rather than above-ground growth.
By planting your daffodils in the fall, you align their growth cycle with nature’s rhythm. As temperatures drop and daylight hours shorten, these hardy flowers can concentrate on strengthening their root systems without being distracted by other growth aspects. This early establishment ensures that come springtime, the spring-blooming bulbs of your daffodils will be ready to burst forth with an abundance of colorful blooms.

Avoid planting too early when temperatures are still warm, which may lead to premature growth.
While fall is generally considered the best time for daffodil bulb planting, it is essential to avoid planting too early when temperatures are still warm. Planting and selecting daffodil bulbs during prolonged warmth can trick them into thinking spring has arrived prematurely, leading to premature growth.
To prevent this from happening, wait until late summer or early autumn before introducing your daffodil bulbs to the above soil temperature. This timing allows a gradual transition from summer heat to cooler fall temperatures.
Preparing the soil for daffodil bulb planting
Properly preparing the soil is crucial to ensure successful growth and blooming of your daffodils. The soil condition plays a significant role in providing the necessary nutrients and drainage for your bulbs. Here are some essential steps to follow when preparing the soil for daffodil bulb planting:
Ensure your soil is well-drained
Daffodils prefer well-drained soil to prevent waterlogging, which can lead to rotting bulbs. Add organic matter such as compost or peat moss to your soil to improve drainage. These materials help loosen compacted soil and enhance its ability to retain moisture without becoming waterlogged. Incorporating organic matter into the ground creates a favorable environment for healthy root development.
Remove weeds, rocks, and debris.
Before digging holes for your daffodil bulbs, clearing the planting area of any weeds, rocks, or debris is important. Weeds can compete with daffodils for nutrients and space, while rocks and debris can hinder proper root growth. Take the time to remove these obstacles from the designated planting area thoroughly.

Loosen compacted soil
Compacted soil can impede drainage and restrict root penetration. To address this issue, use a garden fork or tiller to loosen the ground before planting your daffodil bulbs. By breaking up compacted soil layers, you create pathways for roots to spread out easily and access essential nutrients.
Test the soil pH.
Daffodils thrive best in slightly acidic to neutral soils with a pH range between 6 and 7. Testing the pH level of your soil will help you determine if any adjustments are necessary before planting your bulbs. You can find DIY test kits at gardening stores or send a sample to a local agricultural extension service for professional analysis. If needed, amend acidic soils by adding lime to raise the pH or sulfur to lower it.
Incorporate a balanced fertilizer.
Before planting your daffodil bulbs, it’s beneficial to incorporate a balanced fertilizer into the soil. This ensures your plants receive adequate nutrients for healthy growth and vibrant blooms. Look for a slow-release fertilizer for daffodil bulbs or general flower beds. Follow the instructions on the packaging for proper application rates and methods.
Following these steps will create an optimal environment for your daffodils to flourish.
Tips for Proper Daffodil Bulb Planting Depth
One of the key factors that daffodil growers need to consider is the proper planting depth for the bulbs. The depth at which you plant your daffodil bulbs can greatly impact their growth and success.
Plant Large Daffodil Bulbs Approximately 6-8 Inches Deep
Daffodils come in various sizes, and larger bulbs require a deeper planting depth to thrive. Planting large daffodil bulbs approximately 6-8 inches deep into the soil is recommended. This allows enough room for the roots to establish themselves and provides stability as they grow taller. Planting larger bulbs at this depth gives them ample space to develop strong root systems, leading to healthier plants with vibrant blooms.
Smaller Bulbs Should be Planted at a Depth of Around 4-6 Inches
On the other hand, smaller daffodil bulbs should be planted at a shallower depth compared to their larger counterparts. Aim to plant daffodils with smaller bulbs around 4-6 inches deep in the soil. This shallower planting depth ensures that these delicate bulbs are not buried too deeply and have easier access to moisture and nutrients closer to the surface. Adjusting the planting depth based on bulb size provides optimal conditions for each bulb type to flourish.
Measure from the Base of the Bulb to the Soil Surface When Determining Planting Depth
To accurately determine the appropriate planting depth for your daffodil bulbs, it’s important to measure from the base of each bulb rather than guessing or estimating visually. Use a ruler or tape measure to gauge how far down you need to plant each bulb. By measuring from the bulb’s base to the soil surface, you ensure consistency and precision in your planting depth, which is crucial for the bulb’s growth and development.
Planting Too Shallow Can Result in Weak or Stunted Growth, While Burying Too Deep May Inhibit Flowering
Planting daffodil bulbs too shallow can have detrimental effects on their growth. When bulbs are not planted deep enough, they may experience weak or stunted growth due to inadequate root development.
Ensuring optimal sunlight and drainage for daffodils
Daffodils are beautiful spring-blooming flowers that can bring a vibrant yellow color to any garden or landscape. To ensure these delightful flowers bloom daffodils’ healthy growth and abundant spring blooms throughout, it is important to provide them with optimal sunlight and proper drainage.
Sunlight requirements: Full sun, partial shade, and warmer climates
Daffodils thrive in full sun, typically requiring at least six hours of direct sunlight daily. This allows them to produce robust foliage and develop strong bulbs, resulting in stunning blooms. However, providing shade during the hottest part of the day can be beneficial if you live in an area with scorching summers or intense heat.
In warmer climates, such as USDA zones 8-10, daffodils may benefit from partial shade to protect them from excessive heat stress. Planting them where they receive morning sun and afternoon shade can help prevent their delicate foliage from scorching.
Importance of proper drainage: Avoid waterlogging and rotting bulbs
One crucial aspect of growing daffodils successfully is ensuring good drainage. These flowers dislike having wet feet for prolonged periods as it can lead to root rot and bulb deterioration. Therefore, avoiding areas prone to waterlogging or poor drainage is essential.
Heavy clay soil tends to retain moisture, but amending it with organic matter like compost or well-rotted manure can significantly improve its drainage capabilities. This amendment helps loosen the soil structure and allows excess water to drain away more efficiently.
Adequate air circulation: Preventing fungal diseases through spacing
Adequate air circulation around daffodil plants is vital for their overall health and the prevention of fungal diseases. When planting daffodils, avoid overcrowding the bulbs, as this can restrict airflow and create a favorable environment for diseases like Botrytis or Leaf Spot.
To provide ample space between bulbs, follow the general rule of thumb: plant most bulbs at a depth equal to three times their bulb’s height and space them about two to six inches apart, depending on the variety.
Care for Daffodils After Planting
After planting your daffodil bulbs, providing them with the care they need to thrive is important. Following a few simple steps, you can ensure that your daffodils grow beautifully and bring vibrant color to your garden year after year.
Watering Newly Planted Bulbs
One of the key aspects of caring for daffodil bulbs is providing them with adequate water during their establishment period. After planting, water the bulbs thoroughly, ensuring the soil is moist but not waterlogged. This initial watering helps settle the soil around the bulbs and provides them with much-needed moisture.
During the establishment period, which typically lasts a few weeks, keeping the soil slightly moist is crucial. This can be achieved by regularly watering, especially during dry spells or insufficient rainfall. However, avoid overwatering, as excessive moisture can lead to bulb rot. A good rule of thumb is to check the moisture level by sticking your finger into the soil about an inch deep – if it feels dry at this depth, it’s time to water.
Applying Mulch for Moisture Conservation
To further enhance moisture retention and suppress weed growth around your daffodils, consider applying a layer of mulch. Mulching helps conserve water and acts as an insulating barrier against extreme temperatures.
Opt for organic options such as shredded leaves or bark chips when choosing a mulch material. These types of mulch gradually break down over time and enrich the soil with valuable nutrients. Apply a layer of mulch around 2-3 inches thick around each plant, taking care not to bury the emerging shoots or foliage.
Besides conserving moisture and suppressing weeds, mulching adds an aesthetic touch to your garden beds by creating a neat appearance while allowing your daffodils’ vibrant blooms to take center stage.
Deadheading Spent Flowers and Allowing Foliage to Wither
Once your daffodils have bloomed and the flowers start to fade, it’s important to deadhead them. Deadheading removes the spent flowers by snipping the flower stalk near its base. This practice not only improves the overall appearance of your daffodil bed but also prevents the plant from wasting energy on seed production.
Achieving success with daffodil bulb planting
Planting and growing daffodils can be a rewarding experience, bringing vibrant colors, fragrant flowers, and cheerful blooms to your garden. Whether you are a seasoned gardener or just starting, following these tips will help you achieve success with daffodil bulb planting.
Choose varieties that are well-suited to your climate and growing conditions.
It is important to consider your local climate and growing conditions. Daffodils thrive in different environments, so choosing the right varieties will increase your chances of success. If you live in a colder region, opt for hardy daffodil varieties that withstand frost and snow. On the other hand, if you reside in a warmer area, choose heat-tolerant daffodils that can endure higher temperatures.
Consider the bloom time as well. Daffodils come in early, mid-season, and late-blooming varieties. You can enjoy continuous blooms throughout the spring by selecting a mix of miniature daffodils.

Consider companion planting with other spring-flowering plants for an attractive display.
Consider companion planting daffodils with other spring-flowering plants to create an eye-catching display in your garden. Combining different colors and textures will add depth and visual interest to your landscape.
For instance, pairing daffodils with tulips can create a stunning contrast between their vibrant hues. Interplanting daffodils with low-growing groundcovers like creeping phlox or ajuga can provide an attractive carpet-like effect around the base of the bulbs.
Here are a few of our most popular flower bulb articles to help you plan your BEST spring garden:


Our guide for Tulip Care & Wonderous Displays!

Regularly monitor soil moisture levels and adjust watering as needed.
Daffodils prefer well-draining soil that is moist but not waterlogged. It is essential to monitor soil moisture levels regularly to ensure optimal growth. Stick your finger into the soil to the second knuckle; if it feels dry at that depth, it’s time to water.
During the growing season, daffodils require about an inch of water per week. However, this may vary depending on your climate and rainfall patterns. If you live in a particularly dry area, you may need to increase watering frequency or use a drip irrigation system to provide consistent moisture.
Dealing with Common Pests and Diseases Affecting Daffodils
Congratulations! You now have a solid foundation of knowledge on how to plant and care for daffodil bulbs successfully. But what about those pesky pests and diseases that can wreak havoc on your beautiful daffodil foliage and blooms? Don’t worry; we’ve got you covered.
Use natural remedies such as neem oil or diatomaceous earth to protect your daffodils from common pests like aphids or slugs. These methods are not only effective but also environmentally friendly. Watch for signs of diseases like bulb rot or narcissus fly infestations. If you spot any issues, promptly remove and dispose of affected bulbs to prevent further spread.
Remember, prevention is key! Regularly inspect your daffodils for any signs of trouble and take immediate action if necessary. By staying vigilant and following these tips, you’ll be well-equipped to handle any challenges that come your way in the pursuit of vibrant, healthy, blooming daffodils.
BAD BUG BEGONE!
$5.99
Are harmful insects running your gardening season?
Our guide to organic pest control methods offers practical solutions for dealing with common garden pests without using harmful chemicals. With step-by-step instructions and easy-to-follow tips, you’ll learn how to create a pest-resistant garden that is safe for your family and the environment. A great on-hand resource for any gardener!
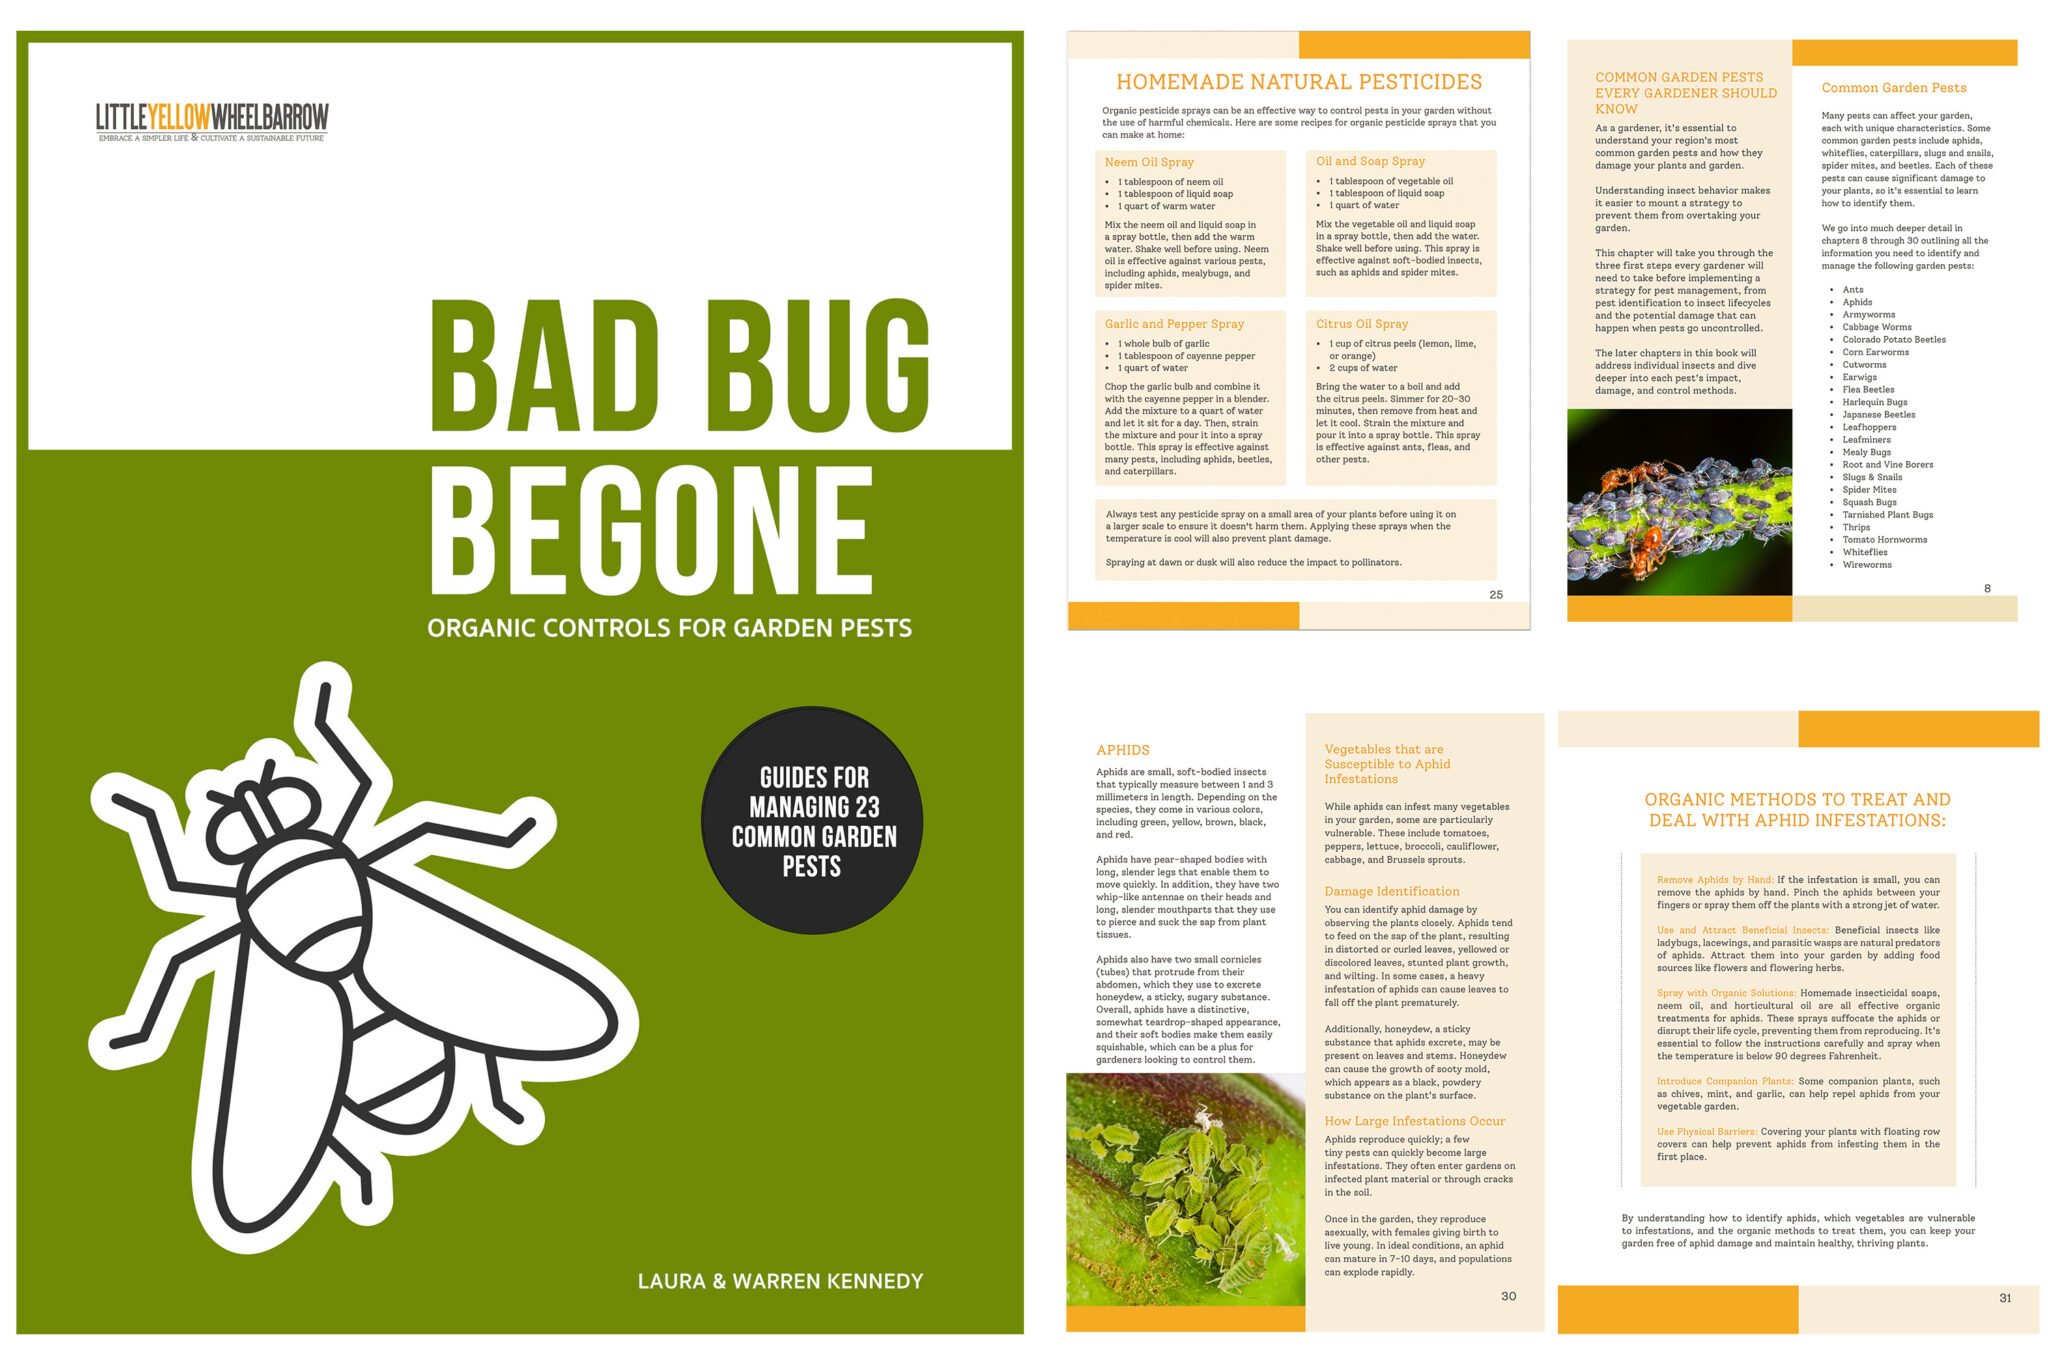
A must-have resource for Gardeners
Our digital e-book is for you if you’re a home gardener passionate about growing healthy, pesticide-free plants! Over 100 pages of organic pest management information are perfect for beginner gardeners and pros alike.
Frequently Asked Questions (FAQs)
Can I grow daffodils in pots?
Yes, absolutely! Daffodils can thrive in pots just as well as in the ground. Ensure the pot has drainage holes at the bottom to prevent waterlogging and use a good-quality potting mix. Plant the bulbs at the proper depth and provide them with adequate sunlight and regular watering.
How often should I fertilize my daffodils?
Daffodils generally don’t require frequent fertilization. It’s best to apply a balanced fertilizer once a year in early to late spring when the foliage emerges. Use a slow-release fertilizer according to package instructions, or opt for organic alternatives like compost or well-rotted manure.
Can I plant other flowers alongside my daffodils?
Certainly! Daffodils make excellent companions for many other spring-blooming flowers like tulips, hyacinths, and pansies. They create a visually appealing display and help deter pests due to their natural toxicity.
When can I expect my daffodils to bloom?
The exact blooming time of daffodils can vary depending on the variety and growing conditions. Generally, daffodils bloom in early to mid-spring. However, some varieties may bloom as early as late winter or as late as early summer. Check the specific variety’s information for more accurate blooming predictions.
Can I cut daffodil flowers for indoor arrangements?
Absolutely! Daffodils make stunning additions to indoor flower arrangements. When cutting them, choose flowers that have just started to open and trim the stems at an angle before placing them in fresh water. Avoid mixing daffodils with other flowers initially, as their sap can cause other blooms to wilt prematurely.
Related: Paperwhites are a variety of daffodil that can be forced to bloom in time for Christmas!
Can You Grow Daffodils From Seed?
You can grow daffodils from seed, but it’s not the most common or convenient method of propagating these spring-flowering bulbs. Daffodils (Narcissus) are typically propagated through bulb division, which is faster and more reliable. However, growing daffodils from seeds can be an interesting and rewarding project for experienced gardeners or horticulturists looking to create new varieties or explore the genetics of these plants.
Do you want more information about daffodils? Well, the best site we’ve found for all things about daffodil flowers is the American Daffodil Society – check them out!
