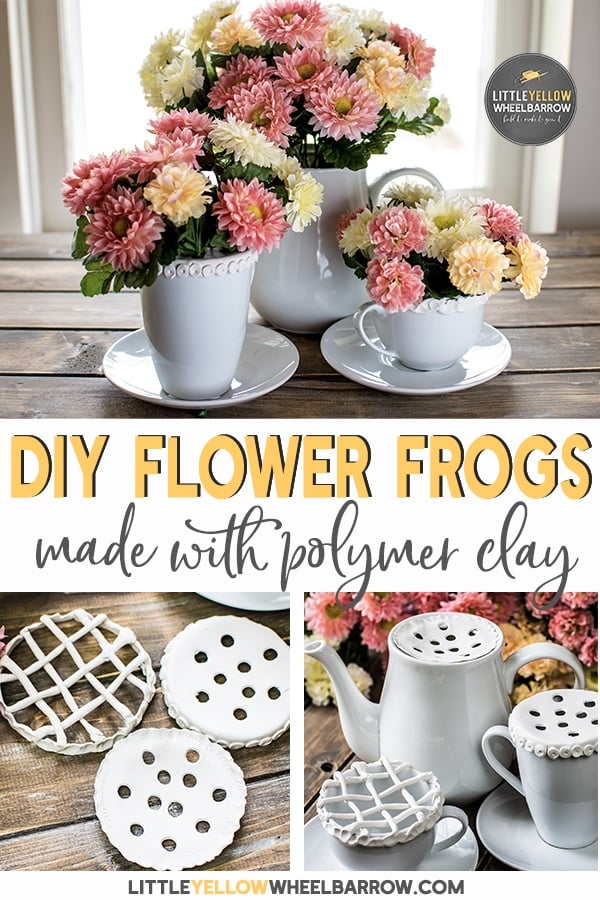
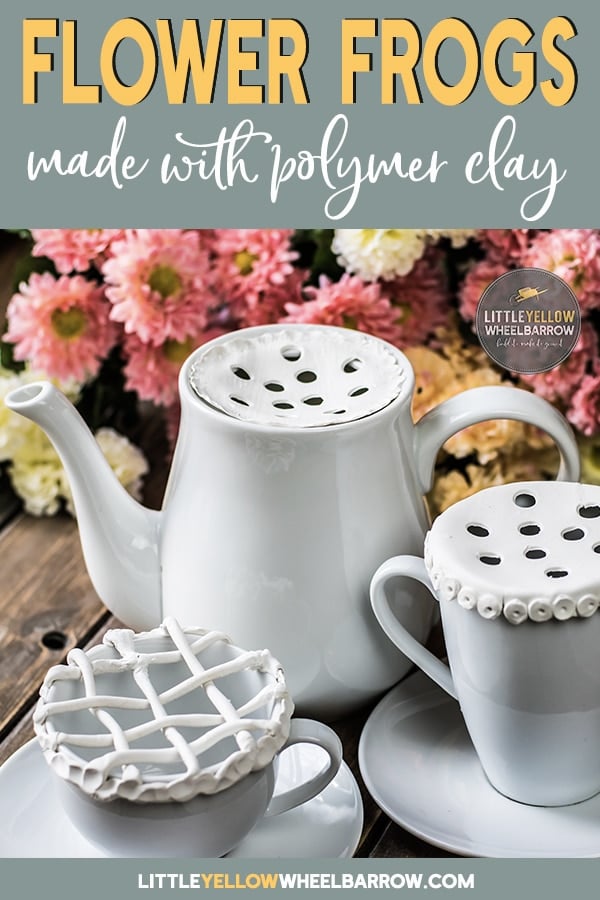
How to Craft Simple Flower Frogs from Polymer Clay
Flower frogs, for those of you who have never used one, are usually ceramic or metal devices that fit into a vase or bowl and have a number of holes. The holes are used to guide flower stems, give them support, and separate them to make the flower arrangement appear fuller.
I only add this piece of information to this blog post because my husband thought they were weird frog shaped flower sculptures. When I stared at him blankly for a few minutes, his next response was that he saw weirder stuff on Pinterest so it wasn’t out of the realm of possibility.
Hard to argue with that logic.
But it does explain the very odd conversation we had when he asked me what I was making out of polymer clay.

An Easy flower Arranging Tool You Can Make Out of Clay.
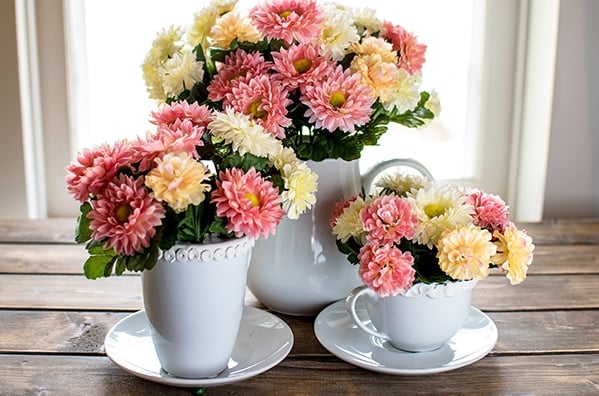
I am currently in the process of planting my flower cutting garden. It’s not too big, but it fills my home with fresh cut flowers all summer long. Dahlias, lavatera, zinnias, snapdragons, sweet peas, just to name a few. I also dry my flowers in the summer to keep as craft supplies, or to create beautiful centerpieces.
Last summer I had so many fresh cut flowers that I was using anything that would or could hold water to house them. I didn’t have any flower frogs to help with arranging.
So this year I wanted to find a few vintage flower frogs or DIY something that could work for all those cut flowers.
Flower arranging made easy with this simple clay craft project

I had one pack of polymer clay left over after I made my pretty rose covered vase and I just so happened to find it on the day I was planting my cutting garden.
My brain seemed to make the connection that maybe the polymer clay could be fashioned into flower frogs. If it worked, it would be cheap & easy and I could custom make a few for some of my odd shaped flower vases.
Three tests later and I was smitten. Not only do they work but they are easily customizable by size, shape or style, and the best part is I made 3 out of one small package of Sculpey III, putting the price of each just under a dollar.
I call that a win.
Tools & Supplies
~This post may contain affiliate links. If you click one and make a purchase, I may receive a commission at no additional cost to you.~
- Polyform Sculpey III Polymer Clay 8 Oz: White
- Polymer Clay Tool Set
- Flower Vases – any shape or form.
- Gloves – wear gloves to keep your clay clean
- Cornstarch ( light dusting to keep the clay from sticking)
I created my flower frogs directly on my flower vessels. I used an old ceramic coffee pot and a few different size mugs to make my arrangement.
You do not have to bake on your vase, so long as the structure can hold on its own, there is no need to bake on your vase.
Test 1 – Flower Frogs for a Coffee Pot Vase
The coffee pot was a bit awkward to use. It had a big water vessel on the bottom, but a small opening on the top. I decided to make the flower frog for this one slightly flattened to see if it would rest on the top. It would have been too odd to make it overhang.
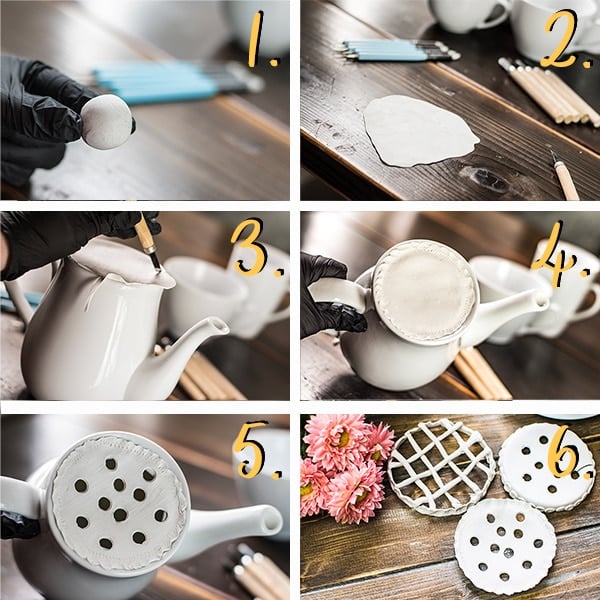
Step 1.
I broke off 1/4 of the clay in the Sculpey III package and rolled it into a tight ball.
Step 2
I flattened the disk and rolled it out making sure that my disc was slightly larger than the mouth opening of my vase.
Step 3
You can decorate your disk however you like. I used a small punch tool to etch a small pattern all the way around and added a tiny ruffle with a ball tool.
Step 4
Once the circle was cut and everything was the right size, I removed it from the coffee pot and placed it on the table.
I used a small funnel to cut out my circles to make holes for the flower stems. You can use anything so long as the holes are large enough for your flower stems.
Step 5
This flower frog was only 1/4 inch thick, so I baked it at 275 F for 15 minutes.
This one was fragile and I accidentally cracked it while I was inserting my flowers. If I was to make this style again I would make it a touch thicker. But it did work great and even though it has a small crack it still works just fine.
Test #2 Flower Frogs for Coffee Cup
There are a few things to keep in mind when making this style. You do not want to press your clay against your mug or vase (or whatever vessel you are working with). It will slightly stick and make it difficult to remove.
The clay also gets tighter in the oven so if you make the cap tight, it may crack after it is baked. Keep the cover a bit loose before baking and you will not have a problem popping it on your vase afterward.

Step 1
Roll 1/4 of a package of polymer clay into a small ball. Flatten the disk, and roll it so that it is just slightly larger than mouth opening of the vase.
Use a tool with a round opening to punch holes in your disk.
Step 2
Drape the hole punched disk over the mouth of your vase and center it so that there is a 1/4 overhang all the way around.
Step 3
Cut the clay evenly all the way around your vase, leaving a 1/4 overhang. I used a small sharp clay cutting tool but a small sharp knife would work just as well.
Step 4
I added a small decorative touch because I knew the rim would be visible. I added a few small circle cut outs all the way around the rim.
A small dotting tool was used to place a dot in the center of each circle.
Step 5
This flower frog was baked at 275 for 20 minutes.
I liked this one best of all. It was firm, worked very well for my flowers, and never cracked or broke. I’ve used it a few times since I put this post together and it has held up great!
Test #3 A Flower Frog for a Latte Cup
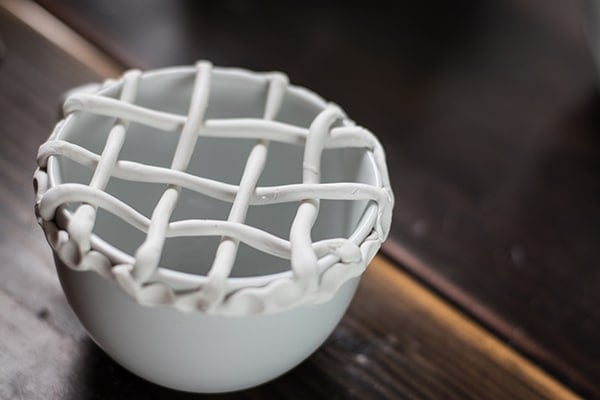
This flower frog is perfect for very wide but short vases. It makes it very easy to arrange large flowers with large stems. You need to make sure that the pieces are stuck together and after I made mine I realized that it would have been far better if I had added small reinforcements at every overlapping piece of clay.
Step 1
Roll small tubes of clay, keeping each one to 1/4 of an inch.
Step 2
Weave your pieces together. (see photo above)
Step 3
Trim your pieces to 1/4 inch overhang. Create one long piece of clay tubing and wrap it around the outside of your vase making sure to attach each overhanging piece. Pinch it all the way around.
If any of the pieces are thin or have thin spots, they will crack and break. Double check each joint and if it looks thin, add a small piece of clay to act as a reinforcement.
Step 4
Bake 275 for 25 minutes. As this piece was much thicker, I added the extra time to make sure the whole thing baked evenly.
This one did not crack or break, but it does feel fragile. It works very well for the wider mouth opening and as the holes are much bigger I found the flowers fit in very easily.
Grab a pack of clay and create a few flower frogs for your summer flowers

These would make excellent gifts for any flower lover in your life.
I find them extremely versatile, and easily customizable, and they work very well.
The only downside is they are a tiny bit fragile so you need to be careful handling them or they could crack.
When I put my centerpiece together everything worked so well. A flower frog makes all the difference when flower arranging. It lifts the flowers, keeps them separated, and makes the whole thing look full.
If you like crafts like these you should check out these posts:
CONCRETE POTS FOR A WINDOWSILL HERB GARDEN
How Long Do Dried Flowers Last?

