Dividing Edible Perennials: Expand Your food Garden for Free


Dividing edible perennials is one of the most rewarding gardening techniques. Not only does it give your edible plants a fresh start, but it also helps prevent overcrowding, improves plant health, and gives you free new plants to expand your garden. Whether you’re splitting roots, separating runners, or propagating through cuttings, you’ll enjoy more productive plants and bountiful harvests. Here’s your ultimate guide to dividing 12 edible perennials, complete with step-by-step instructions, pro tips, and expert advice.

Table of contents
- Perennials to Divide by Splitting the Root System
- Dividing Edible Perennials by Separating Runners
- Perennials to Divide by Taking Cuttings or Suckers
- Perennials to Divide by Clump Separation
- Tuber and Bulb Division
- Step-by-Step Guide to Dividing Edible Perennials
- Related Posts
- Dividing Edible Perennials in Your Food Garden: Bigger Harvests, Lower Costs
Perennials to Divide by Splitting the Root System
The following plants grow from root systems that thrive when divided into smaller sections. This method is simple, straightforward, and works for many popular edible perennials.
1. Rhubarb:
How to Divide Rhubarb
- Dig it up: Carefully dig up the entire plant, keeping the root system intact.
- Locate the buds: Shake off excess soil and find the buds (or “eyes”) on the crown.
- Divide the crown: Use a sharp, sterilized spade or knife to cut the crown into sections. Ensure each section has at least one healthy bud and a portion of root.
- Replant immediately: Space divisions 3–4 feet apart in well-drained soil. Water thoroughly after planting.
When to Divide Rhubarb
- Timing: Early spring, before new growth appears.
Why Divide Rhubarb?
- Prevents overcrowding
- Rejuvenates the plant
- Produces sweeter, more vibrant stalks for cooking and baking
Pro Tip: Rhubarb grows and thrives with regular division every 4–5 years. If stalks are thinner than usual, it’s a sign your plant is ready to be split.

2. Asparagus:
How to Divide Asparagus
- Lift carefully: Use a garden fork to gently lift mature asparagus crowns, taking care not to damage the delicate roots.
- Divide the crowns: Separate the crowns into smaller sections, ensuring each division has several healthy roots and at least one bud or “eye.”
- Replant immediately: Plant divisions in a trench enriched with compost, spacing crowns 18 inches apart. Cover lightly with soil and water thoroughly.
When to Divide Asparagus
- Timing: Early spring, before active growth begins.
Why Divide Asparagus?
- Revitalizes your asparagus bed
- Encourages vigorous growth
- Extends the lifespan of this perennial favorite
Pro Tip: Asparagus crowns are most productive when divided every 3–5 years. For best results, choose plants that are already well-established.

3. Chives:
How to Divide Chives
- Dig up the clump: Use a spade or fork to gently lift a clump of chives from the soil.
- Separate the bulbs: Divide the bulbs by hand or use a small garden knife, ensuring each division includes 2–3 bulbs with healthy roots.
- Replant immediately: Plant the divisions in clusters, spacing them 6–8 inches apart in nutrient-rich soil.
When to Divide Chives
- Timing: Early spring, as soon as new growth begins.
Why Divide Chives?
- Keeps chives productive
- Prevents overcrowding
- Ensures a steady supply of their signature oniony flavor
Pro Tip: Chives are fast growers! Dividing them every 2–3 years keeps them thriving.

4. Horseradish:
How to Divide Horseradish
- Dig up the plant: Carefully lift the plant and remove the main root.
- Cut the root into sections: Ensure each piece has a growing bud. Root sections should be 6–8 inches long.
- Replant immediately: Place the root sections in loose, well-drained soil, burying them at a 45-degree angle with the top just below the surface.
When to Divide Horseradish
- Timing: Early spring or late fall.
Why Divide Horseradish?
- Prevents overcrowding
- Encourages larger, healthier roots
Did You Know? Horseradish can become invasive if left unchecked. Regular division helps manage its spread.

5. Jerusalem Artichokes (Sunchokes): A Garden Workhorse
How to Divide Sunchokes
- Dig carefully: Lift the tubers gently from the soil to avoid damage.
- Separate the tubers: Ensure each division has at least one “eye” (growth node).
- Replant immediately: Place the tubers 4–6 inches deep and space them 12–18 inches apart.
When to Divide Sunchokes
- Timing: Early spring, before new growth appears.
Why Divide Sunchokes?
- Prevents overcrowding
- Promotes healthy new growth
- Increases yields and ensures vigorous plants
Why: Dividing sunchokes boosts productivity and prevents the plant from overtaking your garden.

6. Walking Onions (Egyptian Onions):
How to Divide Walking Onions
- Harvest the bulbils: Dig up the cluster of bulbils (small onions) growing around the mother plant.
- Separate and replant: Divide the bulbils and replant them 1–2 inches deep, spacing them 6 inches apart.
When to Divide Walking Onions
- Timing: Early spring or fall.
Why Divide Walking Onions?
- Encourages continuous growth and propagation
- Prevents overcrowding around the mother plant
- Ensures a steady supply of these self-sustaining onions

Dividing Edible Perennials by Separating Runners
Some perennials naturally send out runners (also known as stolons). Dividing these is as simple as separating baby plants from the parent and transplanting them.
7. Strawberries:
How to Divide Strawberries
- Identify runners: Look for runners with established root systems and healthy leaves.
- Separate the plants: Cut the runner connecting the baby plant to the parent plant.
- Transplant immediately: Move the baby plant to a new location, spacing it 12–18 inches apart. You can also place the runners of everbearing strawberries in containers to create a strawberry plant you can move indoors to extend the season.
When to Divide Strawberries
- Timing: Early spring or late summer.
Why Divide Strawberries?
- Prevents overcrowding
- Maintains plant health and productivity
- Ensures a steady harvest of sweet, juicy berries
Pro Tip: Replace parent plants every 3–4 years for optimal yields.

Perennials to Divide by Taking Cuttings or Suckers
While not traditional division, propagating plants through cuttings or layering is another way to create new plants from your existing ones. Here’s how to easily divide edible perennials like blueberries, raspberries, and blackberries:
8. Blueberries
How to Propagate Blueberries
1. Layering
- Bend a healthy, flexible branch to the ground and bury part of it in soil, leaving the tip exposed.
- Roots will develop at the buried section, and you can transplant it once established.
2. Hardwood Cuttings
- Take a 6–8 inch section from a healthy, dormant branch.
- Dip the cut end in rooting hormone and plant it in moist, acidic soil.
- Keep the soil consistently moist while roots develop.
- Blueberries can also be grown in containers – if you are lacking space in your garden, transplanting some hardwood cuttings into pots will work!
When to Propagate Blueberries
- Layering: During the growing season.
- Hardwood Cuttings: Late winter to early spring.
Why Propagate Blueberries?
- Expands your blueberry patch without the cost of buying new shrubs
- Ensures genetic consistency with your existing plants

9. Raspberries & Blackberries: Bountiful Brambles
How to Propagate Raspberries & Blackberries
1. Tip Layering
- Bend a healthy cane so the tip touches the soil.
- Bury the tip lightly in soil, leaving the rest of the cane exposed.
- Roots will develop at the buried section, and you can transplant it once well-established.
2. Suckers
- Identify young shoots (suckers) growing away from the main plant.
- Dig them up carefully, ensuring each sucker has roots attached.
- Replant the suckers in a new location, spacing them 2–3 feet apart.
3. Hardwood Cuttings (For Blackberries Only)
- Take a 6–8 inch cutting from a healthy, dormant cane.
- Plant it in moist soil, burying at least half of the cutting.
- Keep the soil consistently moist while roots develop.
When to Propagate Raspberries & Blackberries
- Tip Layering: During the growing season (spring to early summer).
- Suckers: Early spring or late fall.
- Hardwood Cuttings: Late winter to early spring.
Why Propagate Raspberries & Blackberries?
- Expands your berry patch naturally and cost-effectively
- Ensures continued harvests for years to come
- Allows you to manage plant spacing and prevent overcrowding

10. Grapes
How to Propagate Grapevines
Hardwood Cuttings
- Prepare the cuttings: Cut a dormant vine into 8–12 inch sections.
- Plant the cuttings: Place each cutting in well-drained, sandy soil, burying two nodes and leaving one above ground.
When to Propagate Grapevines
- Timing: Late winter to early spring, while vines are dormant.
Why Propagate Grapevines?
- Grapevines respond exceptionally well to hardwood cuttings.
- This method is simple, cost-effective, and yields excellent results for growing new vines.

Perennials to Divide by Clump Separation
These perennials naturally grow in clumps that can be divided to encourage new growth.
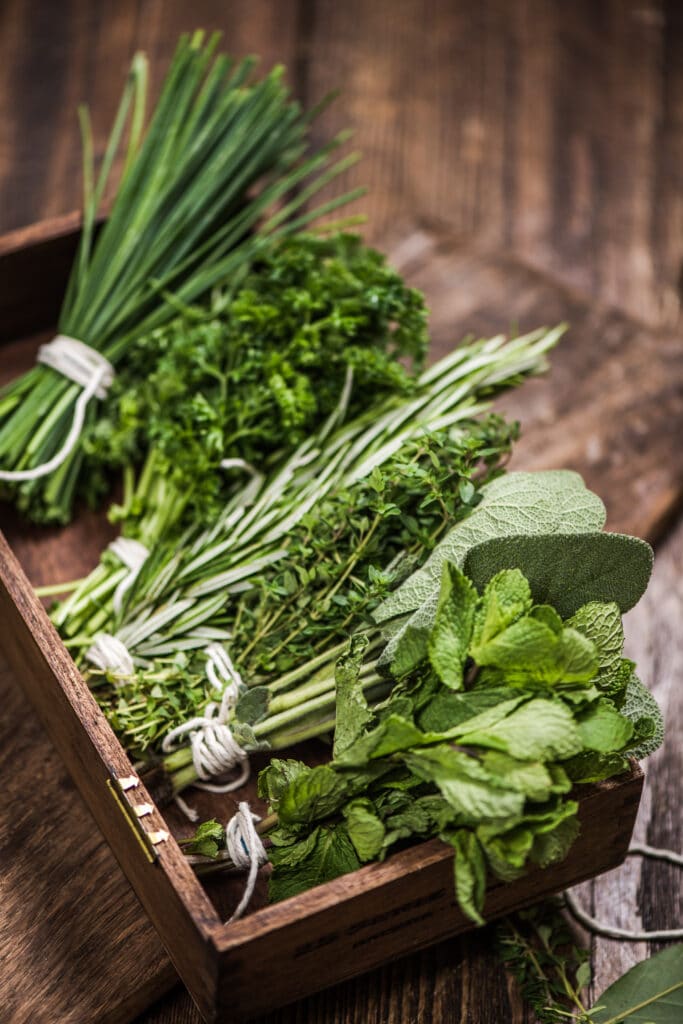
11. Mint, Lemon Balm, Oregano, Thyme, Sage, Tarragon, Sorrel
How to Divide Perennial Herbs
- Dig up the clump: Carefully lift the entire plant from the soil.
- Divide the roots: Gently separate the clump into smaller sections, ensuring each has healthy roots and foliage.
- Replant immediately: Space the divisions appropriately in nutrient-rich soil and water thoroughly.
When to Divide Perennial Herbs
- Timing: Early spring.
Why Divide Perennial Herbs?
- Prevents overcrowding
- Rejuvenates growth and vigor
- Keeps plants productive and flavorful for culinary use


Tuber and Bulb Division
12. Garlic
How to Propagate Garlic
- Separate the cloves: Gently break apart the garlic bulb, keeping the papery skins intact on each clove.
- Plant the cloves: Choose the largest, healthiest garlic cloves and plant them individually with the pointed end facing up, 2–3 inches deep and spaced 4–6 inches apart in well-drained soil.
When to Plant Garlic
- Timing: The best time to plant garlic cloves is early spring or late fall, depending on your climate. Fall planting typically yields larger bulbs, as cloves establish roots before winter.
Why Plant Garlic?
- Boosts your harvest with minimal effort
- Ensures healthy, robust growth for flavorful bulbs
- Provides a steady supply of fresh garlic for cooking and medicinal uses

Step-by-Step Guide to Dividing Edible Perennials
- Prepare the Soil: Enrich the new planting site with compost or organic matter.
- Dig Carefully: Use a spade or fork to gently lift plants without damaging roots.
- Divide: Split plants based on their type (clumps, runners, tubers, etc.).
- Replant Promptly: Place divisions into prepared soil and water thoroughly.
- Maintain: Mulch lightly and monitor moisture as plants establish.
Related Posts


Dividing Edible Perennials in Your Food Garden: Bigger Harvests, Lower Costs
Dividing edible perennials is a gardener’s secret to a thriving, productive garden. Whether you’re splitting rhubarb crowns, propagating blueberries, or taming mint, this time-tested technique is an easy, cost-effective way to grow more. So grab your spade, follow these tips, and watch your garden flourish!

Author: Laura Kennedy
Writer & Owner of Little Yellow Wheelbarrow
Laura is a highly skilled gardener and fervent flower enthusiast. Despite her playful battle with plant spacing guidelines, Laura’s work inspires gardeners to create thriving, beautiful spaces that reflect both creativity and sustainability.