How To Make DIY Beeswax Wraps Without Resin (Fast & Easy).
Why would you want to make a DIY beeswax wraps? Well if you care about the environment and want a replacement for your plastic wrap, these might do the trick.
It’s a very simple DIY. You do not need to use a bunch of hard to find ingredients, and you can make 12 of them for under $20.00 CDN. That’s a steal.
They are also SUPER cute. Perfect for hostess gifts or handmade presents!
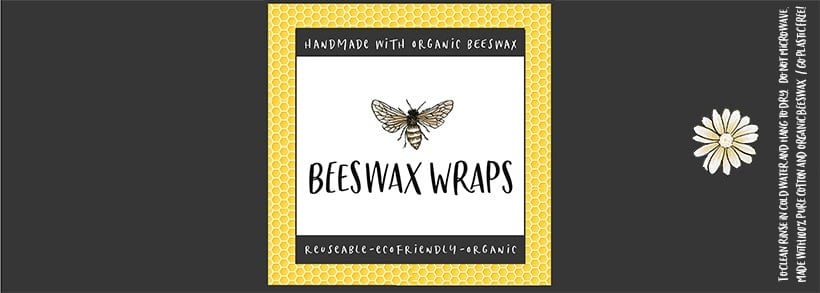
If you like the label wraps in the photo, I included them down below as a printable.

A Step by Step Process to Make Your Own Bees Wax Wraps

I purchased a set of Abeego, Beeswax Food Storage Wraps from Amazon for $20.00 CDN. It wouldn’t be very fair for me to say that the DIY version was just as good if I didn’t have anything for comparison.
The ingredients listed for the Abeego beeswax wraps are beeswax, hemp cotton, pine resin, and jojoba oil. I imagine that the pine resin is added to make them sticky.
I tried the Abeego wraps on several different bowls, and the product did not stick. So even though they have that bit of tackiness, they don’t attach to the sides of bowls as the same way plastic wrap does.
The Abeego beeswax wraps do bend very well and hold the shape you put them in, so if you add them to the top of a bowl and pinch them down, they turn into custom covers. I liked this feature a lot; it’s like always having the perfect sized cover.
They also work very well to wrap sandwiches, cheese, sausage, etc., think dry and firm when you’re covering something that is not in a container or bowl.
I liked these beeswax wraps a lot! They have been in heavy rotation in my kitchen these past few weeks.
I did think they would stick a bit better, but it wasn’t a deal-breaker for me at all that they didn’t.
For anyone who can’t be bothered to DIY their own, you could try these Abeego wraps instead.
What type of wax for your DIY Beeswax Wraps?

Beeswax. I used organic, and I had purchased both the small 30 gram bricks and a package of purified beeswax pellets to see what would work best.
The pellets were the way to go. If you go with solid beeswax, you will need to shred it. Grating the beeswax is not an easy task as the wax is hard.
The pellets, on the other hand, were very easy to use, just a sprinkle over your fabric and you are good to go.
What kind of fabric do you use?

Cotton. 100% cotton, tightly woven fabric is perfect. You want something with a tight weave, nothing loose.
Also, from my experience, the wax does yellow. Even if you use the white wax, the heat from the iron will turn it slightly yellow. You don’t notice it on darker fabric, but you do see the yellowing on lighter materials.
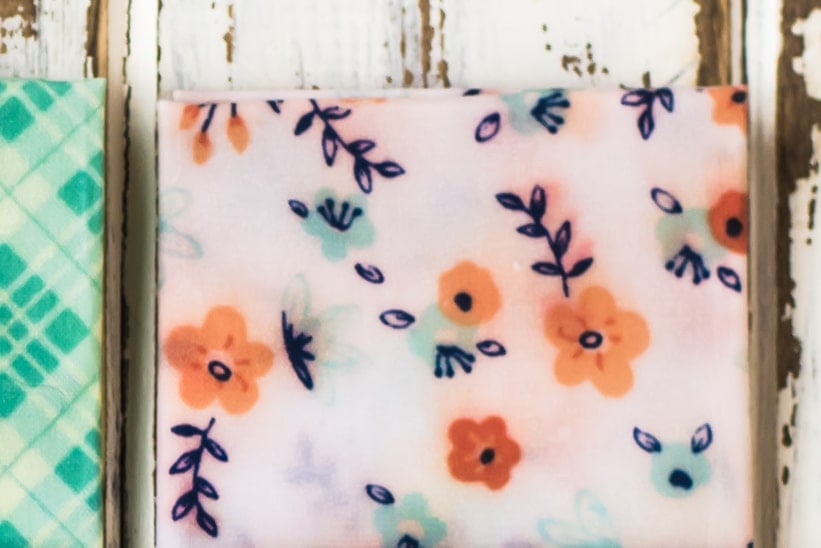
Also, make sure your fabric is colorfast. I washed and dried my fabric before using it, but my white fabric with colored flowers still bled. When the wax heated, it pulled the dye and moved it around.

~This post may contain affiliate links. If you click one and make a purchase, I may receive a commission at no additional cost to you.~
What tools do I need to make my own DIY Beeswax Wrap?
- Organic Cotton Fabric (or use any tightly woven 100% cotton fabric)
- Organic White Beeswax Pellets
- Iron
- An old towel or drop cloth
- Scissors
- Parchment paper (NOT wax paper)
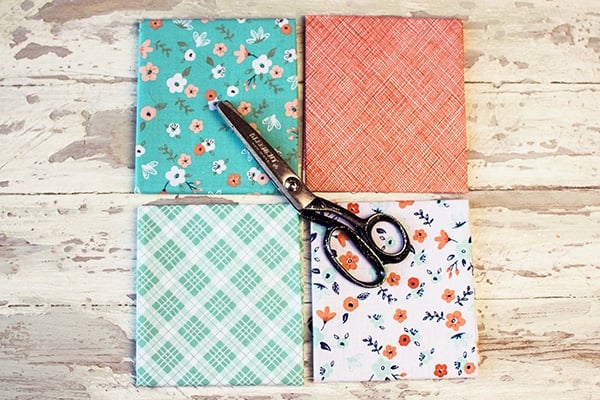
I bought four very inexpensive fat quarters (18×22 inch precut fabric), and one pound of beeswax pellets and the total cost was $30.00 CDN.
I only used half the wax bringing the full total to all 12 wraps to $20.00 CDN, the same price I paid for my Abeego beeswax wraps.
No jojoba oil or pine resin was used to make my beeswax wraps. I wanted to test if the wax fabric would work using just beeswax.
So what’s the difference between the DIY wraps and the Abeego?
The only difference between the Abeego Beeswax wraps and the DIY version was stickiness. The Abeego beeswax wraps were tacky to the touch. Although they were sticky(ish) they did not stick to anything. They did, however, stick to each other quite well.
I had to rough up my DIY Beeswax wraps to give them a bit more cling. I found the more I used them, the better they worked, but they never felt tacky to the touch and don’t quite stick to each other the same way the Abeego wraps do.

Cutting fabric and preparing it for waxing
Wash and dry your fabric before cutting.
You can cut your DIY beeswax wrap to any size. I used the Abeego beeswax wraps that I had as a template for sizing. One fat quarter will give you random sizes, depending on big or small you want to make them.
The three sizes that I made were 7 inches, 10 inches, and 13 inches. From a fat quarter, you cannot get all three, so some of my sets have one large and two small, or two medium and one small.
Well let me clarify, I couldn’t get it to work, but I was also never very good at Tetris, so you’re mileage may vary here.
Step 2 – set up your parchment paper & Iron

I did not use my ironing board because I was afraid I would get wax on it, so I set up an old towel on my dining room table.
I bought the widest roll of parchment I could find.
If you make your DIY beeswax wrap large, you will want to overlap parchment sheets on top and the bottom. Give yourself a border of at least 3 inches all around of parchment, or you will seep wax out onto your iron.
Step 3 – adding the wax and ironing

Set up your fabric between your two sheets of parchment and sprinkle on your Organic White Beeswax Pellets.
I used two tablespoons of pellets on a 13-inch square piece of fabric, and it was enough.
Set your iron for linen, and when it is hot pass it over the parchment paper. The wax below will start to melt. Keep moving the iron and do not let it stay in the same place for too long.

As the wax melts, you can push it around with the pressure from the iron. I started in the center and pushed outward to make sure that the corners and the edges had enough wax.
If you pull back your parchment and see fabric that was missed add a few more pellets and run the iron over it again. Easy peasy.
Don’t pull your DIY beeswax wrap off the parchment until it has had at least a minute to cool. If you pull it right away, you will burn your fingertips off. Don’t ask me how I know.
Safety Tips & Things worth mentioning

I need to add, that is very important that you do not get wax on your iron. Make sure your parchment covers your fabric very well.
If you do get wax on your iron, wipe it on the towel a few times.
If you do not remove the wax from your iron it will start to smoke, your fire alarm will go off, and your dogs will go mental. Ask me how I know.

Also, important to note that beeswax is combustible. If you leave your iron too long, or if you get wax on the iron it could ignite. Just be careful.
It’s a good idea to wear heatproof gloves to be on the safe side. The wax does get hot enough to stick to your skin and burn! Be mindful of where that melted wax is and keep it away from your iron and your fingers.
Step 4 – Cleaning up your DIY Beeswax wraps

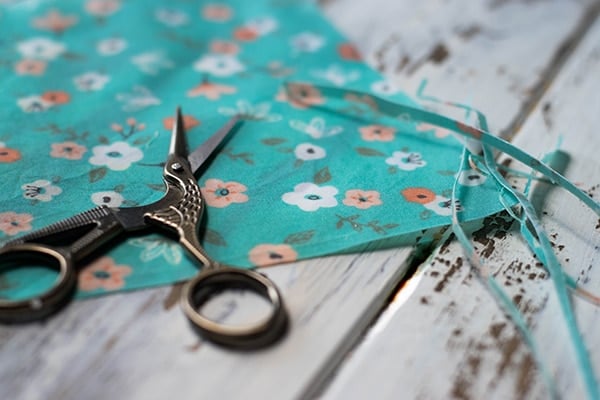
Once your DIY beeswax wraps cool, you can trim them up. I used a sharp pair of embroidery scissors to get a clean, crisp edge. Since the wax sheets are stiff, it makes it very easy to trim up.
The wraps fold easily too, but when you fold them that fold is there forever or unless you run it back under the iron (between two parchment sheets!).
To clean them you rinse under cold water and wipe or hang dry.
So how do you use them?
These beeswax wraps work great to make covers for anything, or as a wrap for dry foods like cheese, or sandwiches. I tested a block of cheese in an Abeego wrap and a DIY beeswax wrap and had no issues with either one. The cheese was perfect at the end of the week.
The best things to use them with are dry or hard foods with little moisture.
They do not work well with anything wet. You can’t cover a halved avocado or lemon. These beeswax wraps don’t work that way, unfortunately.
Give them as gifts!
These beeswax wraps make great gifts for anyone who is eco-conscious and someone who loves to cook. They also make a lovely hostess gift, or you can give them away as handmade holiday gifts.

If you want to download the packing label you can that here:


Looking For More DIY Gift Ideas?
How to Make Soy Candles
For the cost of a coffee, you can make your very own customized hand-poured candles! The process is very easy and incredibly satisfying. Make your candles any scent you want and as powerful as you want!

How To Make DIY Beeswax Wraps Without Resin.
Easy to make, eco-friendly DIY beeswax wraps made without resin.
Materials
- Organic Cotton Fabric (or use any tightly woven 100% cotton fabric)
- Organic White Beeswax Pellets
- An old towel or drop cloth
- Parchment paper (NOT wax paper)
Tools
- Scissors
- Iron
Instructions
- Wash and dry your fabric before cutting.
- You can cut your DIY beeswax wrap to any size. I used the Abeego beeswax wraps that I had as a template for sizing. One fat quarter will give you random sizes, depending on big or small you want to make them. The three sizes that I made were 7 inches, 10 inches, and 13 inches. From a fat quarter, you cannot get all three, so some of my sets have one large and two small, or two medium and one small.
- Add an old towel to the table you are working on and cover it with a wide piece of parchment paper.
- If you make your DIY beeswax wrap large, you will want to overlap parchment sheets on top and the bottom. Give yourself a border of at least 3 inches all around of parchment, or you will seep wax out onto your iron.
- Set up your fabric between your two sheets of parchment and sprinkle on your organic white beeswax pellets.
- Use approx two tablespoons of pellets on a 13-inch square piece of fabric.
- Set your iron for linen, and when it is hot pass it over the parchment paper. The wax below will start to melt. Keep moving the iron and do not let it stay in the same place for too long.
- As the wax melts, you can push it around with the pressure from the iron. I started in the center and pushed outward to make sure that the corners and the edges had enough wax.
- If you pull back your parchment and see any fabric that was missed add a few more pellets and run the iron over it again. Easy peasy.
- Don't pull your DIY beeswax wrap off the parchment until it has had at least a minute to cool. If you pull it right away, you will burn your fingertips.
Notes
Beeswax is combustible. Do not leave the iron rest in the same place for too long.
Make sure your parchment paper has at least a 3-inch overlap of your fabric to avoid hot wax getting on your iron. If you do get wax on your iron, wipe it off immediately on the towel. Beeswax on your iron will smoke enough to set off your fire alarms.
Wear gloves. The wax is hot, the iron is hot, and it makes sense to protect your fingers and hands from burns.
Lighter fabrics will turn yellow, and fabric that is not colorfast made bleed.
Recommended Products
As an Amazon Associate and member of other affiliate programs, I earn from qualifying purchases.


