How Deep To Plant Iris Bulbs (Bulbous Irises)


There is a lot of confusion around how deep to plant iris flower bulbs. Ask that question, and you may get five different answers. The problem is how we talk about bulbs; we call everything from rhizomes to tubers bulbs. So when someone asks about the planting depth of an iris, you need to know what kind of Iris you are planting.
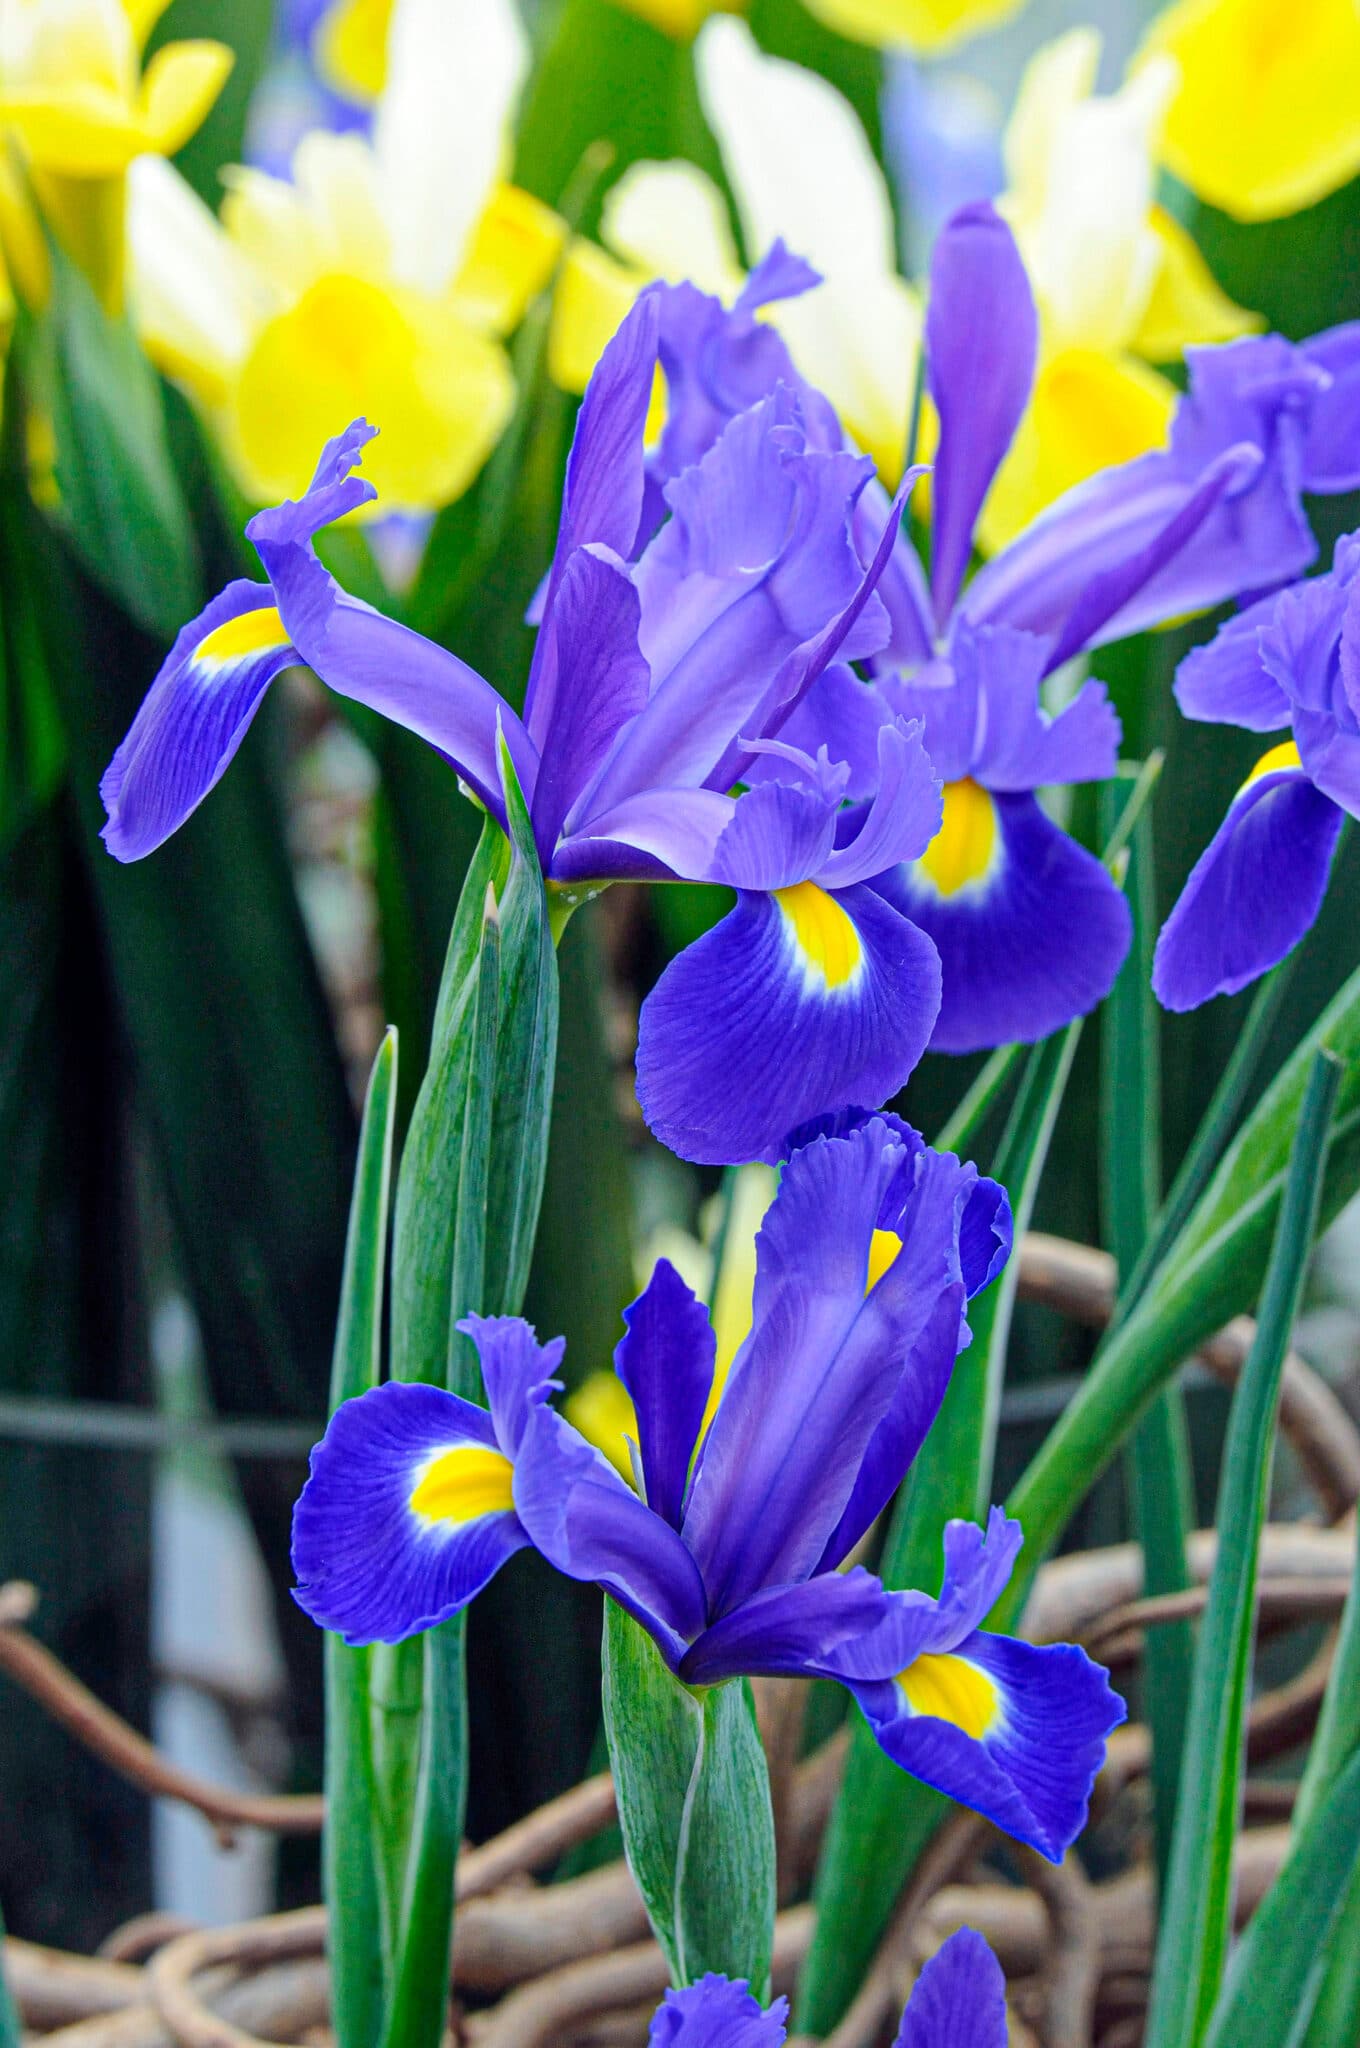
In this post, we are specifying the planting care for bulbous irises. These are the type of irises with a traditional bulb shape and consist of the famous Dutch iris bulbs, netted iris, and dwarf irises.
The different types of Bulbous Iris
You know spring has arrived when you see iris blooms starting to appear in your garden. They are often the first flowers to bloom in springtime and are always a welcome sight after a long winter. These beautiful flowers are perfect for garden beds, perennial beds and borders, and rock gardens. In addition, you can plant irises with short-rooted annuals to keep the garden tidy as the irises die back in early summer.
These easy-to-care-for flowers only need sunny locations and good air circulation to thrive.
There are generally three popular types of bulb irises :
- i. danfordiae – Dwarf Iris or Danford Iris
- i. reticulata – Netted Iris or Golden Netted Iris
- i. xiphium – Bulbous, or Dutch Iris bulbs
Important Note About Bearded Irises (Perennial Irises):
Some irises are cultivated from rhizomes; and their care and planting needs differ from bulbous irises. This plant species is known as i. germanica is more commonly as Bearded Irises, Intermediate Bearded Iris, Standard Bearded, and Tall Bearded Irises.
At first glance it seems like there is a lot of conflicting information on the internet about how deep to plant iris bulbs. Most of the confusion comes from the different requirements for bulbous irises versus bearded iris rhizomes. When planting irises, be sure which one you have before digging!
How Deep to Plant Bearded Iris
Plant bearded irises in a shallow hole with the the roots spread out and the top of the rhizome just exposed at the soil surface.
Important Note about Bearded Irises (Perennial Irises)
Many growers make a common mistake in confusing bulbous irises and bearded irises.
For the points in this article, we are talking specifically about bulbous irises, not rhizome type irises.
There are numerous other irises like Japanese Iris, Siberian Irises, and the Louisiana Iris. You can find the information you require on these species by checking out the American Iris Society’s website.
How to Plant Iris Bulbs
The best time to plant bulbous iris is in early fall. Prepare the soil 6 inches deep for best results and add a handful of compost into the hole before planting iris bulbs.
Learn More: For more info on fall planting bulbs, check out our full guide!
How Deep to Plant Iris Bulbs by Bulbous Type:
- Dwarf irises (i. danfordiae) – Plant at least 4 inches deep. Planting dwarf irises deep discourages the flower from developing non-flowering bulblets.
- Netted Irises (i. reticulata)- Plant 3-4 inches deep.
- Bulbous irises (i. xiphium) – Plant 3-4 inches deep.
Bulbous Iris Growth Descriptions: How To Tell Them Apart by Sight
Not sure what irises you have planted? If they are bulbous irises, you can tell the difference by their height, spread, and very different characteristics.
Height:
- i. danfordiae 2-4″ at flowering time
- i. reticulata – 8-10″ at flower times
- and also i. xiphium – 20-24 inches
Spread:
Leaving enough room for spread is important to get right to ensure good air circulation.
- i. danfordiae 4-6″
- i. reticulata 8-10″
- also i. xiphium 2-24″
Blooms & Foliage:
All the irises have six-petal-shaped flowers, but each type has peculiarities that differentiate themselves from the others.
- i. danfordiae – has 1 inch long flowers with olive-green spots on the falls. Leaves are grass-like.
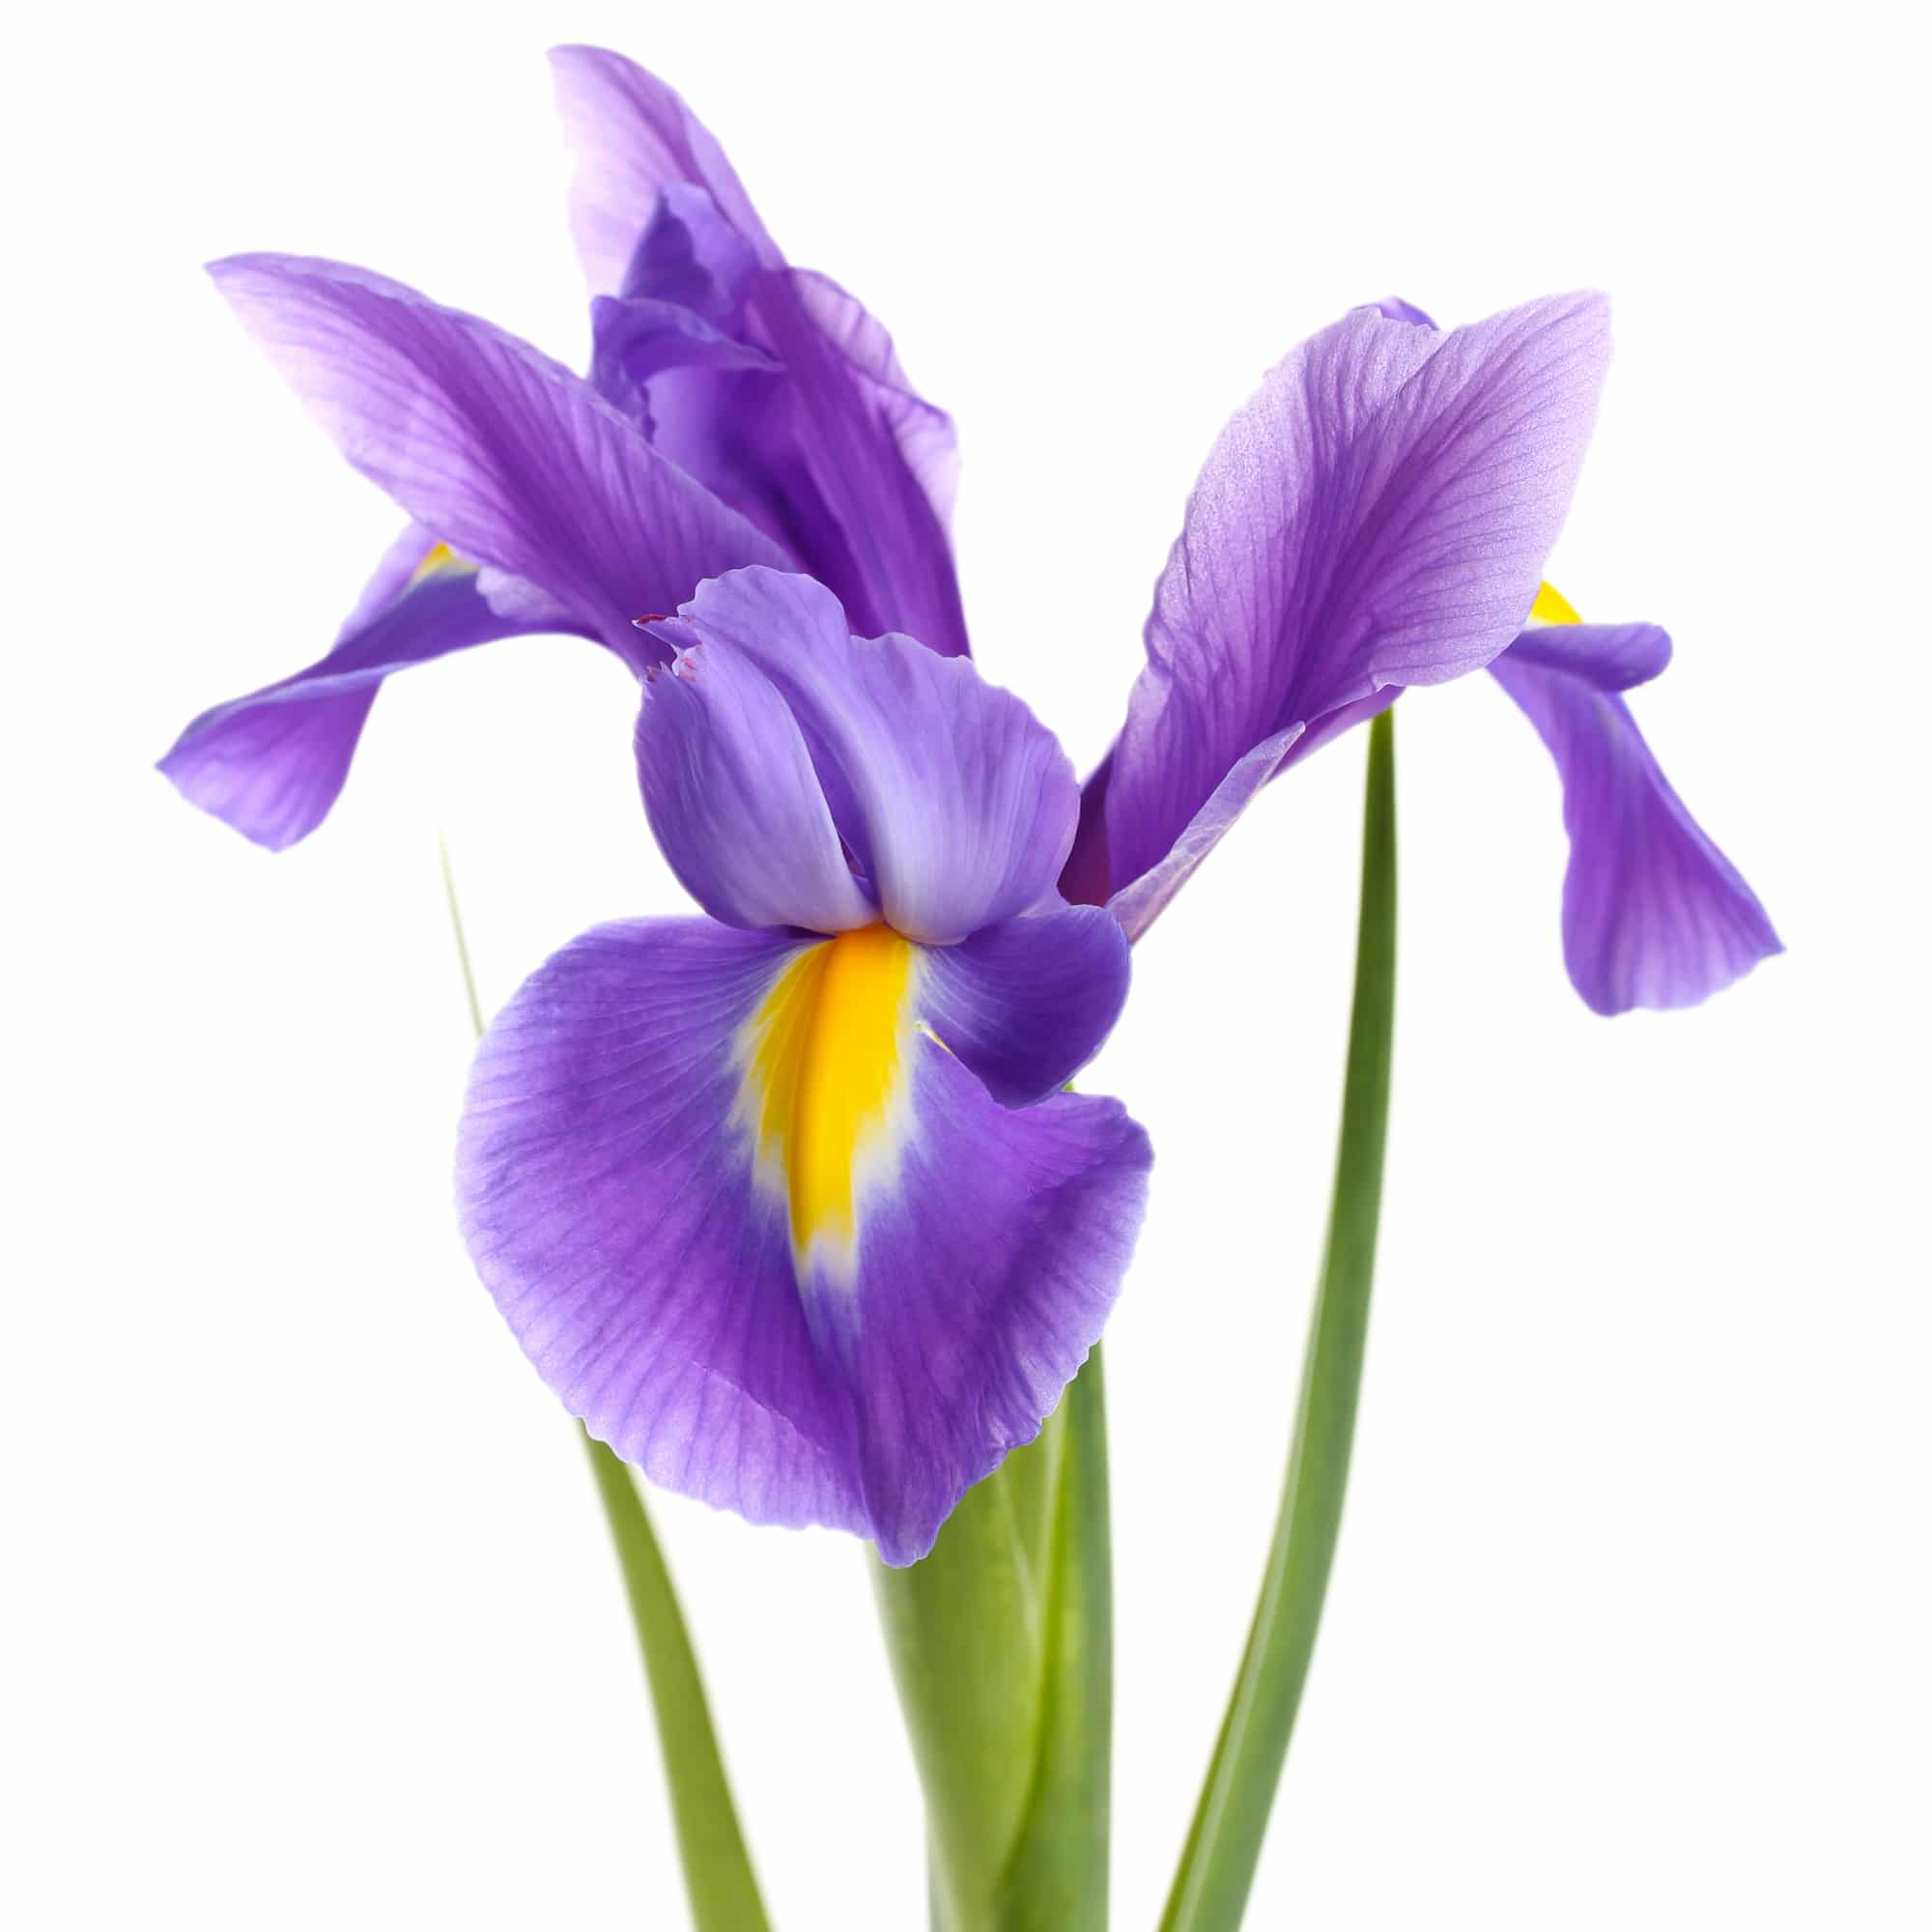
- i. reticulata – bear 3.5″ flowers that are usually violet, or purple with a yellow crest.
- i. xiphium – Has leaves that are almost round.


Care of bulbous Irises
- Hardiness zone: Hardy to USDA zones 4-9
- Sun requirements: For best results irises should be grown in full sun. In hot climates, irises can be grown in dappled partial shade.
- Water requirements: Irises should receive all the water they require from natural rainfall. Dutch irises should not be watered during the summer nor have consistently wet moist soil.
- Soil type requirements: Well-draining soil with lots of organic matter. Irises require good drainage to help prevent fungal diseases, root rot, and insect infestation. If you have heavy clay soils it is a good idea to add lots of organic humus to the soil to improve drainage and aeration. Irises like slight acidic soil.
- Feeding requirements: A simple spring application of compost or slow-acting fertilizer will be enough for your newly planted iris bulbs.
- Bloom Time: Late winter (May) to Early Spring (June).
Propagation of Irises
You can propagate netted or golden irises by digging the entire clump up in fall, separating the bulbs, and replanting.
Bulbous and dwarf irises tend to die out after one or two seasons, so gardeners plant new bulbs yearly.
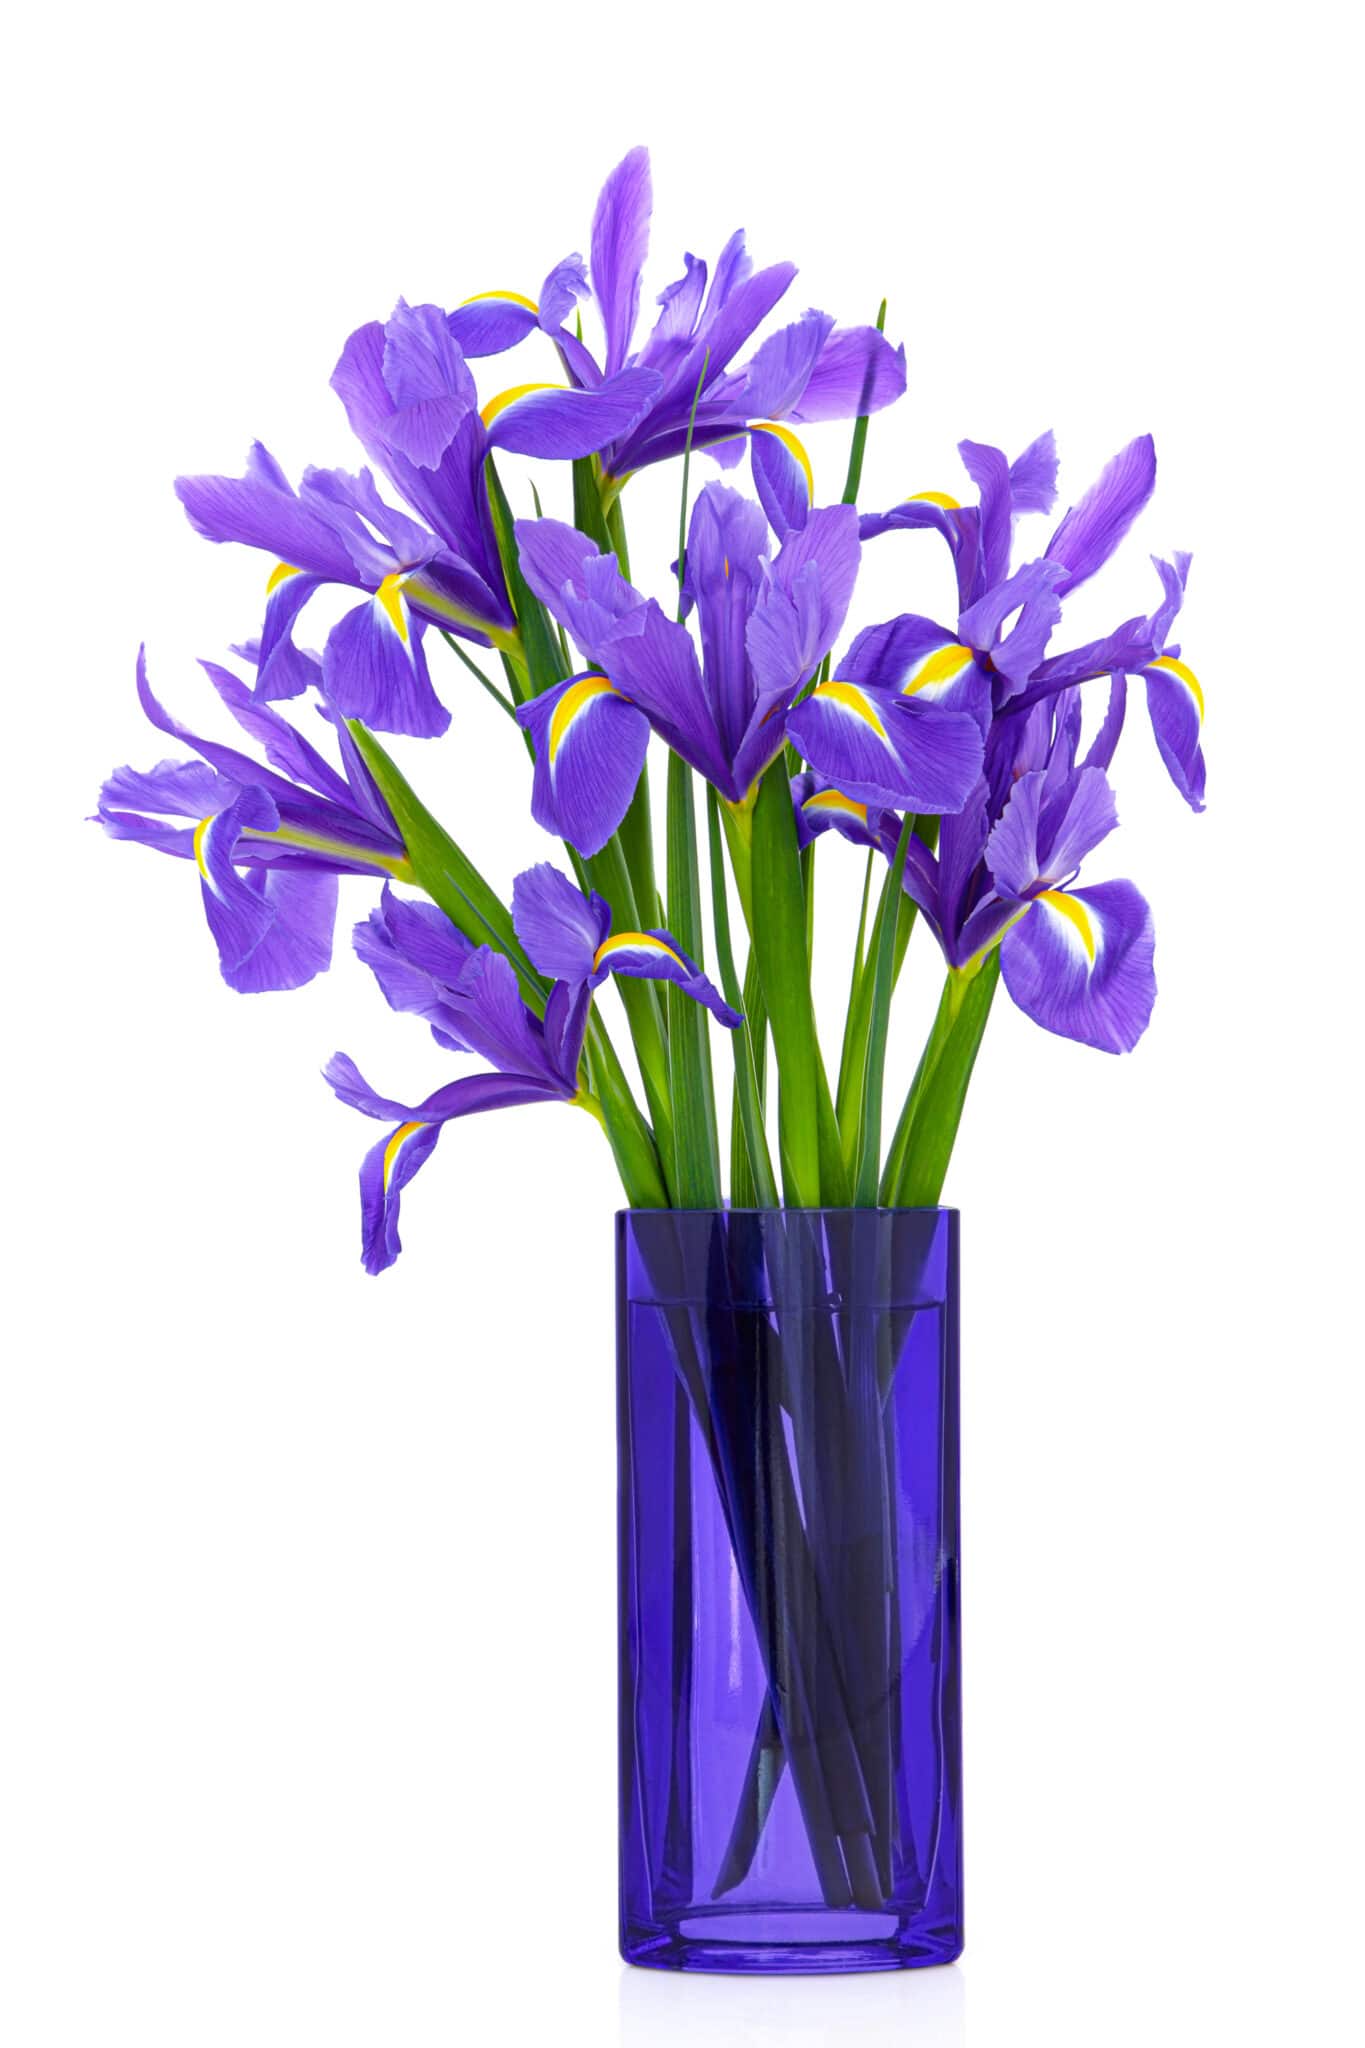
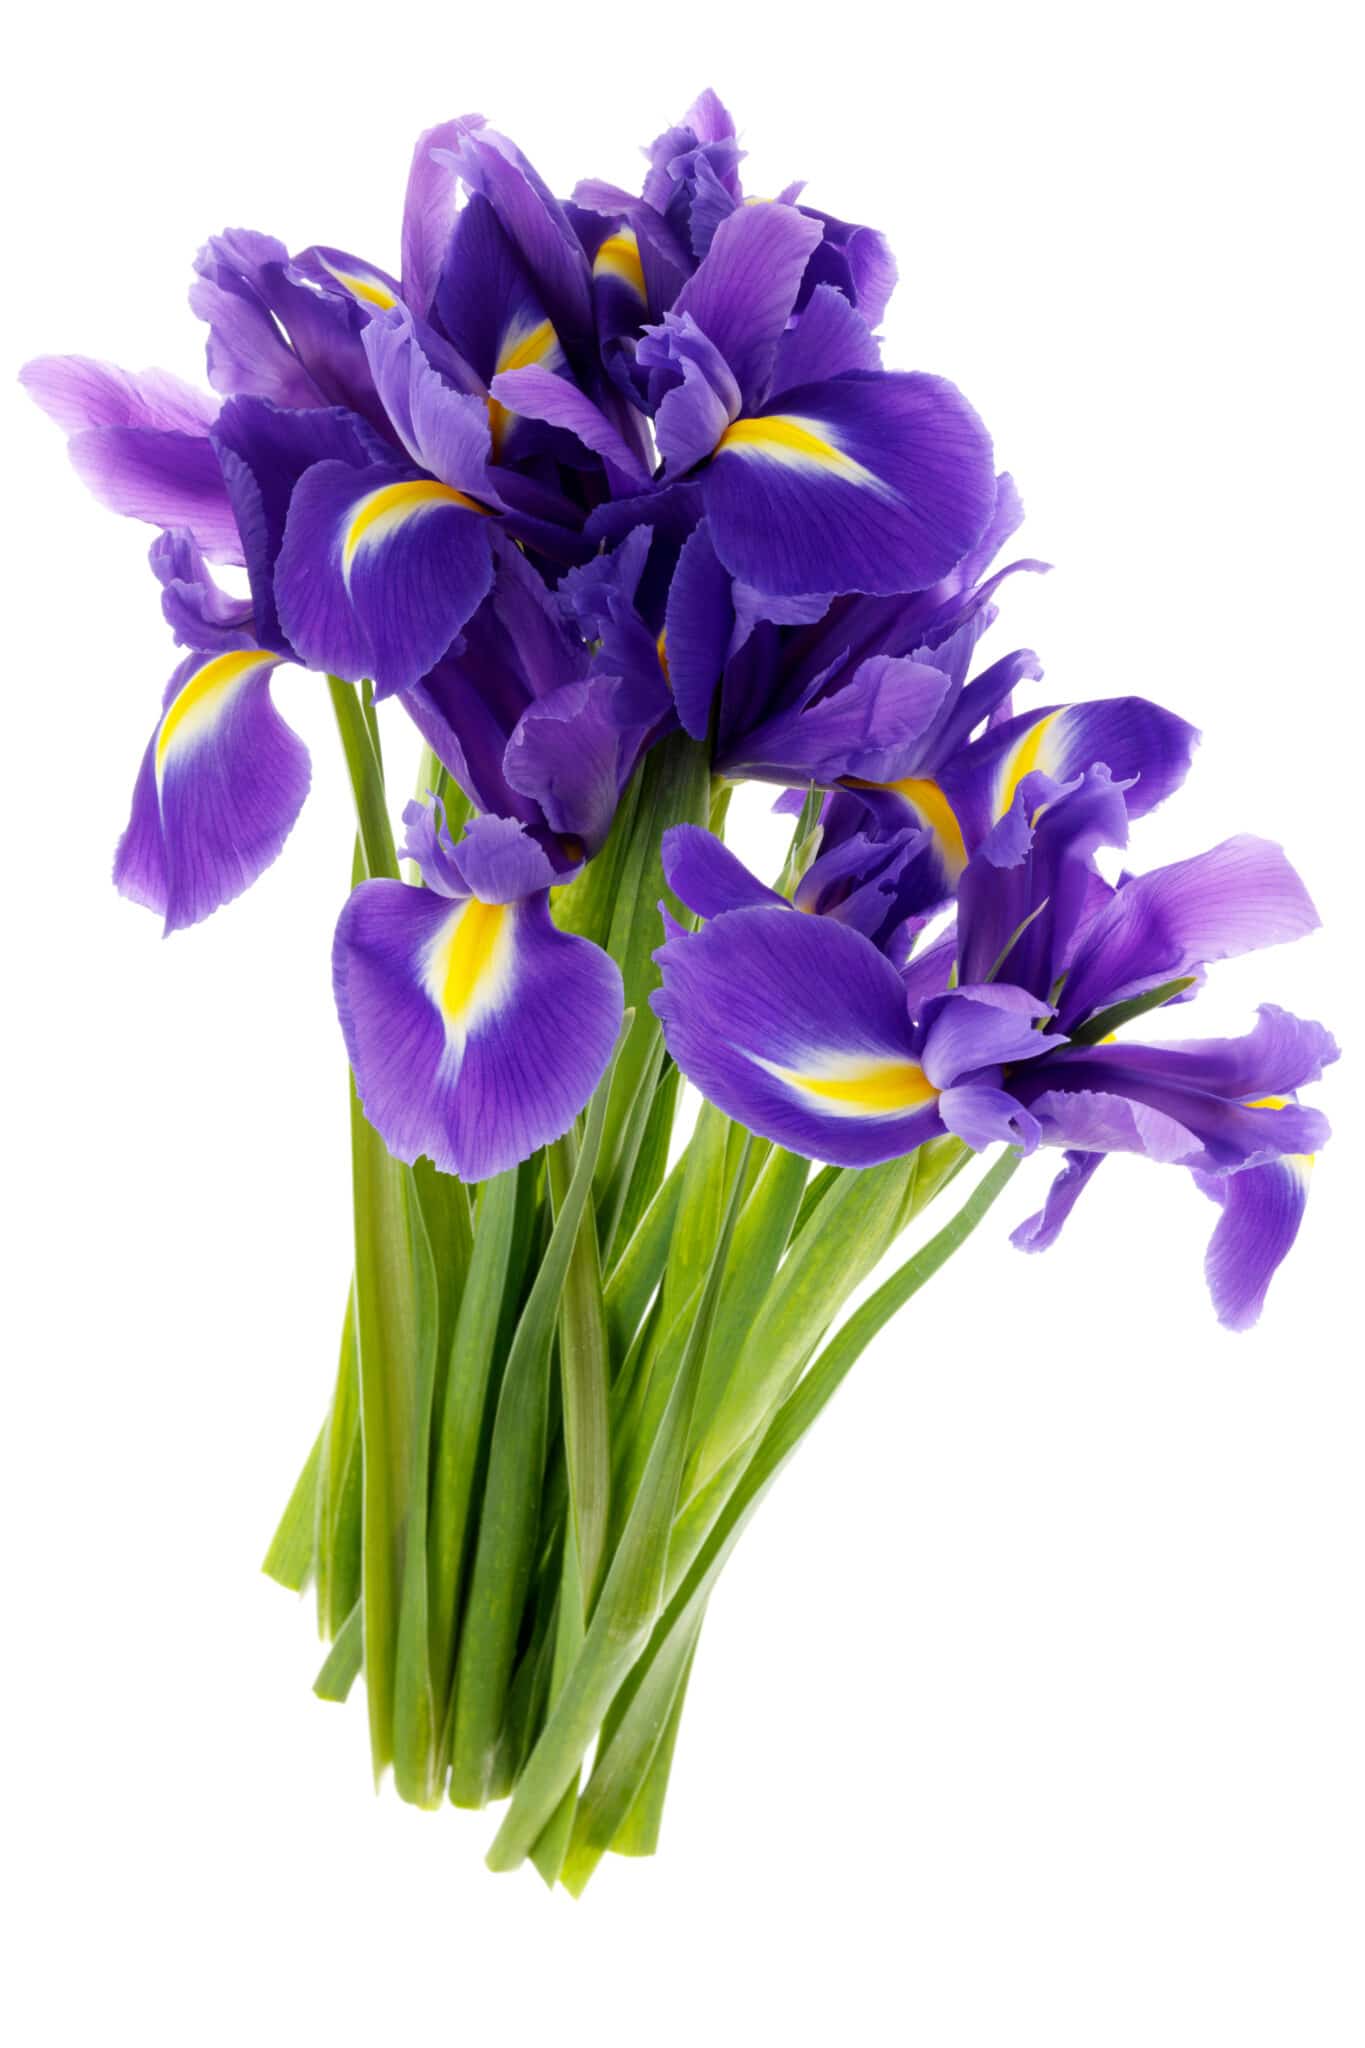
Using Irises for Cut Flowers
Dutch Irises make lovely cut flowers for flower arrangements. Use a sharp knife to cut the stems. The blossoms will last 3-5 days as buds continue to open. Irises cannot handle a significant swing in temperature, so it is ill-advised to plunge the freshly cut stems into cold water. You can store your cut irises dry in cold storage for up to a week, but it will reduce the vase life by 1-2 days.
Common Insect Pests of Irises
Several common insect problems affect growing iris plants. The good news is that there are ways to prevent and control these critters.
Bulb Flies
Blubs that are soft during planting season or those bulbs that never emerge with spring blooms are likely infected with bulb flies. The blackish green 1/3 inch long insect lays its eggs near the base of the bulb leaves. The eggs then hatch, and the larvae bore into the bulb to feed, destroying the bulbs.
The best line of defense against bulb flies is to inspect your bulbs when you purchase them to ensure there are no small holes, softness, or rot. Destroy any soft bulbs before planting.
Bulb Mites
If your irises have sickly-looking growth, they may be infested with bulb mites. Leaves will be stunted or deformed, and flowers may be distorted or not appear. If you suspect you may have bulb mites, you will need to dig down to the bulb for inspection. Bulb mites are small, 1/25″ inch long, and are white. They have four pairs of legs and cluster in large colonies. They will be attracted to rotting bulbs, so ensuring good draining and avoiding overwatering is the first line of defense against these insect pests.
If you have an infestation of bulb mites, you must destroy the bulbs together with the soil in which they were grown. Do not compost. Also, avoid planting any bulbs in that location the following year.
Slugs and Snails
If your irises are planting a sunny, warm spot with lots of air circulation, slugs, and snails should not be a problem. They dislike warm hot areas and will venture to cool, moist areas to chew and munch on leaves. But slugs and snails will eat your iris plants just as quickly as they will eat your hostas.
Put out bait in early spring to control or prevent slugs and snails in the garden. Commercial baits like Sluggo work exceptionally well. We’ve also had great success putting out beer on a saucer, but honestly, my husband cries when I use his beer in the garden.
Iris Borer
Iris borers will spend their winters as eggs on old iris leaves and old plant debris. They emerge In early spring, hatch into tiny caterpillars and climb the new foliage. In late July or early August, caterpillars move into the soil, transforming into pupae and then emerging as moths in late summer or fall.
You can control iris borers by removing garden debris at the end of the season and using insecticides in early spring. Remove and destroy dead iris foliage in late fall or early spring to remove most of the borer eggs. An insecticide should be applied in spring when new growth reaches 4-5 inches.
Diseases of Irises
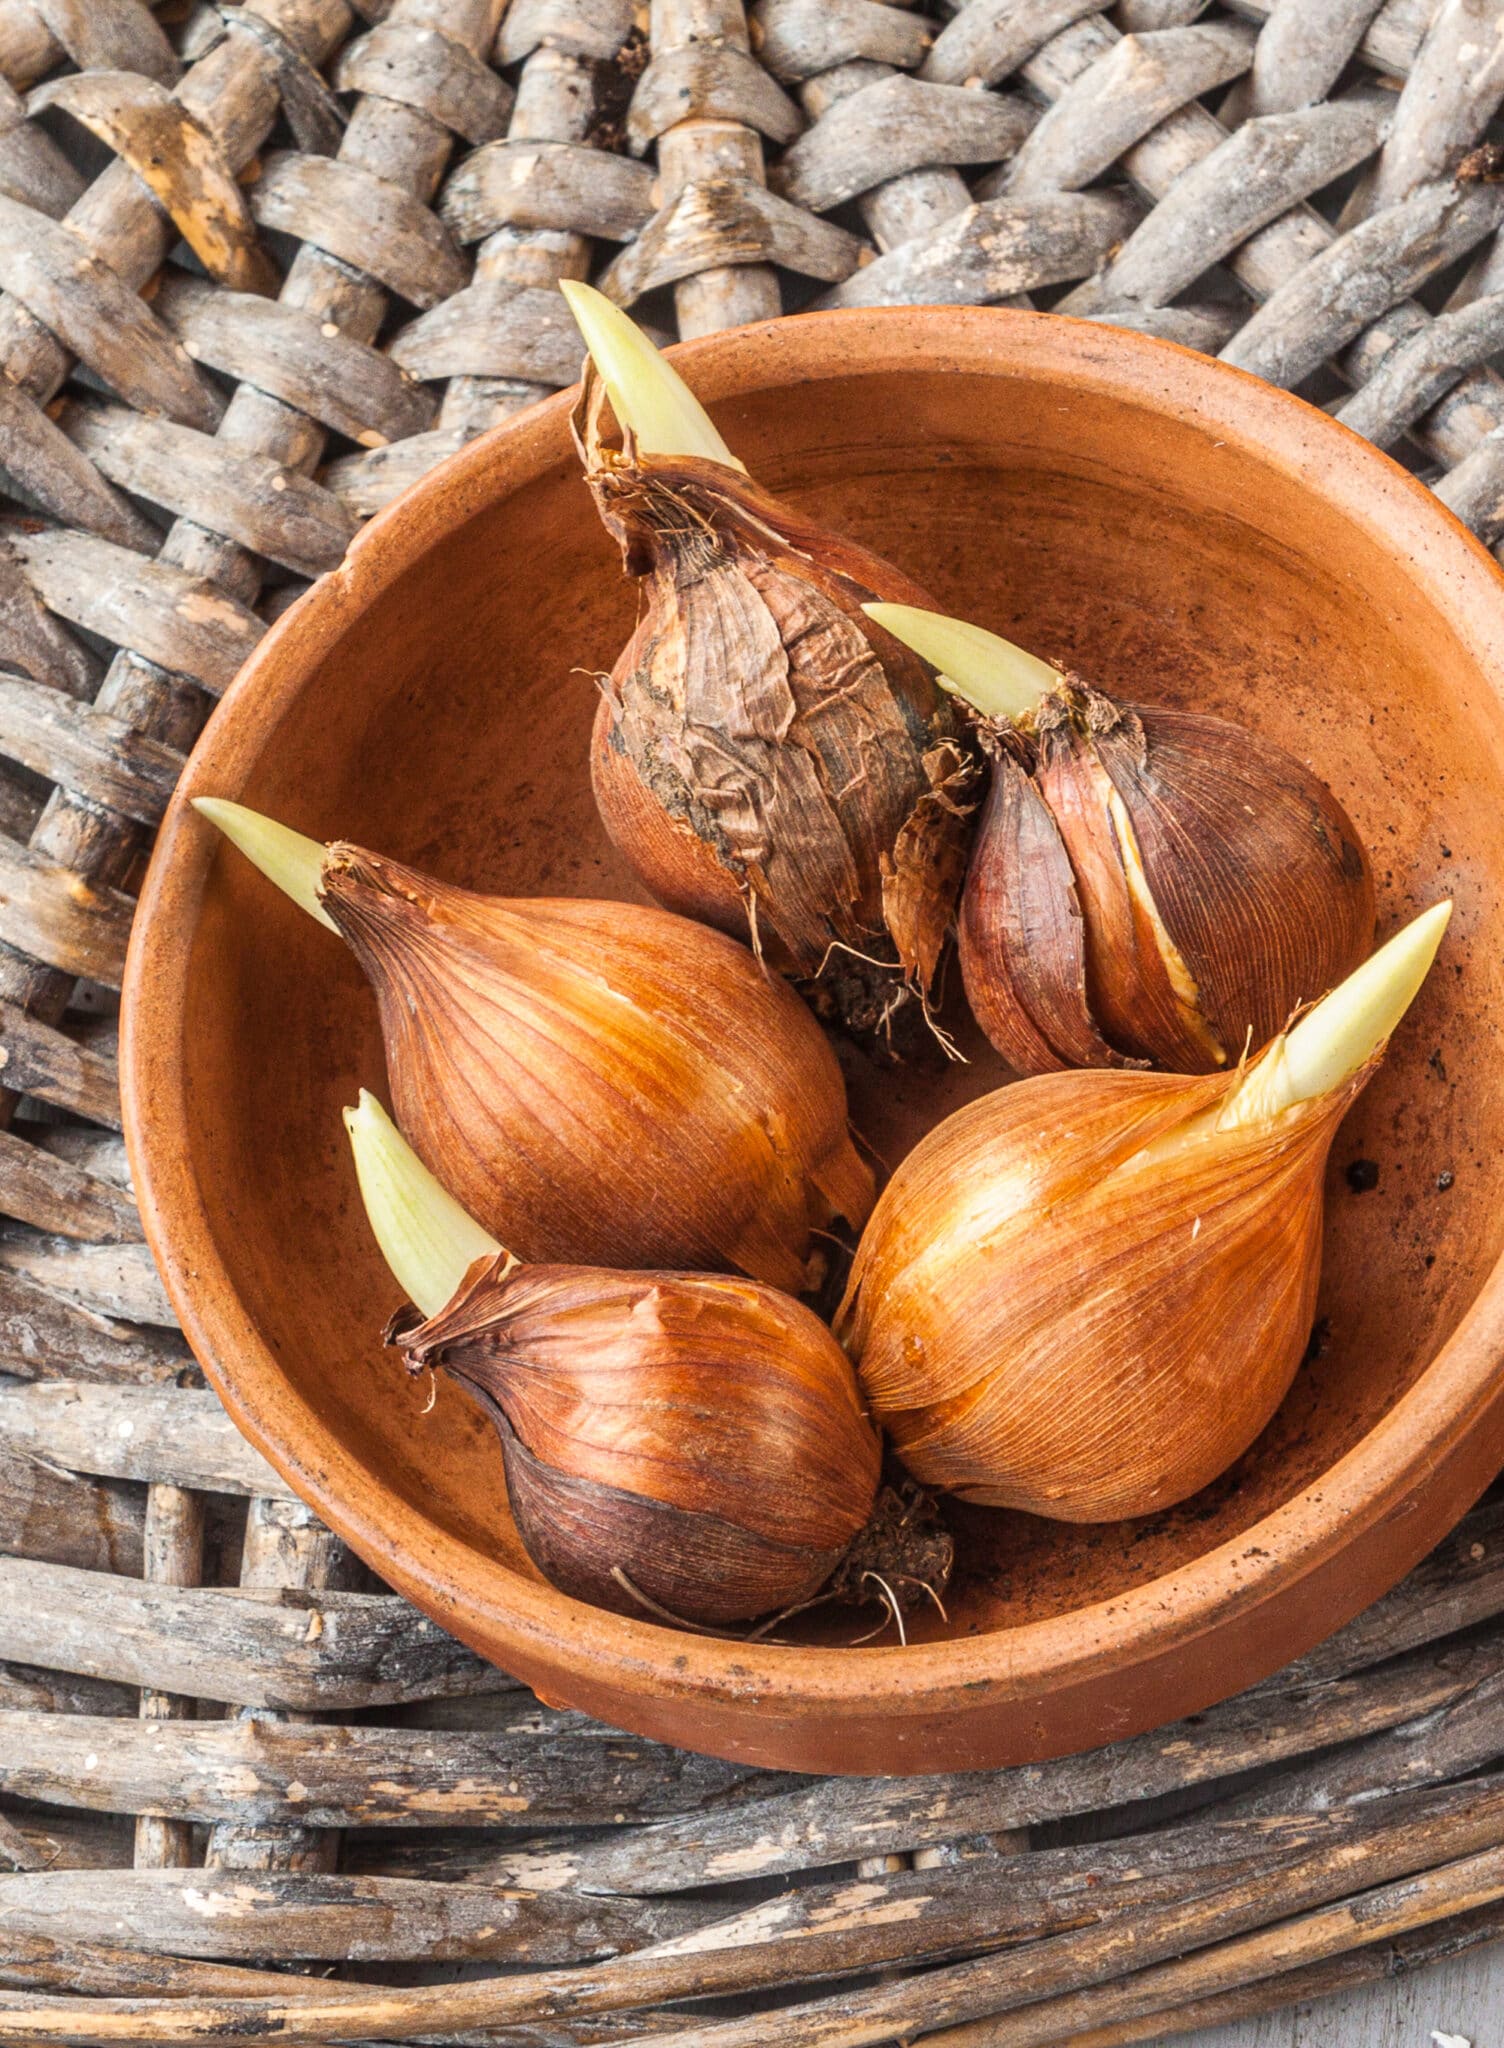
Although irises can be susceptible to several rot diseases, you can avoid most problems by inspecting the bulbs well before planting.
Look for healthy, plump bulbs that should have no signs of rot, holes, or softness. The bulbs should also have a papery bulb coat.
Basal Rot or Crown Rot
Basal rot is a fungal disease that attacks bulbs at the roots or the base of the bulb. The fungi cause brown rotted tissue that creeps up through the center of the bulbs. Infected plants will usually not produce flowers.
Crown rot will present the same way as basal rot. The disease also has a white powdery mold coating.
Any bulbs that are infected should be destroyed together with the soil they grow in. Avoid planting new bulbs in the same spot where infected bulbs grew the year before.
Leaf Spot
Leaf spot will present itself as round gray spots on the leaves. Eventually, the infection will cause the leaves to die early in the season.
Remove any leaves that developed spots and destroy them, do not compost.
If leaf spot is a problem in your area, you can treat the plants with wettable sulfur or Bordeaux mixture in 7-10 day intervals.
Did that Solve the Confusion?
Knowing how deep to plant iris bulbs is as simple as knowing what type of iris you’re growing. It’s also best to verify the planting depth from the back of the package of bulbs. When in doubt, try to identify your bulbs as best you can before planting.
We hope this article gave you all the information you need to plant and care for your bulbous irises through the growing season. Gardening is fun, but it can get spendy! Mistakes are costly and sometimes it doesn’t take much to ruin a plot of flowers.
Tell Us Your Gardening Stories!
When I was younger, I once planted many expensive tulip bulbs in my window boxes when I lived in Zone 3A in Canada, and guess what happened? They all rotted – every single one of them! Lesson learned. Now I check and double-check before I plant anything!
Did you ever make a costly gardening mistake? Share your woes! Our readers get so much out of hearing about what not to do. Don’t be shy!
Looking for More Flower Bulb Inspiration? We Have You Covered!
- How to Plant Ranunculus Bulbs – Planting, Growing and Storing
- How to Plant Calla Lily Bulbs
- Bulbs for Spring Planting and Beautiful Summer Blooms
- How Late Can you Plant Allium Bulbs?
- Popular Ornamental Allium Varieties
- How to Plant Gladiolus Bulbs For Beautiful Summer Blooms
- Can You Plant Peonies in Spring?
- Fabulous Foxgloves – How to Grow and Care For Foxglove Plants
- 26 Stunning Plants That Attract Hummingbirds
- How to Grow Beautiful Daffodils
- How to Plant Tulip Bulbs
- How to Grow Crocus from Bulbs
- How to Plant and Care for Amaryllis Bulbs
Editorial Note: This post was originally published on March 2, 2022, and was updated on February 5, 2023.
