How to Grow Kale and Pick The Best Variety For Your Garden
Kale, a member of the cruciferous vegetable family, is an ancient crop grown for over 2,000 years. This highly nutritious leafy green vegetable is known for its dark green, curly leaves, and its unique earthy flavor. Its impressive nutrient profile has become increasingly popular among health-conscious individuals. And because of its popularity, kale prices have risen exponentially over the last few years. Our solution always is, why buy it if you can grow it? So, we will share our best tips for growing kale and share some of the best kale varieties with you.

Affiliate Disclosure
This post may contain affiliate links. If you click one and purchase, I may receive a commission at no additional cost. You can read our disclosure policy here.
Choosing the Best Kale Variety
Choosing the right variety is crucial for a successful harvest. With so many varieties available, each with unique characteristics, it’s important to consider factors such as taste preference, growth habits, and climate suitability.
Different Varieties of Kale
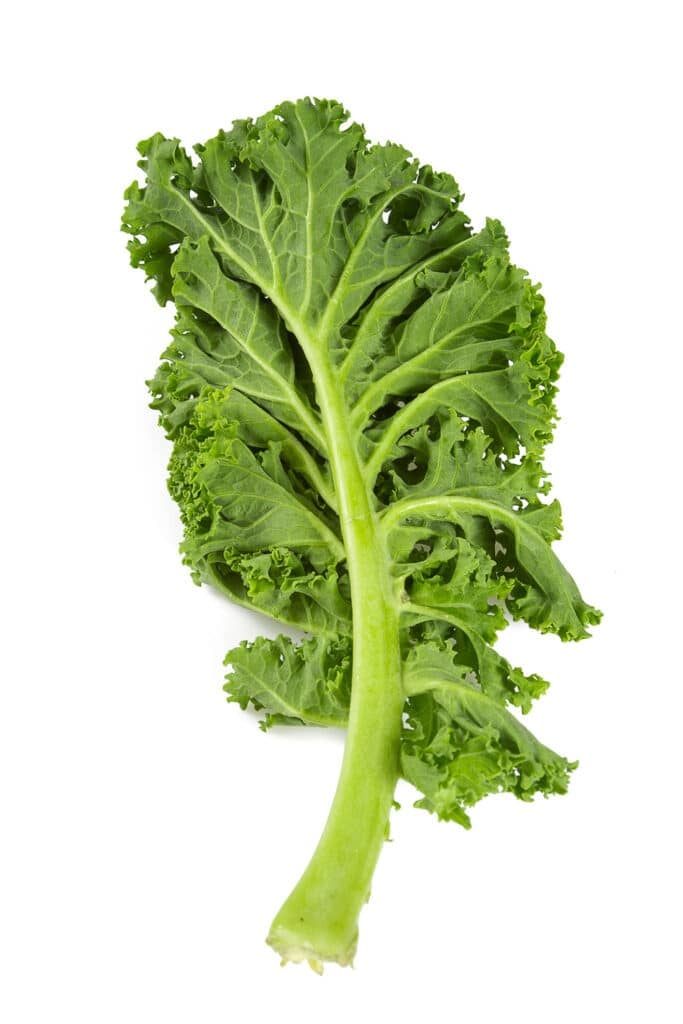
Kale comes in various shapes, colors, and flavors, from frilly kale or blue-green leaves to nutty, sweet, and slightly bitter flavors. Here are some of the most popular varieties you can choose from:
- Curly Kale: This is perhaps the most common type of kale found in grocery stores. It features tightly curled leaves that add texture and volume to salads or cooked dishes. Curly kale has a slightly bitter flavor that mellows when cooked.
- Dinosaur Kale (Lacinato or Tuscan Kale): Known for its dark green, long, narrow leaves with a bumpy texture, dinosaur kale offers a more earthy and delicate flavor than curly kale. It is perfect for making crispy kale chips or adding depth to soups and stews.
- Red Russian Kale: As the name suggests, this variety has vibrant reddish-purple stems and frilly green leaves. Red Russian kale has a sweeter taste than other types of kale and works well in raw salads or lightly sautéed dishes.


Considerations When Choosing a Kale Plant For Your Garden
To ensure your kale plants thrive in your garden, take into account these essential considerations when selecting a variety:
Taste Preference: Different people have different taste preferences. Some enjoy the slight bitterness of curly kale, while others prefer the milder, tender leaves of dinosaur or Red Russian varieties. Consider what suits your palate best.
Growth Habit: Understanding each variety’s growth habits is crucial for effectively planning your garden layout. Curly kale grows in a loose rosette shape, while dinosaur kale forms tall, upright stalks. Red Russian kale falls somewhere in between. Consider how each variety’s growth habit will fit into your garden space.
Learn More: Did you know kale can grow exceptionally well in containers? It can! We compiled a complete guide to get you started growing kale in pots!
Climate Suitability: Kale is known for its cold tolerance, but certain varieties handle extremely cold temperatures much better than others. If you live in a region with harsh winters, look for varieties specifically bred for cold climates.
Kale makes a great winter garden vegetable; we often go out and shake the snow off our mini greenhouses and pull fresh kale leaves in the dead of winter.
On the other hand, if you reside in a warmer area, seek heat-tolerant varieties that can withstand higher temperatures. Types such as “Black Magic Kale” and “Dwarf Blue Curled Kale” both do well in warmer temperatures.
Resistance to Pests and Diseases: Different kale varieties may exhibit varying resistance levels to pests and diseases. Researching and selecting disease-resistant varieties can help minimize the risk of common issues such as aphids or powdery mildew affecting your plants.

Starting Kale Seeds: Germination and Care
Starting kale seeds indoors allows for earlier planting and ensures better control over growing conditions. Whether you’re a seasoned gardener or just starting, growing kale from seeds is a rewarding experience that can yield delicious and nutritious greens.
Sowing Kale Seeds Indoors
To get started, sow your seeds in seed trays or pots filled with a well-draining soil mix about 6 to 8 weeks before the last frost date in your area. This timing allows the seedlings to establish themselves before being transplanted outdoors in spring.
When sowing the seeds, plant them at a depth of approximately ¼ inch (0.6 cm) into the soil. Gently press down on the soil after sowing to ensure good seed-to-soil contact. It’s important to note that kale seeds require darkness for germination, so covering them with a thin layer of soil or using black plastic can help create optimal conditions.
- Learn More: Kale seedlings make excellent nutrient-packed microgreens that are quick and easy to grow indoors. We have a complete guide on the best-tasting and fastest-growing microgreens to get you started.

Maintaining Moisture for Germination
It is crucial to keep the soil moist but not waterlogged during germination. Misting the soil surface or using bottom watering techniques can help prevent overwatering while ensuring adequate moisture levels for successful sprouting.
Mist the soil lightly whenever it starts to dry out, ensuring it does not disturb the delicate young seedlings. Alternatively, you can place your seed tray on top of a shallow tray filled with water to absorb moisture from below through capillary action.
Providing Adequate Light
Proper lighting is essential for young kale seedlings’ healthy growth and development. Place your seed trays near a sunny window where they can receive at least 6-8 hours of direct sunlight daily. If natural sunlight is limited or inconsistent, consider using artificial grow lights to supplement the light requirements.
When using grow lights, position them approximately 2-4 inches (5-10 cm) above the seedlings and adjust the height as they grow. This will ensure the young plants receive adequate light intensity for optimal photosynthesis and sturdy stem development.
Transplanting Seedlings
Once your kale seedlings have developed their first true leaves, it’s time to transplant them into larger containers. This step is crucial for providing enough space for their roots to grow and preventing overcrowding, which can lead to stunted growth.
Choose pots or containers at least 3-4 inches (7-10 cm) deep with good drainage holes. Fill the containers with a well-draining potting mix, making sure not to compact it too tightly. Gently lift each seedling from its original tray, carefully not to damage the delicate roots, and place it into a prepared hole in the new container. Backfill around the seedling with additional potting mix, firming it gently around the base of the stem.

Protecting Seedlings in Spring
Protecting them against potential frost or cold snaps is important if you plan for early spring planted kale. You can use various methods such as row covers, cloches, or even plastic bottles with their bottoms cut off to create mini-greenhouses to protect young kale plants.
Should We Plant Kale Seeds or Transplants?
One of the first decisions you must make is using seeds or transplants. Each method has advantages and considerations, so let’s investigate the details.
Direct Seeding for Variety Selection
Direct seeding might be your best bet if you’re a kale enthusiast who revels in the vast array of varieties available. You open up a world of options by planting kale from seeds directly in your garden.
However, it’s important to note that direct seeding requires patience because it takes longer for the plants to reach maturity and be ready for harvest. Kale is a cool-season crop that thrives in temperatures between 60°F and 70°F (15°C – 21°C). Depending on your climate, you may have to wait several weeks before enjoying those delicious leaves.

Transplanting for Time Efficiency
On the other hand, if time is of the essence and you’re eager to start harvesting sooner rather than later, transplanting young seedlings into your garden can save you precious time. When you choose this method, remember that your variety selection may be more limited than direct seeding.
Transplanting allows you to get a head start on growth by nurturing kale seedlings indoors or purchasing them from nurseries. These young plants are already established and will take less time to mature than starting from seeds directly in the ground. This makes transplanting an excellent option for regions with shorter growing seasons.
Considering Growing Seasons
The choice between direct seeding and transplanting depends on your region’s growing season. Direct seeding becomes highly recommended if you live in an area with a long growing season where frost arrives late in the fall. You have ample time for kale, starting from seeds, to grow and mature before the cold weather.
However, transplanting becomes more suitable if you reside in a region with a shorter growing season. By starting with young seedlings, you can take advantage of every available day to ensure your kale reaches its full potential before the frost arrives.
Preparing the Soil for Success
No matter your chosen method, proper soil preparation is vital for successful kale growth. Before planting either seeds or seedlings, take the time to ensure your soil is well-prepared. Start by removing any weeds or grass from where you plan to plant your kale.
Incorporating organic matter into the soil will provide essential nutrients and improve its structure. Compost or well-rotted manure are excellent choices for enhancing soil fertility and drainage. Work these amendments into the top few inches of soil using a garden fork or tiller.
Consistent Moisture is Key to Healthy Kale
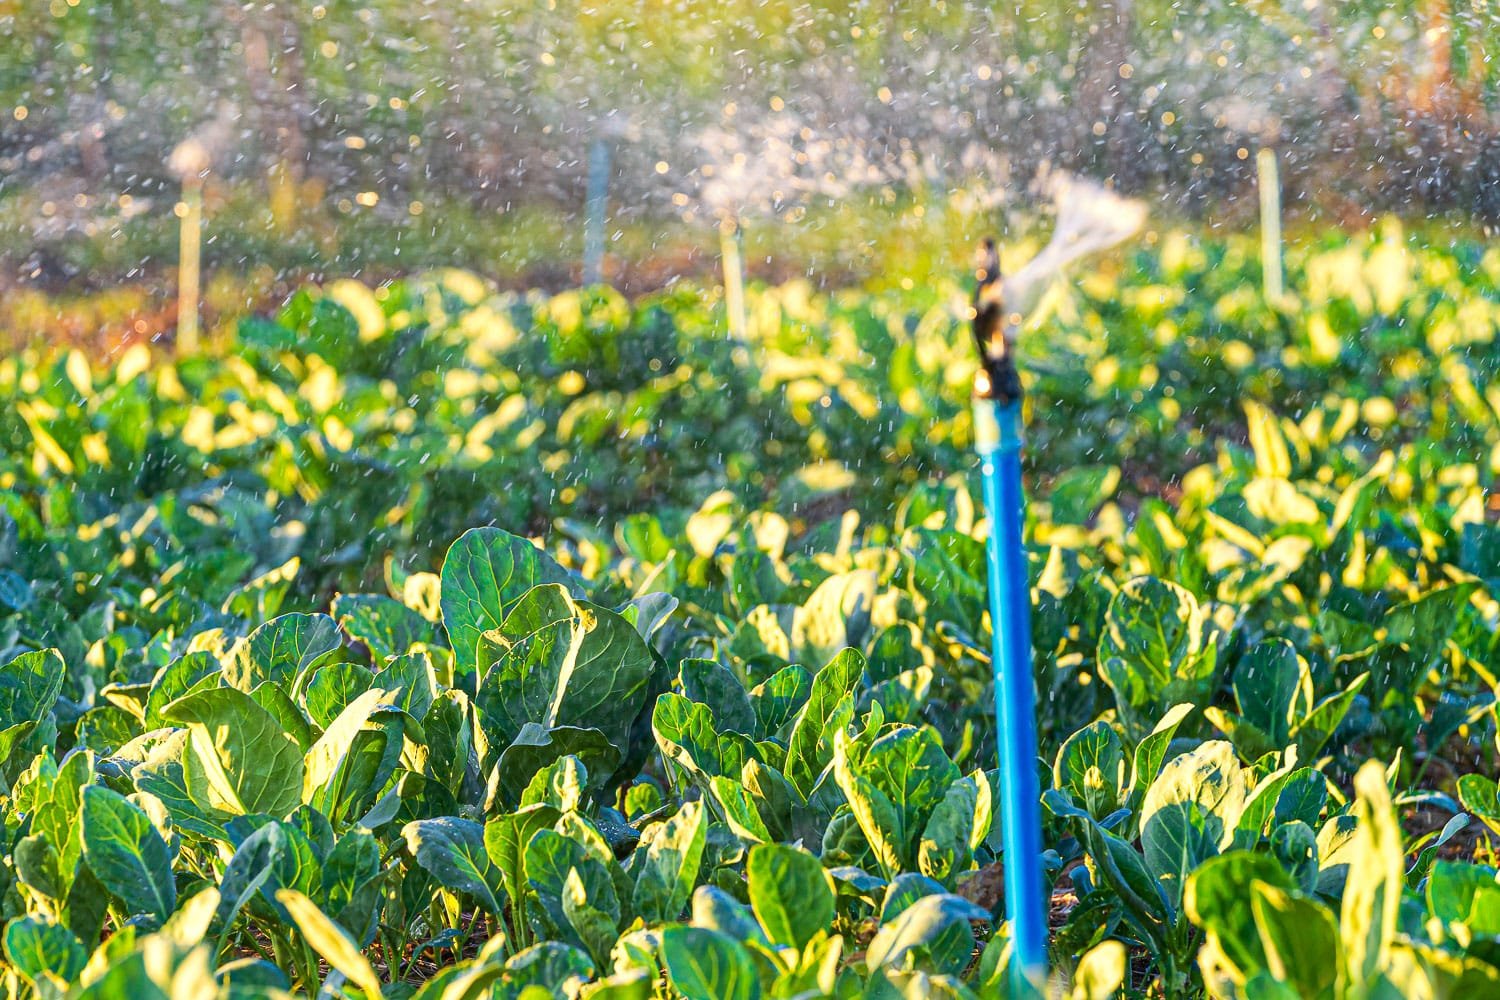
One of the most important factors is providing consistent moisture to kale throughout its growth cycle. Kale thrives in soil that is evenly moist but not waterlogged. This means you must water your kale regularly, especially during dry spells or hot weather.
To ensure your kale receives adequate moisture, it’s a good idea to mulch around the base of each plant. Mulching helps retain moisture in the soil by preventing evaporation and regulating soil temperature. Organic mulch, such as straw or shredded leaves, works best for this purpose. Mulching helps keep the soil moist and suppresses weed growth, reducing competition for nutrients and water.
Nourish Your Kale with Balanced Fertilizers
In addition to watering and mulching, fertilizing your kale plants is crucial for their healthy growth and productivity. A balanced organic fertilizer or compost tea every 4 to 6 weeks can provide the necessary nutrients for optimal kale development.
Organic fertilizers are preferred because they release nutrients slowly over time, ensuring a steady plant supply. Compost tea is an excellent option as it nourishes the plant kale and improves soil health by introducing beneficial microorganisms.
Remember that different types of kale may have slightly different nutrient requirements. It’s always a good idea to check specific variety recommendations or consult local gardening resources for precise instructions on fertilization.
Give Your Kale Room to Breathe
Proper spacing between kale plants promotes healthy growth while minimizing disease risk and pest infestations. Adequate spacing allows air circulation around each plant, reducing humidity levels and preventing the buildup of moisture-loving pathogens.
If you’re starting from seedlings; thin out overcrowded plants to ensure sufficient space for each kale plant to thrive. This can be done by carefully removing excess seedlings, leaving only the strongest and healthiest ones.
For transplanting kale, refer to the recommended spacing requirements provided by the specific variety you’re growing. These guidelines will help you determine how far apart each plant should be for optimal growth.

Preventing Pests: Natural Pest Control for Kale
Kale is susceptible to pests that can wreak havoc on its leaves and hinder its growth.
Pests that you need to watch for when growing kale are:
- Gray green cabbage aphids
- Cabbage white butterflies
- Flea beetles
Here are some effective natural pest control methods to ensure your kale plants thrive and remain pest-free:
Encourage Beneficial Insects
One of the best ways to combat common kale pests such as cabbage aphids and cabbage worms is by attracting beneficial insects to your garden. Ladybugs and lacewings are natural predators of these pests and can help keep their populations in check. You can create an inviting environment for these helpful insects by planting companion flowers like marigolds or dill near your kale plants.
Learn More: Kale also has a whole list of plants it enjoys being planted next to, so before you plan your garden, check out our kale companion plant list!
Ladybugs are particularly voracious eaters of aphids, while lacewings prey on caterpillars that may be munching on your kale leaves. By providing a diverse range of flowering plants in your garden, you’ll attract these beneficial insects and enhance the overall biodiversity of your outdoor space.

Regular Inspections
Regularly inspect your kale plants for signs of pest activity to stay one step ahead of potential infestations. Check for chewed leaves or discolored foliage, as these are telltale signs that pests may be present. Early detection allows you to take swift action before the problem escalates.
Inspect both the upper and lower surfaces of the leaves since certain pests prefer hiding on the undersides. If you spot any eggs or larvae during your inspection, remove them immediately to prevent further damage. By diligently inspecting, you can catch pest issues early on and prevent them from spreading throughout your kale patch.
Handpicking Larger Pests
Handpicking is an effective and eco-friendly control method for larger pests like cabbage worms or slugs that may have liked your kale. Simply pluck them off the leaves and drop them into a bucket filled with soapy water. This method eliminates the need for harmful pesticides while ensuring your kale remains safe to consume.
Handpicking pests helps protect your plants and allows you to observe their behavior up close. It’s a hands-on approach that allows you to connect with your garden and gain a deeper understanding of its intricate ecosystem.
Organic Pest Control Methods
In cases where pest infestations become severe or persistent, organic pest control methods can come to the rescue. Neem oil and insecticidal soap are two popular options that effectively combat various pests without harming beneficial insects or leaving harmful residues on your kale.
Neem oil, derived from the neem tree, acts as an insecticide and repellent against common garden pests. Its active compounds disrupt the feeding patterns of insects, ultimately leading to their demise. Insecticidal soap, on the other hand, works by suffocating soft-bodied pests like aphids and harlequin bugs upon contact.
When using these organic pest control methods, it’s important to follow the instructions provided by the manufacturer carefully. Applying them during cooler parts of the day or in the evening can help minimize any potential harm to beneficial insects that may be present.
BAD BUG BEGONE!
$5.99
Are harmful insects running your gardening season?
Our guide to organic pest control methods offers practical solutions for dealing with common garden pests without using harmful chemicals. With step-by-step instructions and easy-to-follow tips, you’ll learn how to create a pest-resistant garden that is safe for your family and the environment. A great on-hand resource for any gardener!
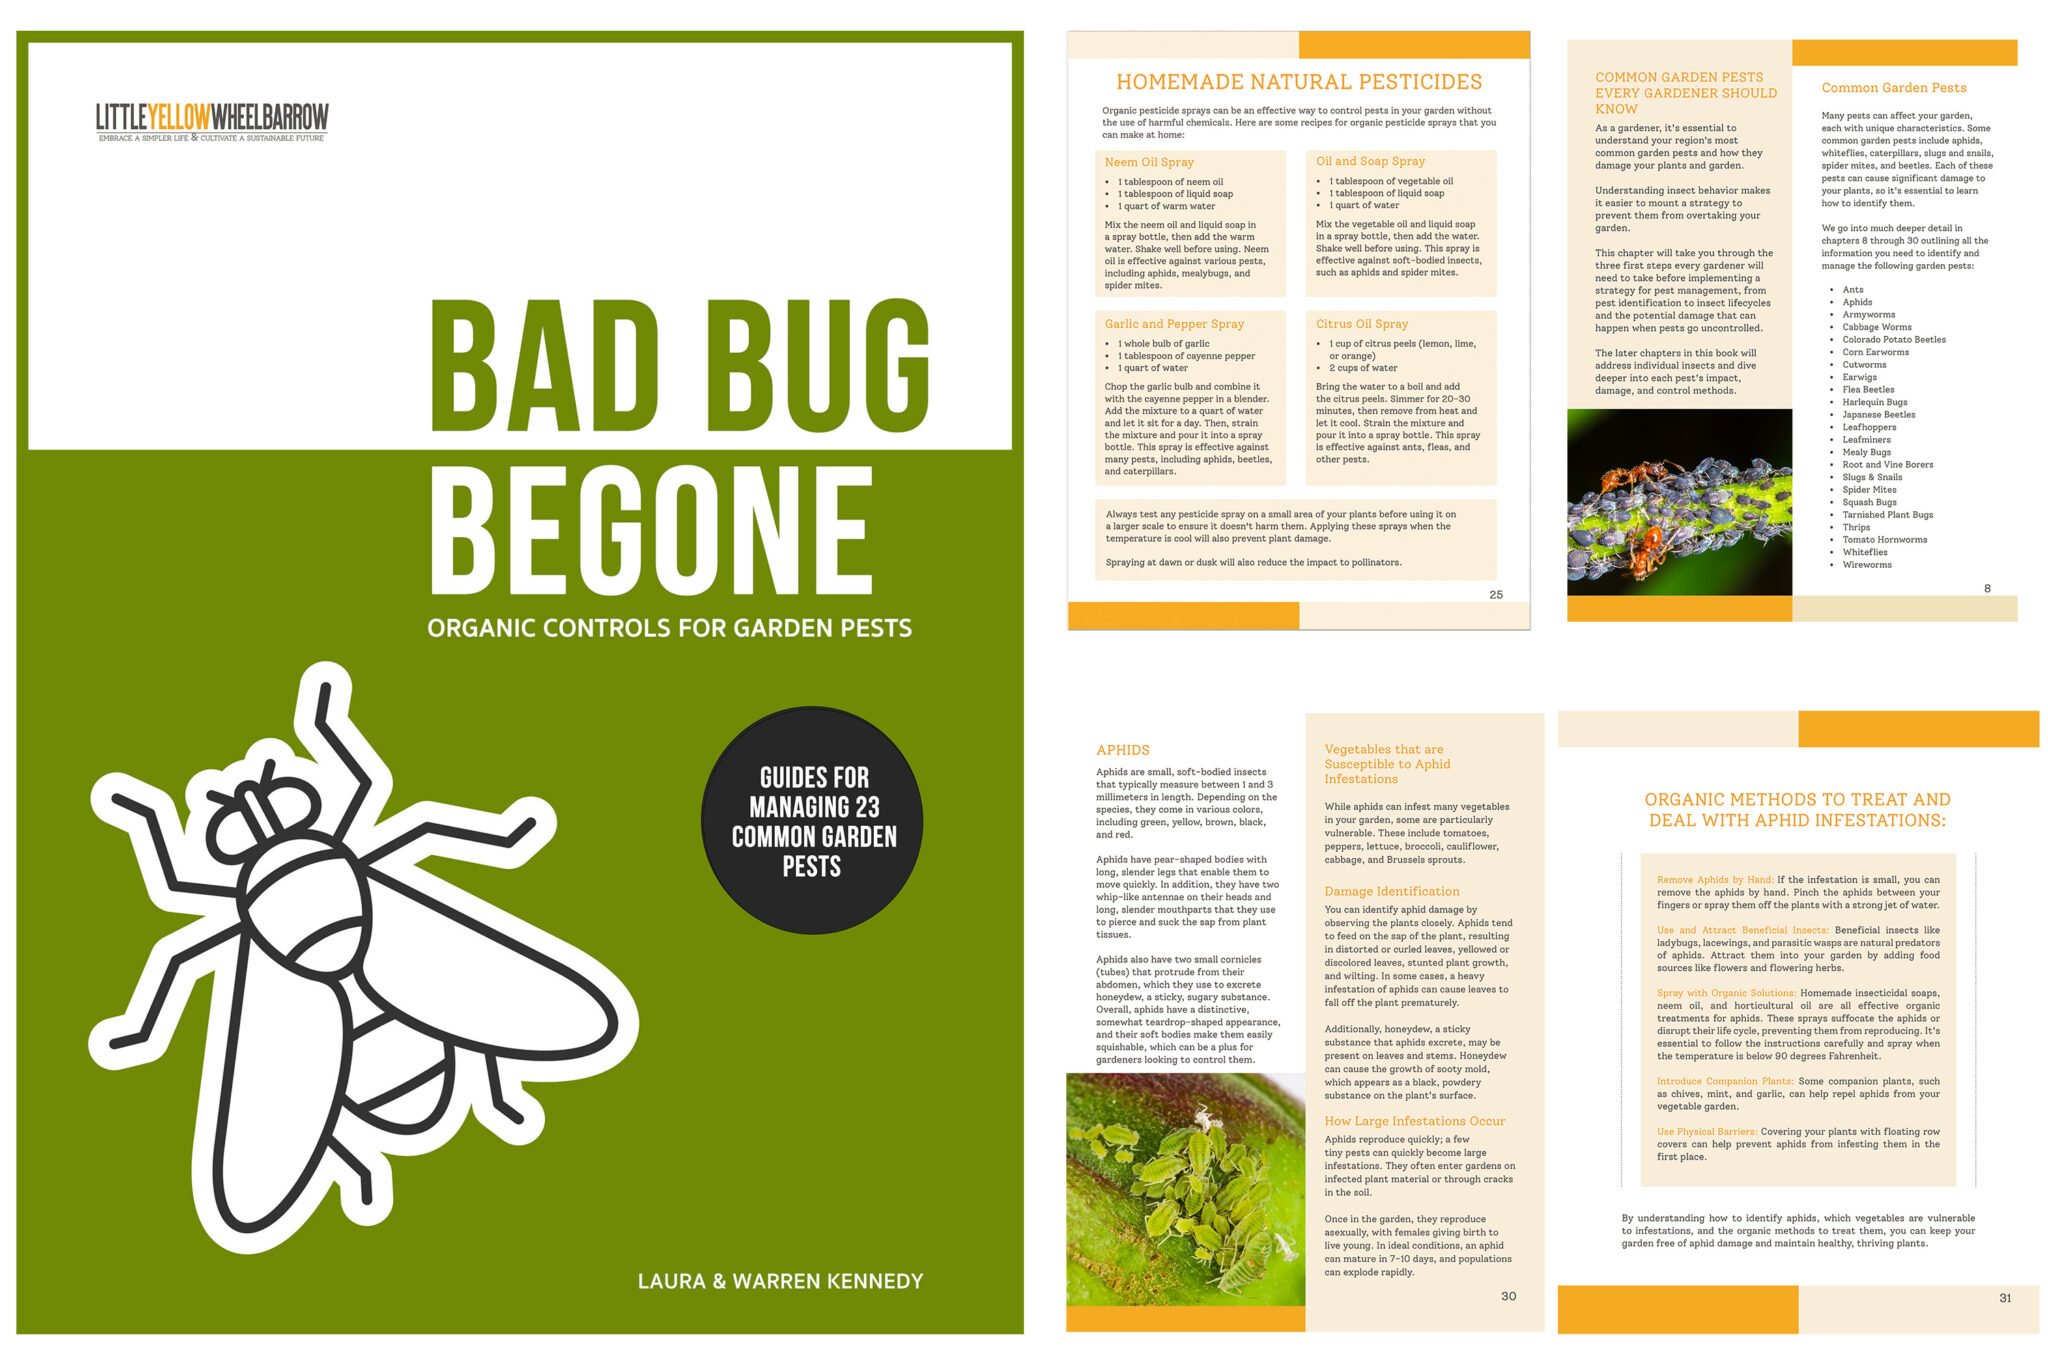
A must-have resource for Gardeners
Our digital e-book is for you if you’re a home gardener passionate about growing healthy, pesticide-free plants! Over 100 pages of organic pest management information are perfect for beginner gardeners and pros alike.
How to Harvest Kale: Timing and Techniques
Harvesting kale isn’t difficult, but if you want to keep harvesting kale through the season, there are a few tips you will want to follow to ensure your plant continues to produce.
Begin harvesting outer leafy greens when they reach about 8 inches long for continuous harvest throughout the growing season.
Timing is key. You want to ensure that you start picking the leaves at the right time to ensure a bountiful and continuous harvest. Generally, it’s best to begin harvesting the outer leaves when they reach about 8 inches long. At this stage, the leaves are mature enough to be harvested without damaging the plant.
Starting with the outer leaves allows the younger inner leaves to continue growing and developing. This way, you can enjoy a steady supply of fresh kale throughout the growing season. It’s important not to wait too long before harvesting, as older leaves can become tough and bitter-tasting.

A Good Pair Of Shears
Every gardener needs a good, sharp pair of garden shears. Fiskars delivers on that front, and they last!
Highly recommended.
Use clean garden shears or scissors to cut leaves just above the central stem without damaging it.
To ensure a clean and precise kale harvest, it’s recommended to use clean garden shears or sharp scissors when cutting kale leaves. Make sure your tools are sanitized before each use to prevent any potential spread of diseases or pests.
When harvesting kale, aim to cut individual leaves just above the central stem without damaging it. This technique allows new growth to emerge from the plant’s center while ensuring a neat harvest. Avoid tearing or ripping off the leaves, as this can lead to unnecessary damage.

Avoid harvesting all leaves from a single plant at once; remove only what you need while leaving younger inner leaves intact for future growth.
While it may be tempting to harvest all those beautiful kale leaves at once, it’s best practice not to do so. Instead, adopt a selective approach by removing only what you need while leaving behind younger inner leaves for future growth.
By avoiding mass harvesting produce leaves from a single plant, you allow it to continue producing new foliage over an extended period. This method ensures a more sustainable harvest and promotes the longevity of your kale plants. Plus, you’ll have fresh leaves available whenever you need them.
Regularly harvest mature leaves to encourage new leaf production and prevent plants from becoming too woody or bitter-tasting.
Regularly harvesting mature kale leaves is essential for maintaining the health and productivity of your plants. Removing older leaves stimulates new growth, ensuring a continuous supply of tender and flavorful foliage.
Leaving mature leaves on the plant for too long can make them tough, woody, and bitter-tasting. To avoid this, make it a habit to inspect your kale regularly and harvest any mature leaves promptly. This practice improves the taste of green leaves and prevents the plant from diverting energy into seed production.

Kale can be harvested in mild climates until late fall or winter if protected from severe frost.
One of the fantastic qualities of kale is its ability to withstand colder temperatures compared to many other crops. In mild climates, you can continue harvesting kale until late fall or even throughout winter with proper protection against severe frost.
To safeguard your kale during chilly weather conditions, consider using mulching techniques. Apply a layer of organic mulch around the base of each plant to insulate the soil and provide some additional warmth. This helps protect the roots and keeps your kale thriving even when temperatures drop.
Related: Check out our complete guide to winter gardening!
Tips for Successful Kale Growth
Growing kale successfully requires careful consideration of various factors. Choosing the best kale variety is crucial, as different varieties have different growth requirements and flavors. Starting kale properly through seed germination and care ensures healthy seedlings for transplantation or direct sowing. Determining whether to use seeds or transplants when planting kale depends on your preference and the growing season in your region.
FAQs
How often should I water my kale plants?
Kale plants require consistent moisture but do not tolerate soggy or moist soil well. Water them deeply once or twice a week, depending on rainfall and temperature.
Can I grow kale in containers?
Yes, you can grow kale in containers as long as they are large enough to accommodate harvested kale and its root system. Choose a well-draining potting mix and ensure the container receives at least six hours of sunlight daily.
How long does it take for kale seeds to germinate?
Seeds typically take around 7-14 days to germinate under optimal conditions, which include a temperature range of 60-75°F (15-24°C) and consistent moisture.
Can I freeze kale for later use?
Yes, you can freeze kale to preserve it for future use. Blanch the leaves in boiling water for a few seconds, then plunge them into ice water before drying and freezing them in airtight containers or freezer bags.
More Vegetable Gardening Inspiration

Author: Laura Kennedy
Writer & Owner of Little Yellow Wheelbarrow
Laura is a highly skilled gardener and fervent flower enthusiast. Despite her playful battle with plant spacing guidelines, Laura’s work inspires gardeners to create thriving, beautiful spaces that reflect both creativity and sustainability.


