Growing Kale In Containers: A Comprehensive Guide (2022)
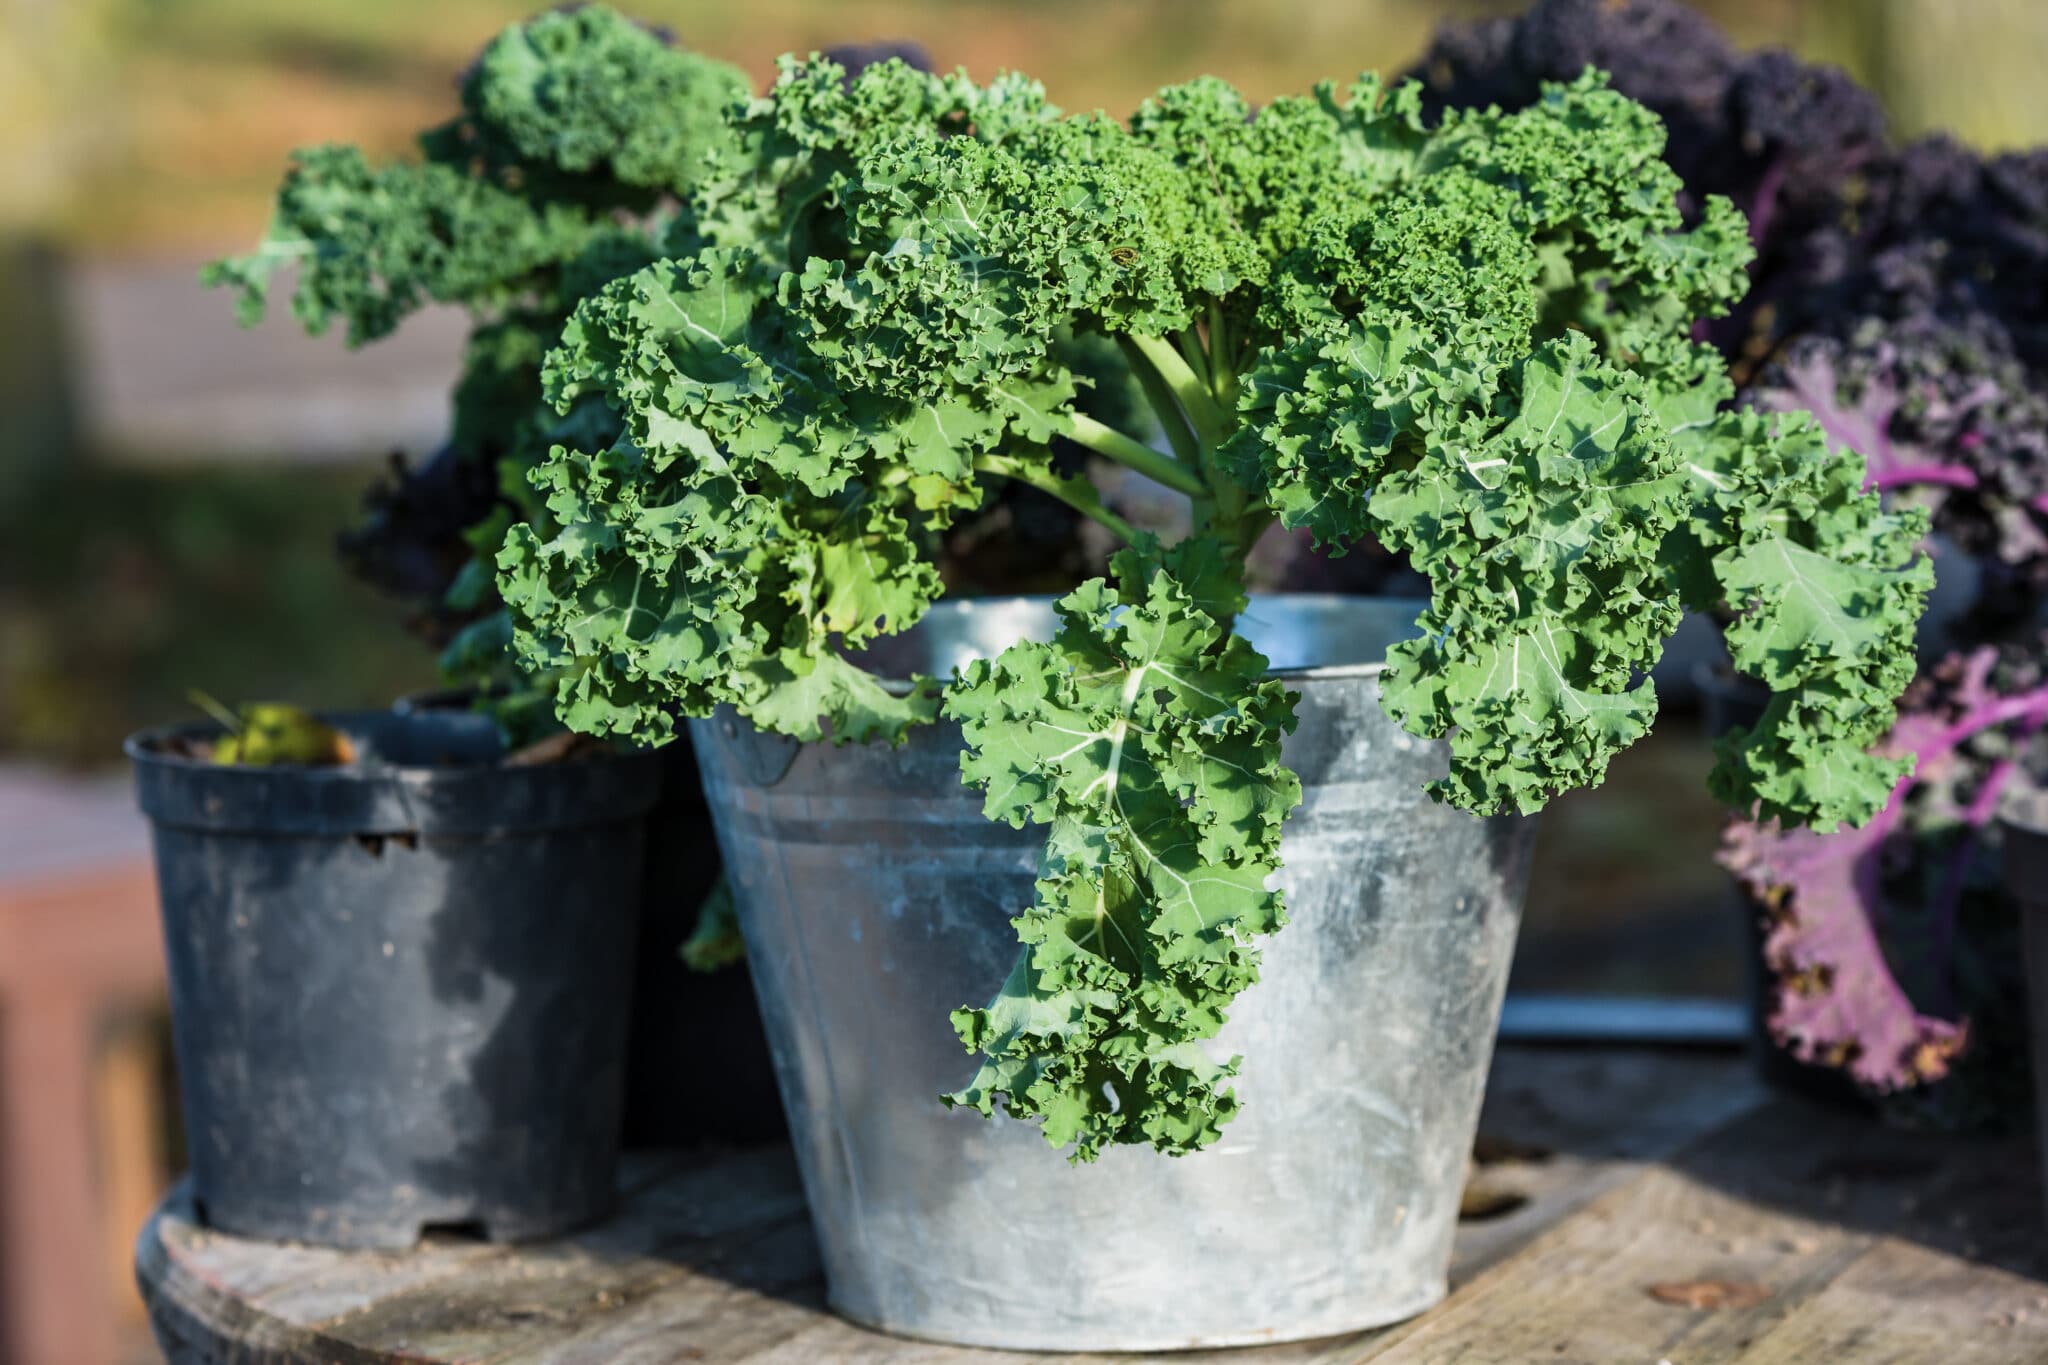
If you lack gardening space, you can easily grow kale in pots. Here’s everything you need to know about growing kale in containers.
When it comes to growing kale, many people grow it in their outdoor gardens along with lettuce and other leafy greens. However, did you know that if you lack space for a garden, you can easily grow kale in containers?
Kale is easy to grow, so long as you provide the appropriate conditions for it. Growing kale requires quality, well draining soil, plenty of sunlight, regular watering, and occasional fertilizing. If you are growing kale in pots, choose a container that is about 12 inches by 12 inches, with plenty of drainage holes. Kale grown indoors can be grown through winter for year-round produce.
Related: Check out these other posts on growing kale:
- A full guide to growing kale in the garden.
- Another fantastic way to grow kale in containers is to grow it as microgreens. It has even more nutrition than the full grown plant, and there’s none of this “waiting around for it to grow” nonsense! Check out our complete guide to microgreens to learn more.
Affiliate Disclosure
This post may contain affiliate links. If you click one and purchase, I may receive a commission at no additional cost. You can read our disclosure policy here.
Growing Kale in Containers
Just a few kale plants will provide your family with a year-round weekly supply of this fresh super-veggie. Here’s the step by step method to grow kale in containers:
Step 1: Choose a Container With Good Drainage
Make sure your pot has drainage holes; you don’t want your kale roots getting soggy.
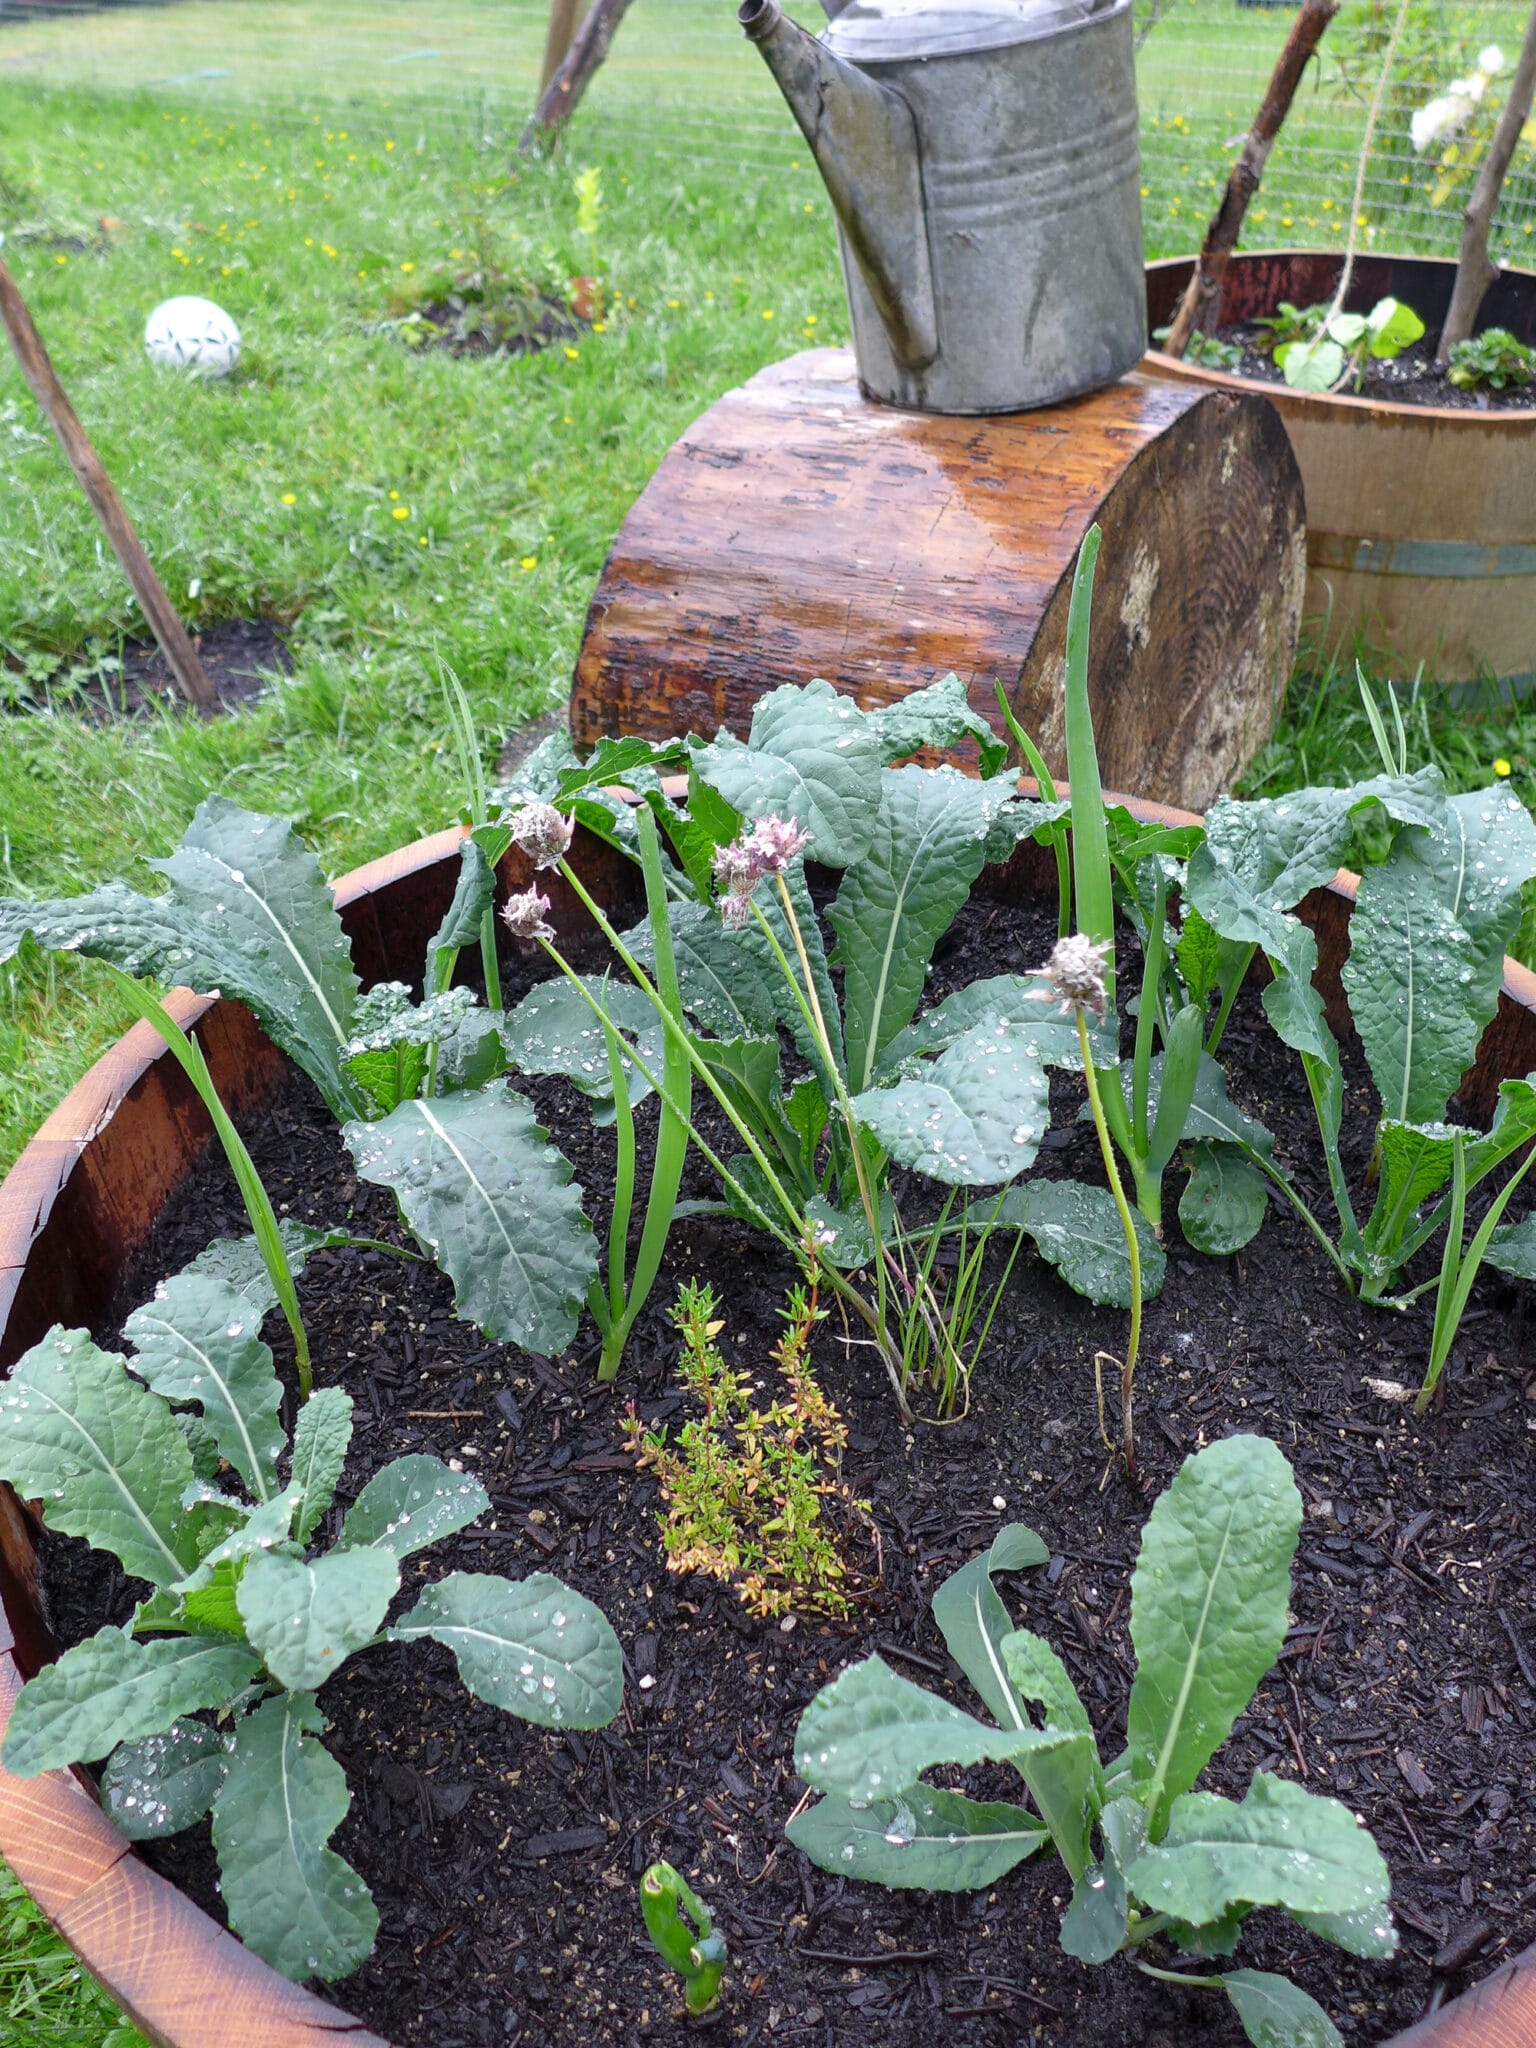
Kale doesn’t need a huge pot. However, some varieties can get large, so it needs room to grow. If you are growing one kale plant per pot, choose a pot that is at least 8 inches by 8 inches. For two plants, choose a pot that’s at least 12 inches wide AND deep. If you want to grow kale with other lettuce, herbs, or flowers, shoot for a container that’s about 24 inches wide.
If you plan on growing kale indoors or moving it in during the winter months, I recommend growing one kale per pot, because smaller containers are easier to move and don’t take up much space.
Step 2: Fill the container with Organic-Rich Soil
Kale prefers rich, well-draining soil with lots of organic matter such as manure or compost. The plants grow best when the earth is neutral to mildly alkaline and has a pH level of 6.0-7.0.
Step 3: Plant the kale Seeds 1/4″ Deep
Direct seed about 1/4 inch deep – just barely covered with soil. Sow kale seeds 1-2 inches apart, and 4-5 seeds per the desired plant. For example, if you want just one kale plant, sow 4-5 seeds in an 8-inch pot. After a couple of weeks, once the seedlings start to sprout, thin them out to just the healthiest seedling.
If you want to grow your kale in containers outdoors, you can start the seeds indoors in the spring, about 6 weeks before the last expected frost. Then, move the plants outside in early spring after the last frost date.
If you want to grow kale indoors, you can plant the seeds any time of the year.
Whether you grow your plants indoors or outdoors, I recommend staggering your plantings a little so that you’ll have a constant supply of kale ready for harvest!
Learn More: Does the idea of an indoor garden appeal to you? Check out this post on the best vegetables to grow indoors, or this post on the best indoor herbs.

Step 4: Provide 6-8 Hours of Sunlight
Kale grows best in full sun. At a minimum, kale needs about 6-8 hours of direct sunlight each day. If you live in a hot climate, it will benefit from a bit of partial shade during the hottest part of the day.
If you are growing kale indoors, you might need to consider using a grow light to provide the light your plant needs.
- Learn More: Is your garden too shady? Check out our list of the best vegetables to grow in the shade.
Step 5: Keep Your Soil Moist
Kale doesn’t like to get too dry. Water your containers regularly anytime the top inch of soil dries out. At the same time, don’t overwater! Soggy soil can cause root rot.
You can help retain moisture in your pots by adding mulch such as compost, straw, leaves, or bark to help keep your plants from drying out as quickly.
Keep a close eye on your kale in hot weather, as container soil dries out quickly. Water when the soil surface is dry.
Step 6: Fertilize The kale plants Every Two Weeks
Kale will grow in depleted soil, but the tastiest plants come from fertile soil. Frequent watering tends to wash out lots of nutrients in the soil, so plan to fertilize your kale plants with a half-strength liquid fertilizer every two weeks.
Step 7: Manage Insect PEsts as Soon as Possible
When you grow kale in containers outdoors, it can pick up spider mites and aphids. Give the plants a strong blast of water from the garden hose to get them off (don’t worry, your plants can take it).
If you see caterpillars, slugs, snails, or harlequin cabbage worms, you can pull those off your plants by hand.
Check your plants frequently. If you need additional help, you can treat them with a vegetable plant-safe insecticidal spray, if necessary. Just be sure to wash your kale thoroughly before eating.
- Learn More: Companion planting is a great way to reduce pests and attract beneficial insects in your container garden. Check out this post on the best companion plants for kale, or this one on companion planting vegetables.

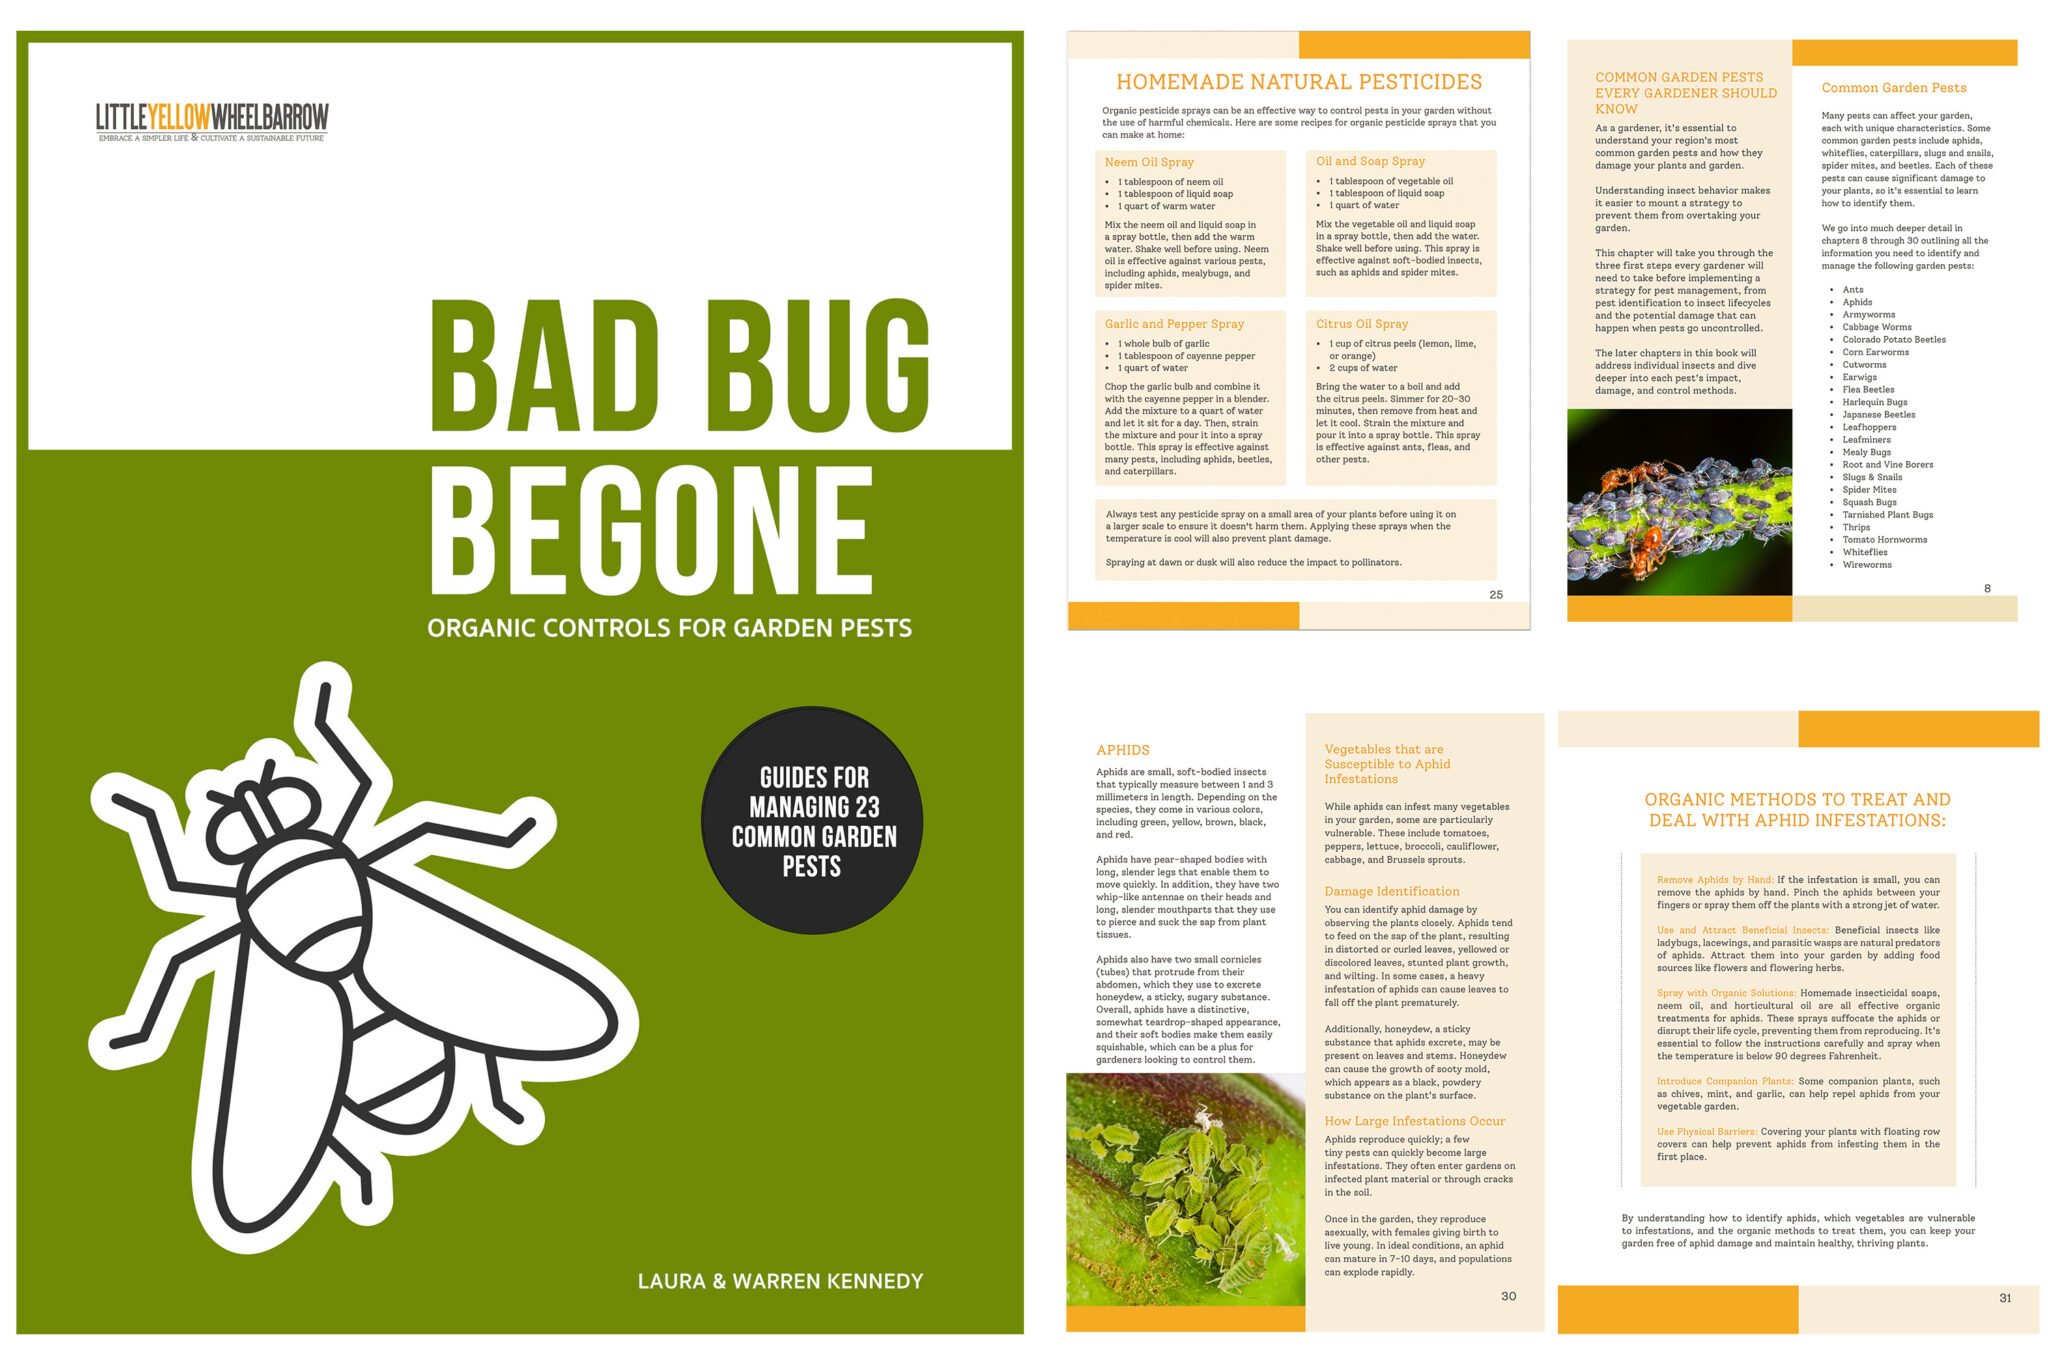
BAD BUG BEGONE!
$5.99
Are harmful insects running your gardening season?
Our guide to organic pest control methods offers practical solutions for dealing with common garden pests without using harmful chemicals. With step-by-step instructions and easy-to-follow tips, you’ll learn how to create a pest-resistant garden that is safe for your family and the environment. A great on-hand resource for any gardener!
A must-have resource for Gardeners
Our digital e-book is for you if you’re a home gardener passionate about growing healthy, pesticide-free plants! Over 100 pages of organic pest management information are perfect for beginner gardeners and pros alike.
Step 8: Prevent Diseases Before they Can Take Hold
Kale can be affected by a variety of diseases. Black spot, anthracnose, and leaf mold will all appear as discolored spots on the leaves of your kale plant. Damping off will present as seedlings that die and beak off at the soil level before they can produce proper leaves.
In all cases the best course of action is prevention. Use only fresh, new soil, and don’t compost any diseased leaves. Avoid over-watering, and clean up any debris or leaves around the base of the plant.
One or two discolored leaves can be trimmed and discarded, but if the entire plant is affected, then your soil is probably contaminated as well. Discard the plant and soil, and sanitize your container before replanting.
If you see any signs of insect damage or diseases such as blemished, yellowing, brown, or very wilted leaves, remove them from the plant and discard them.
Step 9: Protect Your Kale from Extreme Weather
Although kale is a cool weather crop, it won’t overwinter outdoors in cold climates. It also doesn’t like extreme heat. If you live in a hot climate, consider pulling your kale plants indoors or providing a little afternoon shade during the hottest months.
To keep your kale growing during the cold weather, bring your containers in after the first fall frost and enjoy winter harvests.
Growing kale in pots is also a great thing to do if you live in a cold climate. If you learn how to grow kale indoors, you can be confident that you’ll have a constant supply of fresh, homegrown kale at your fingertips!
Step 10: Harvest Once The plants are Established
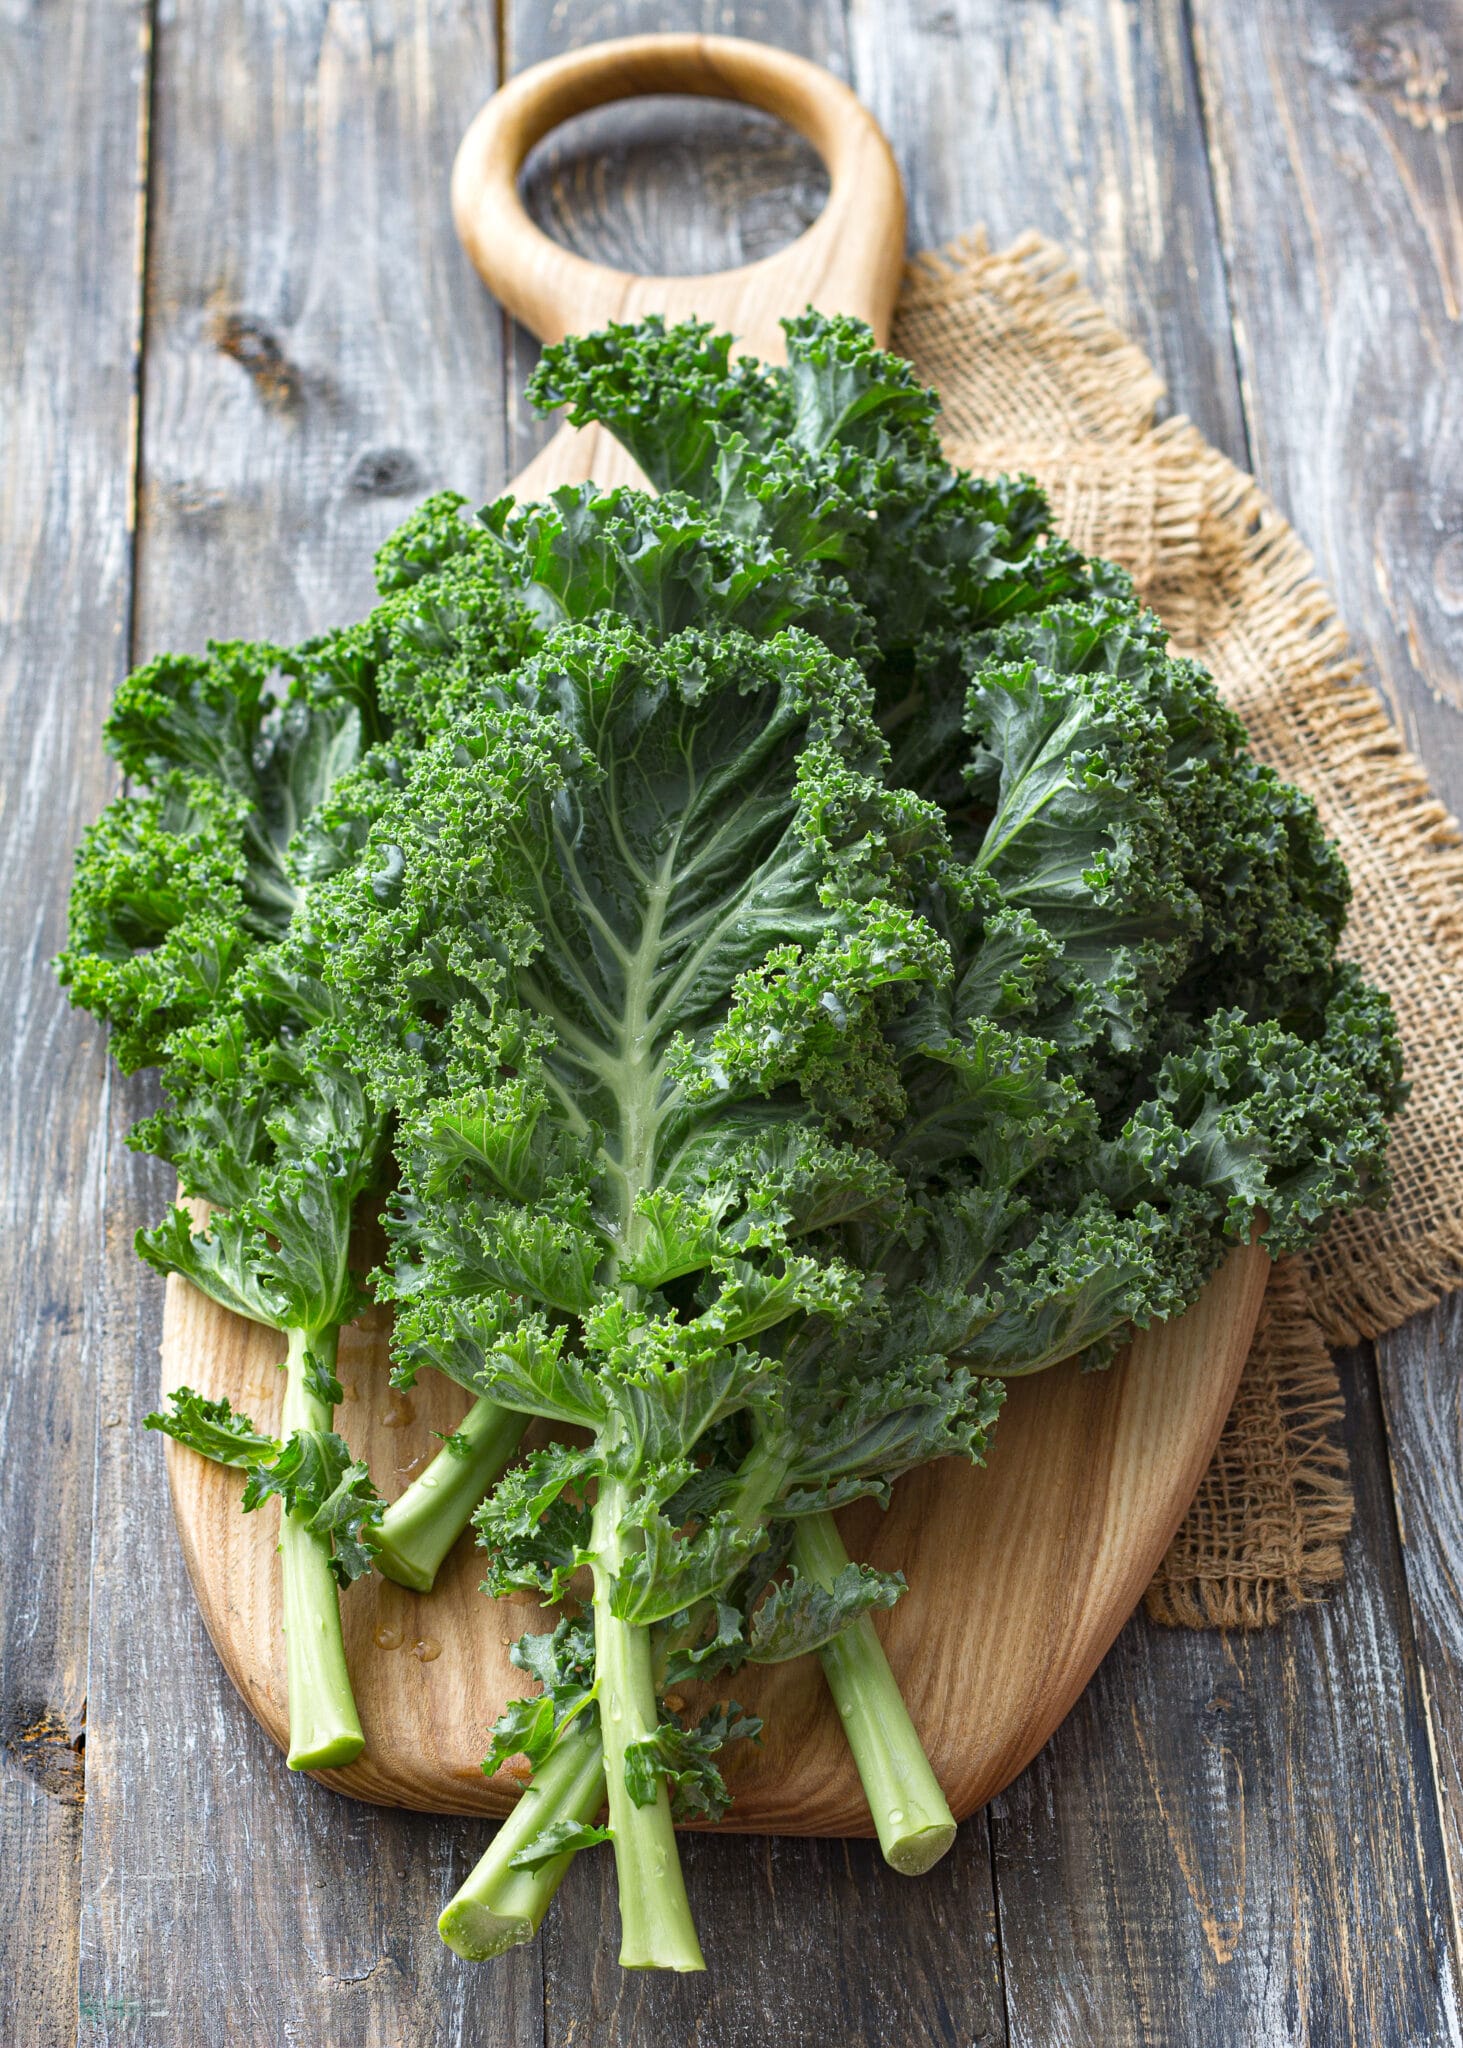
You can begin harvesting young leaves as soon as the seedlings get established and have four sets of true leaves. Allow more growing time to harvest mature leaves.
Always harvest from the lowest, outer-most leaves toward the middle. Avoid cutting the terminal bud (in the center of the plant) and some upper leaves to encourage the plant to keep growing.
Advantages To Growing Kale In Pots
Here are a few reasons why you might want to learn how to grow kale in containers:
- Containers provide flexibility so you can grow your plants indoors or outdoors, which is terrific for cold climates.
- Gardening in containers is a wonderful solution if you don’t have much outdoor space for a garden!
- Container gardening (especially if you do it indoors) helps protect your plants from some of the most common pests that affect them: mites, aphids, caterpillars, cabbage moths, worms, harlequin bugs, and slugs all want a piece of your crop.
Further Reading: If the idea of container gardening appeals to you, check out these other popular posts on growing vegetables in pots:
- 15 Veggies to Grow in Pots
- How to Grow Green Beans in Containers
- Growing Carrots in Containers
- How to Grow Onions in Containers
- Growing Peas In Containers 101
- Thyme Plant Care: How To Grow, Harvest & Use It (2023)
- Higher Yields with Less Space: Vertical Vegetable Gardens
New to Gardening?
Many new gardeners get overwhelmed by all the tools in the garden center. Do you really need all of them? No! Check out our list of essential garden tools to get you started without investing your life savings into a gimmicky tool collection.
Disadvantages Of Growing Kale In Pots
As with most things, there are advantages and disadvantages. Here are a few downsides to growing kale in containers:
- When you garden in the ground, the soil holds moisture for a more extended period, which helps plants not dry out. When you grow plants in containers, they tend to dry out faster, so you need to keep a close eye on moisture levels and water a little more often.
- Kale absorbs quite a few nutrients from the soil, so your container-grown kale will need a dose of half-strength liquid fertilizer every two weeks.
- Plants in pots need a little extra protection against cold temperatures. If you’re growing kale in pots outside, make sure to bring them inside when the temperatures begin to drop at night. A light frost helps improve kale’s flavor but bring them in once overnight temperatures reach freezing.
- Kale needs about 6-8 hours of direct light a day. Consider investing in a full spectrum grow light if you don’t have a south-facing window that provides that much light.
Kale Varieties
Container gardening works for both ornamentals and edible varieties. Here are a few of our favorite varieties of kale:
- Red Winter: Native to Russia, this variety (also called Red Russian) has reddish-purple stems and green oak-shaped leaves. If the central bud is left alone, it will continuously produce tender, delicious leaves to harvest.
- Dwarf Siberian: A high-yielding, compact variety with blue-green, crumpled leaves. It’s an early producer in the season, yielding leaves that are sweeter than other varieties.
- Kamome: An ornamental variety that has a deep pink center surrounded by larger, variegated leaves.
- Vates Scotch Blue Curled: This is our favorite kale for eating. It’s sweet and tender and a bit milder than some of the other kale varieties. If you want to eat more kale for vitamins and minerals but you’re not that keen on kale, this is the kale for you!
- Lacinato Kale: Also called “dinosaur kale” for its bumpy leaves, or “Tuscan kale” for its origins, this variety can grow to 2 to 3 feet high. If you plan on letting it get that big, choose a larger pot!
- Redbor: With a deep red to purple color, this type of kale looks as good in a garden as it does in a salad. You can’t get a redder version of kale than redbor!
- Tronchuda: Tronchuda Kale, or Portuguese Kale, has thick, flat leaves, and a flavor akin to cabbage. Some hybrids have been created to be more heat-resistant than other types of kale.
- Kalettes: Kalettes are a unique series of hybrids of kale and Brussels sprouts. Instead of growing long edible leaves, this variety sprouts small bunches of kale along its branches. Definitely a conversation piece in the garden and the kitchen.
- Scarlet: A runner up to Redbor for the reddest kale, Scarlet has tightly curled red/purple leaves. If you can’t find Redbor seeds, Scarlet may be an alternative for you.
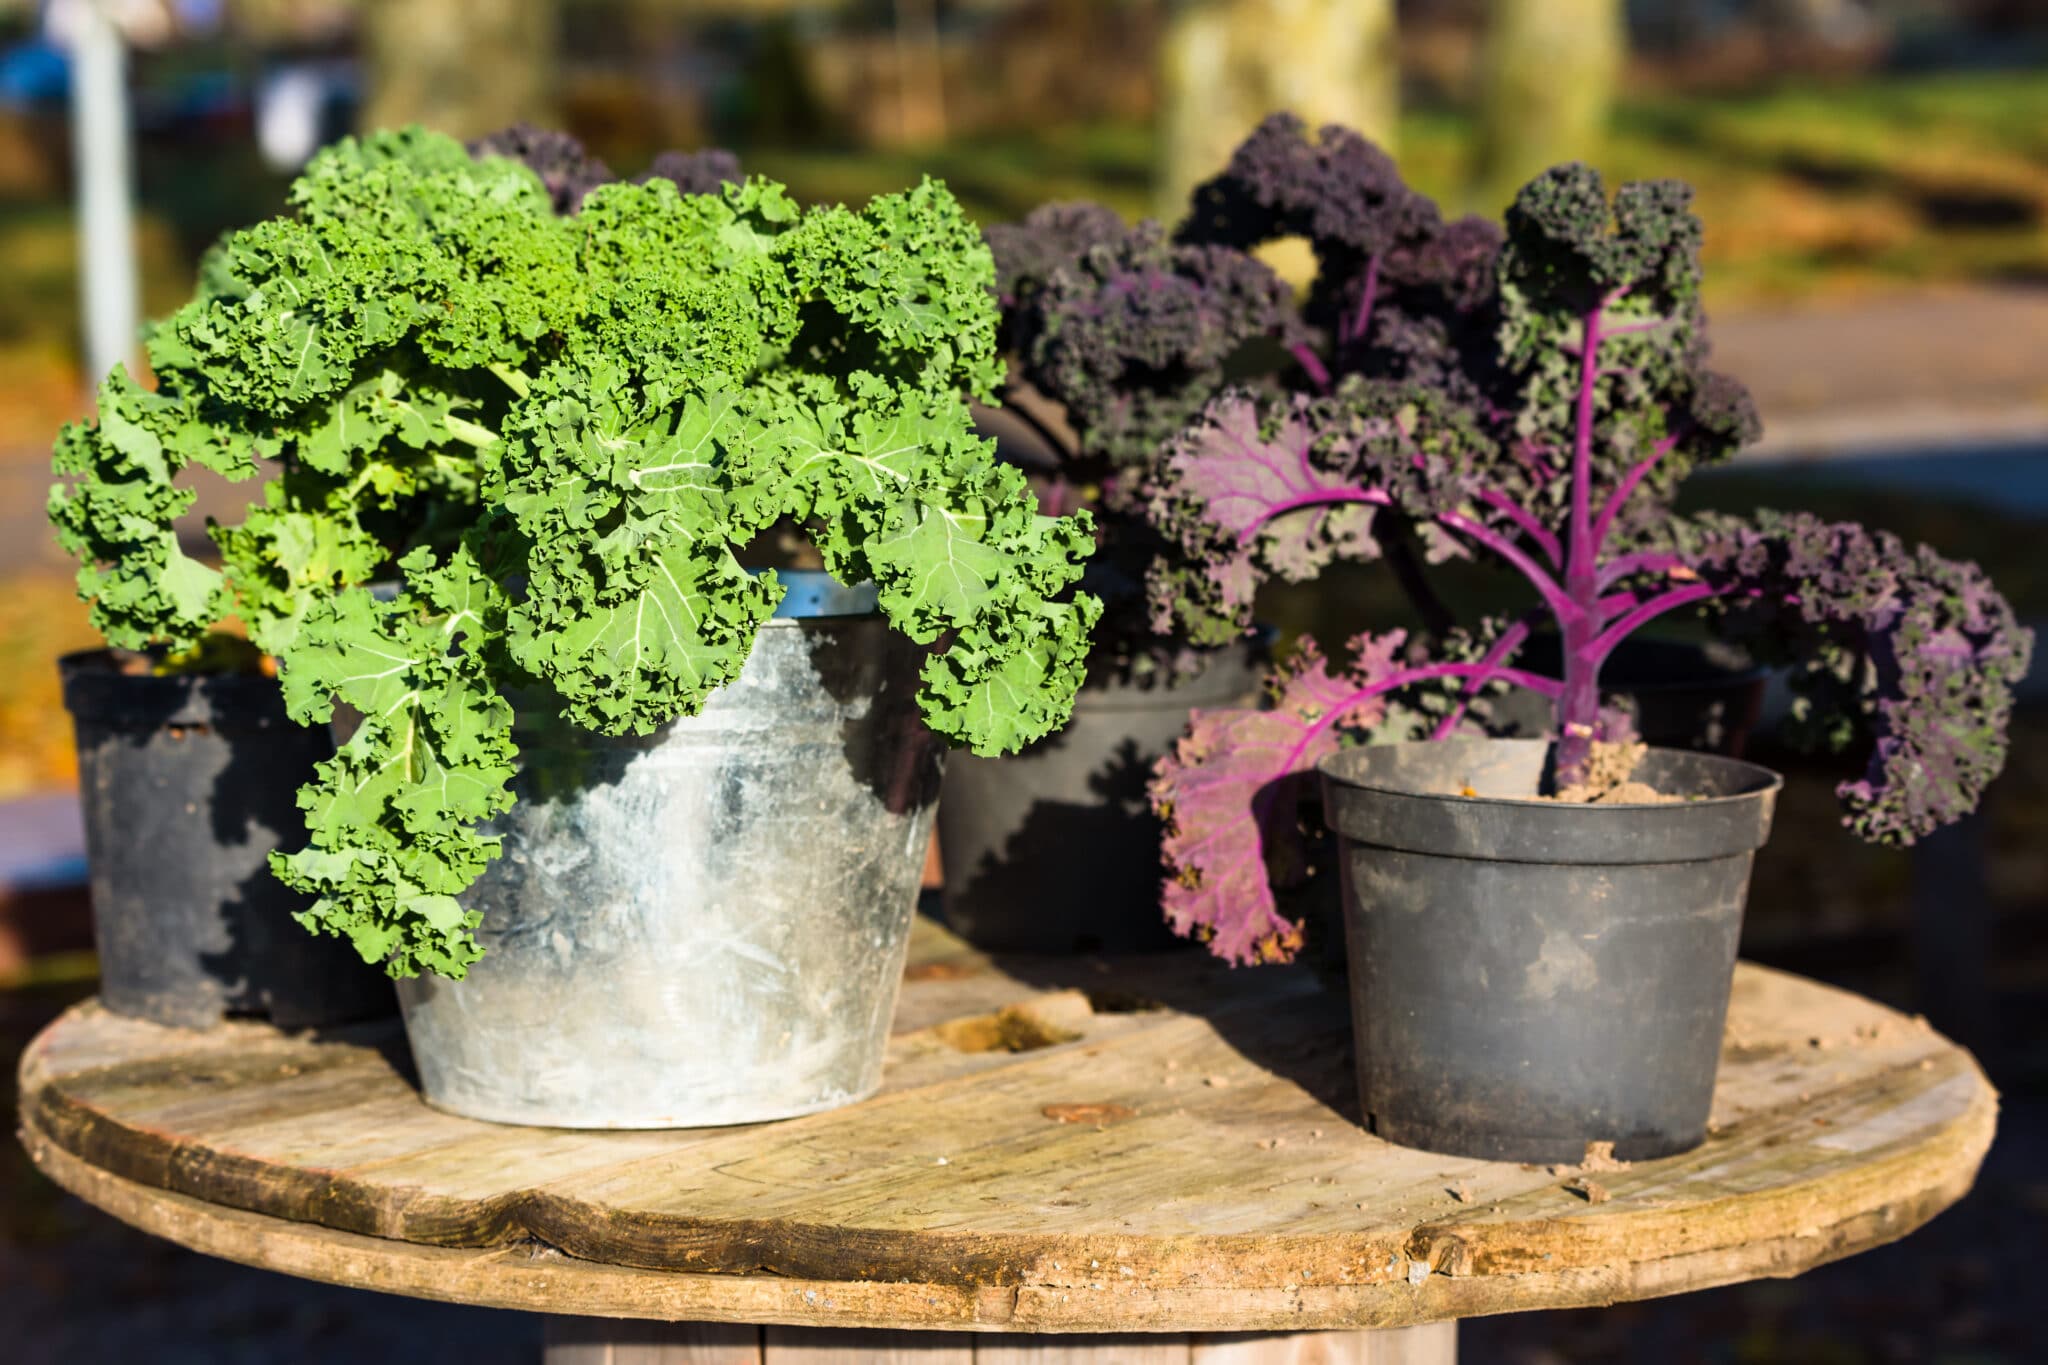
Try Growing Kale In Pots!
I hope this guide has inspired you to try growing kale in a container! As one of the easiest vegetables to grow, you can enjoy successful harvests (or beauty) all year long. From stir-fries to kale chips, kale is a powerhouse of flavor and nutrients!
Editorial Note: This post was originally published on October 16, 2021, and was updated on March 21, 2022.
More Gardening Resources
- How To Plan A Vegetable Garden In 7 Easy Steps
- Growing Cucumbers: When And How To Harvest Cucumbers
- Grow Cinderella Pumpkins for High-Yield Harvests
- Spring Gardening: Here’s Everything You Need To Know
- Helpful Flowers For The Vegetable Garden
- Queen of the Night Plant – How to Care for Epiphyllum Oxypetalum
- DIY Decorative Terracotta Pots With Scalloped Edges
- How to Freeze Green Beans To Preserve Texture and Flavor!
- Easy Quick Pickled Red Onions Recipe
- The Best Flowers for Pots and Containers


