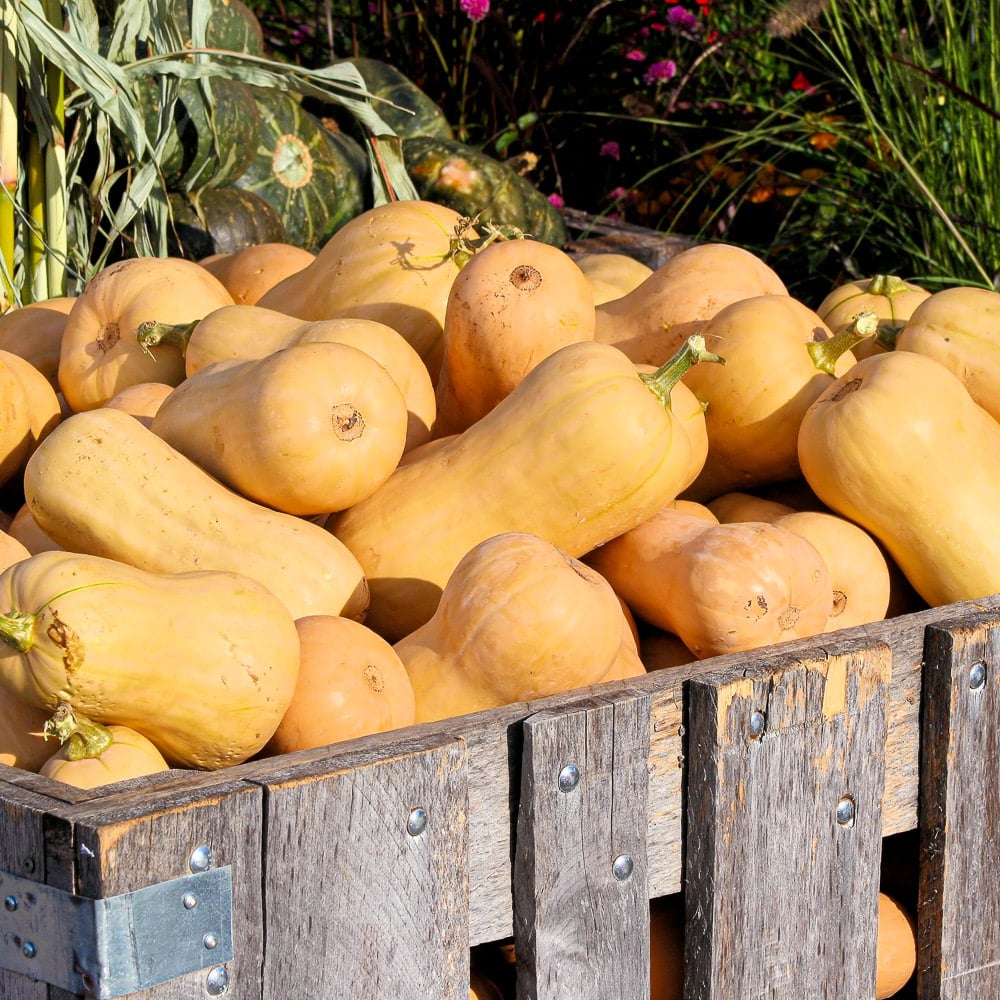
Starting Winter Squash Indoors: The Secret to Healthier Harvests


With its rich flavor and long storage life, winter squash is a garden staple. But if you want a bigger, healthier harvest, the key is to give your seedlings a strong start indoors. By starting winter squash indoors, you’ll ensure earlier yields, stronger plants, and better pest resistance—all before they even hit the garden.
Our guide below will walk you through everything you need to know, from selecting the right seeds to providing the right care for robust healthy seedlings eager for outdoor planting.

Table of contents
- Why Start Winter Squash Indoors?
- Choosing the Right Winter Squash Seeds
- Gathering Supplies
- Planting Winter Squash Seeds Indoors
- Providing the Right Conditions for Germination
- Caring for Squash Seedlings
- Potting Up: When & How to Repot Squash Seedlings
- Hardening Off & Transplanting Outdoors
- Three Common Mistakes to Avoid When Starting Winter Squash Indoors
- Troubleshooting Seedling Problems
- Related Posts:
- Conclusion: Your Best Winter Squash Harvest Starts Now
Affiliate Disclosure
This post may contain affiliate links. If you click one and purchase, I may receive a commission at no additional cost. You can read our disclosure policy here.
Why Start Winter Squash Indoors?
Winter squash prefers warm soil; direct-seeded squash often struggles in cold, wet conditions. Starting indoors allows you to control temperature, moisture, and early growth, ensuring your plants hit the ground running when it’s time to transplant.
Young squash plants are also vulnerable to slugs, squash bugs, cutworms, and other pests. Starting seeds inside gives your squash a size advantage before they face outdoor challenges, resulting in healthier, more resilient plants.

Choosing the Right Winter Squash Seeds
Not all winter squash varieties grow the same. Some take up a lot of space, while others are compact and container-friendly.
- Best for Small Gardens & Containers: Delicata, Acorn, Sweet Dumpling
- Best for Large Gardens: Butternut, Hubbard, Kabocha, Spaghetti Squash
- Best for Long Storage: Buttercup, Blue Hubbard, Butternut
Pro Tip: If space is an issue, choose bush varieties or train vining types onto a sturdy trellis to save room.
Can You Direct-Sow Winter Squash?
Yes, but it requires warm soil (above 60°F) and good pest protection. If you prefer direct seeding:
- Wait until two weeks after your last frost before planting.
- Plant seeds 1 inch deep in well-draining soil.
- Cover young seedlings with row covers to protect them from pests.
While direct sowing is an option, starting indoors gives you a leg up on the season and helps prevent early pest damage.
Gathering Supplies
Before planting, make sure you have:
- Seed trays or biodegradable pots (squash doesn’t like root disturbance).
- Seed-starting mix (light, well-draining, nutrient-rich).
- Grow lights or a sunny, south-facing window.
- Heat mat (optional but speeds up Germination).
- Spray bottle or gentle watering can.
Pro Tip: Avoid regular potting soil—it’s too heavy for seedlings. Use a fluffy seed-starting mix instead.
Planting Winter Squash Seeds Indoors
- Fill containers with pre-moistened seed-starting mix, leaving about ½ inch of space at the top.
- Make holes one inch deep and drop in one to two seeds per pot to ensure Germination.
- Lightly cover with soil, press gently, and mix with warm water to settle the soil.
- Label each variety to avoid mix-ups later—many squash seedlings look the same.

Providing the Right Conditions for Germination
For fast, healthy germination:
- Keep the soil temperature between 70–90°F. A heat mat can help maintain warmth.
- Maintain humidity by covering trays with plastic wrap or a humidity dome.
- Germination typically takes 7-10 days.
Pro Tip: If seeds aren’t sprouting after 10 days, check the soil temperature—cooler temperatures slow germination dramatically. Starting winter squash indoors in late winter when windowsills are still fairly cold can cause slower germination.
Don’t panic if germination takes a little longer! Squash can be a slow starter, but they’ll pop up soon with the right warmth and moisture.
Caring for Squash Seedlings
Once your seeds sprout, focus on keeping them strong.
- Provide 12-16 hours of light per day. Grow lights work best.
- Keep the soil moist but not soggy. Water from the bottom to avoid damping off disease.
- If both seeds sprout, snip the weaker one at the soil level to avoid disturbing the roots.
Pro Tip: Rotate pots daily so squash seedlings don’t lean toward the light.
If seedlings look weak, don’t stress! They will strengthen as they grow—keep the light close and the watering balanced.

Potting Up: When & How to Repot Squash Seedlings
Winter squash grows quickly and will outgrow small containers within a few weeks. Transplant seedlings into 4-6 inch pots before moving them outdoors.
- Carefully lift seedlings, keeping roots intact.
- Transplant into larger pots filled with rich potting mix.
- Water thoroughly and return them to their well-lit growing area.
Pro Tip: Use biodegradable pots to plant the whole thing directly into the garden later.

Hardening Off & Transplanting Outdoors
To prevent transplant shock, winter squash seedlings should be introduced to outdoor conditions gradually.
- Place seedlings in a shaded spot outdoors for 1-2 hours for the first three days.
- Increase sun exposure daily over the next few days.
- Leave them outside all day, bringing them in at night by day seven to ten.
- Transplant into the garden when nighttime temperatures stay above 55°F, and the soil is warm.
- Space plants 3-4 feet apart for best results.
Pro Tip: Add compost to each planting hole for a nutrient boost.

Three Common Mistakes to Avoid When Starting Winter Squash Indoors
Planting Too Early
Squash grows fast. If you start too soon, you’ll have overgrown, rootbound plants before it’s warm enough to plant them outside.
Solution: Start seeds 3-4 weeks before your last frost date.
Overwatering
Too much water leads to damping-off disease, a fatal fungal infection that kills seedlings at the base.
Solution: Water from the bottom and let the top inch of soil dry slightly between waterings.
Skipping Hardening Off
Seedlings need time to adjust before being planted outside. Without this step, they can get sunburned, stunted, or die.
Solution: Gradually introduce them to outdoor conditions over 7-10 days.
Pro Tip: New to growing squash? Don’t worry! Even if you make mistakes, squash are resilient—they’ll bounce back with proper care.
Troubleshooting Seedling Problems
- Leggy seedlings: Move them closer to the grow light.
- Slow growth: Check the temperature—cold slows development.
- Yellow leaves: This could be due to overwatering or a nitrogen deficiency.
Related Posts:


Conclusion: Your Best Winter Squash Harvest Starts Now
Starting winter squash indoors gives you more vigorous plants, earlier harvests, and better yields. With the right conditions and care, your seedlings will thrive from day one and reward you with sweet, flavorful squash all season.

Author: Laura Kennedy
Writer & Owner of Little Yellow Wheelbarrow
Laura is a highly skilled gardener and fervent flower enthusiast. Despite her playful battle with plant spacing guidelines, Laura’s work inspires gardeners to create thriving, beautiful spaces that reflect both creativity and sustainability.