Mint: How To Grow Mint From Cuttings or Seeds
Mint plants are incredibly easy to grow. Some might say a little too easy to grow thanks to their ability to spread quickly. Learn everything you need to know about growing mint from cuttings in a hassle-free way so that you can enjoy the benefits of this perennial herb.

Mint. It’s one of my favorite flavours in the kitchen!
However, growing it has been… an acquired taste. I think one of the first things that people learn about growing mint is its legendary ability to take over any space where it grows.
Trust me, the reputation is deserved!
When we moved into our house, the previous owner had some mint growing in a flower bed with no borders. The flower bed literally bumped up to the grass. And, I am not kidding when I say that the mint had completely taken over.
It was suffocating all the other plants in the flower bed, and it was also growing several feet out into the grass. If that wasn’t enough, it had even spread into a neighboring flower bed and was working quickly to suffocate those plants.
Affiliate Disclosure
This post may contain affiliate links. If you click one and purchase, I may receive a commission at no additional cost. You can read our disclosure policy here.
How Mint Grows: A Bad Reputation
Mint is a very vigorous grower, and it has a tendency to take over a garden bed with new growth. There’s no getting around the fact that’s how mint grows. Unfortunately, that’s led to mint having a bad reputation, and many gardeners avoid growing it altogether.
If we take that reputation and flip it around to look at it from another angle, mint is easy to grow and vigorous in nature. That’s why it can even “take over” in the first place!
That particular quality actually makes growing mint one of the easiest herbs for gardeners who don’t have green thumbs. And, there are several other reasons to grow (and enjoy!) mint!
Benefits of Mint
Mint is an extremely beneficial herb. Not only does it taste amazing but you can use it for many other great benefits, including:
- Calming an upset stomach and aiding digestion.
- Breath freshener.
- Relieving headaches.
- Soothing seasonal allergies.
- Energizing and mood uplifting.
Fun Facts About Mint Plants
When you know how to grow mint plants in ways that play to their strengths, you’ll realize that these vigorous plants are well worth the effort and planning.
Here are some of my favorite things about growing mint:
- This versatile herb is an ideal plant for a beginner gardener to grow. Just make sure that it doesn’t completely dry out, and the plant will do the rest on its own!
- You can be aggressive with this hardy perennial without fear of hurting the plants. It truly can take the abuse.
- While the plants may prefer growing in full sun, they will grow just fine in the shade (and may not spread quite as fast!).
- Mint can be difficult to grow from seeds, but it’s super easy to grow from plant cuttings. The best way is to simply cut away part of the plant and put it in water until roots appear. Then plant it where you want it. Try this and give small plants as gifts for a gift that truly keeps giving!
- Mint attracts beneficial insects (bees, wasps, hoverflies) while also repelling bad insects (mosquitoes, houseflies, ants, aphids, fleas, and cabbage moths).
- It’s healthy for pets in small doses and acts as a natural flea repellent – yay! Fun fact: catnip is actually part of the mint family.
- Some areas consider mint to be an invasive plant. The easiest way to find out about rules against planting mint is to ask at your local garden centre.
How To Grow Mint from Cuttings or Seeds Frustration-Free
I have learned, over time, to work with plants and their strengths rather than bucking against them. That’s why it’s essential to learn about the plants you want to grow!
Once you know how mint grows, you can take steps to allow mint plants to flourish as they are without becoming a headache in the garden.
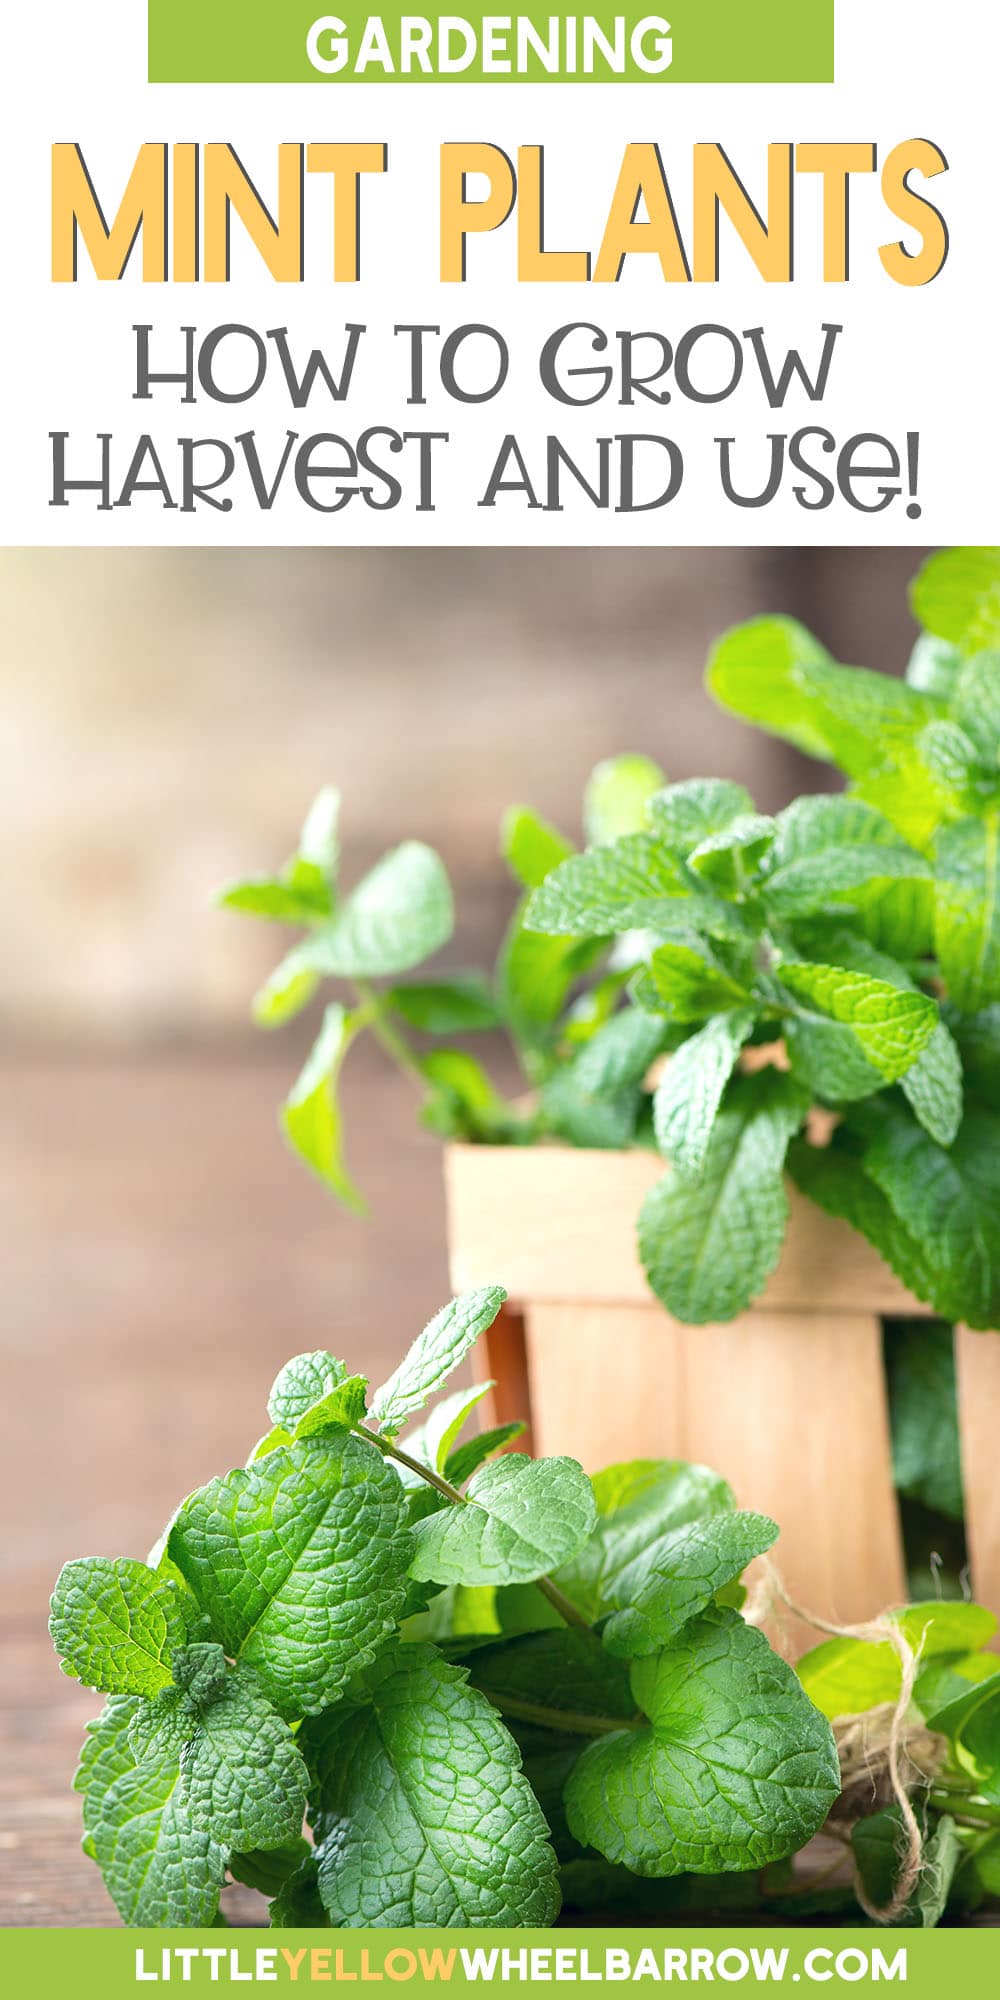
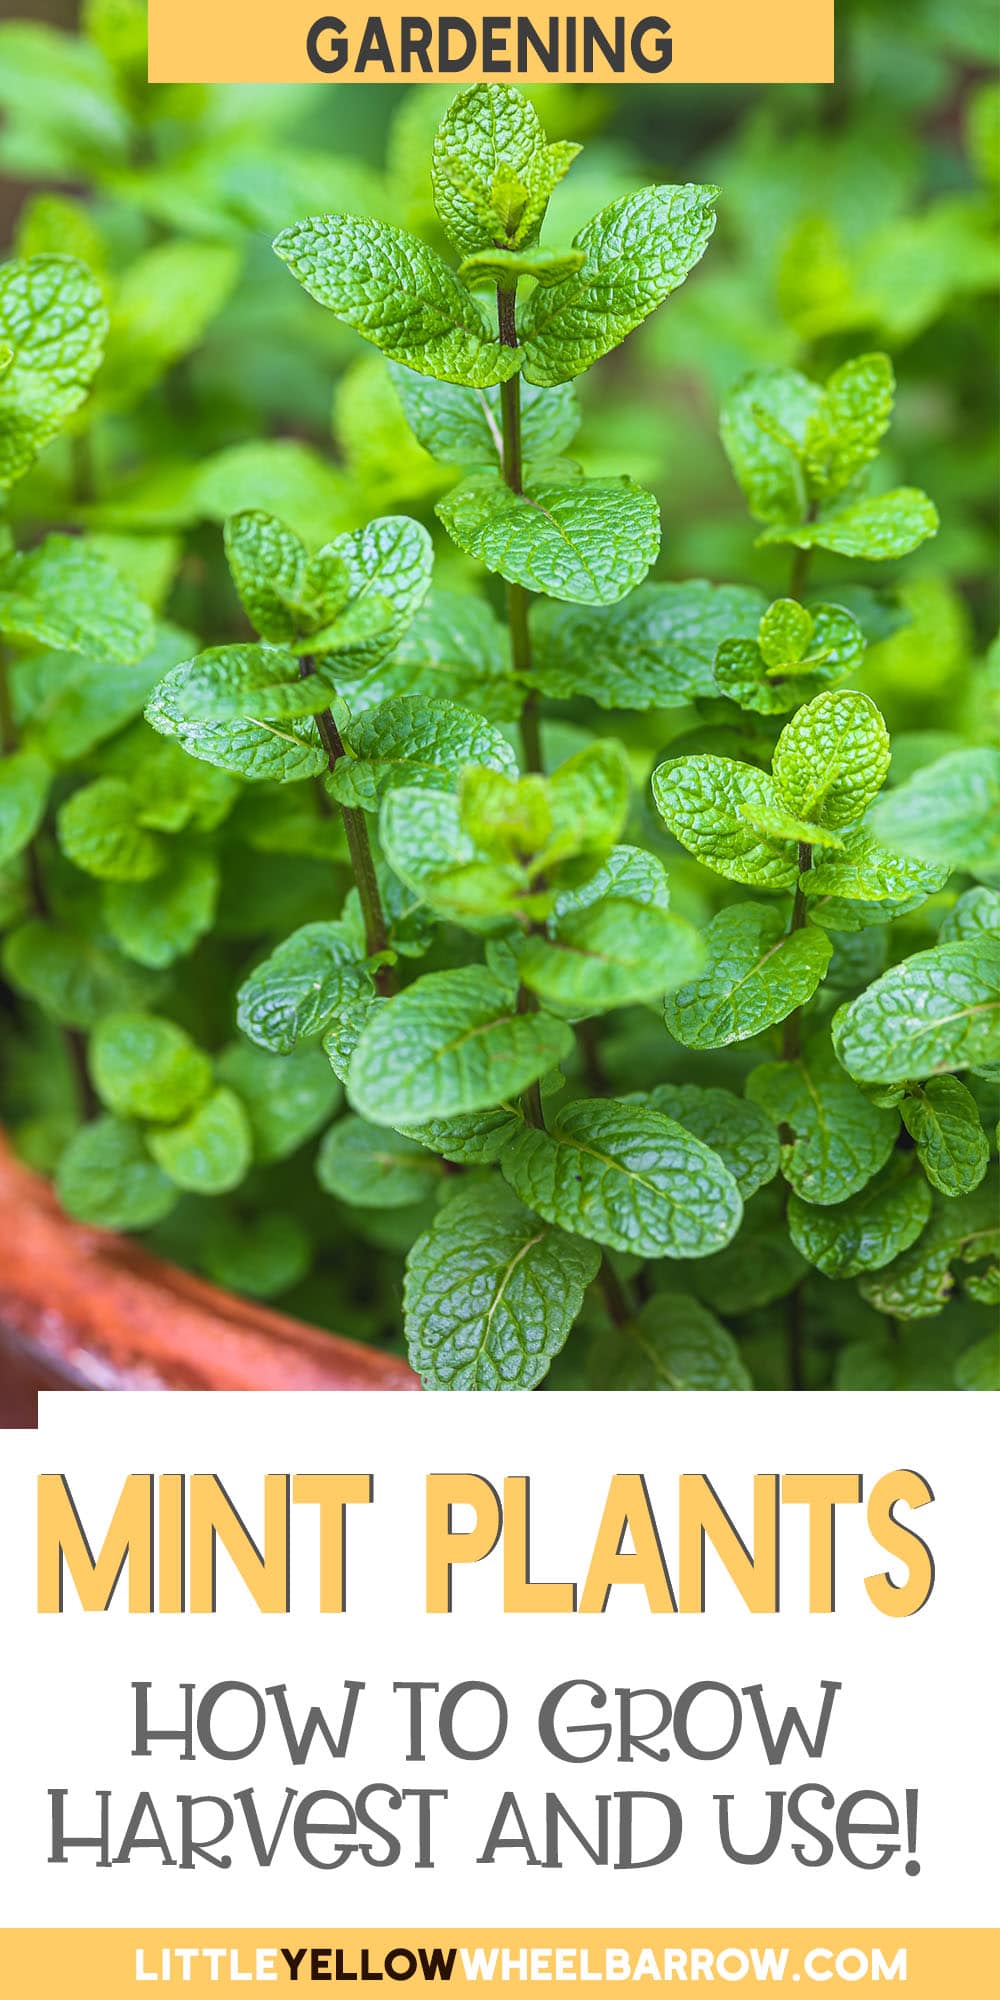
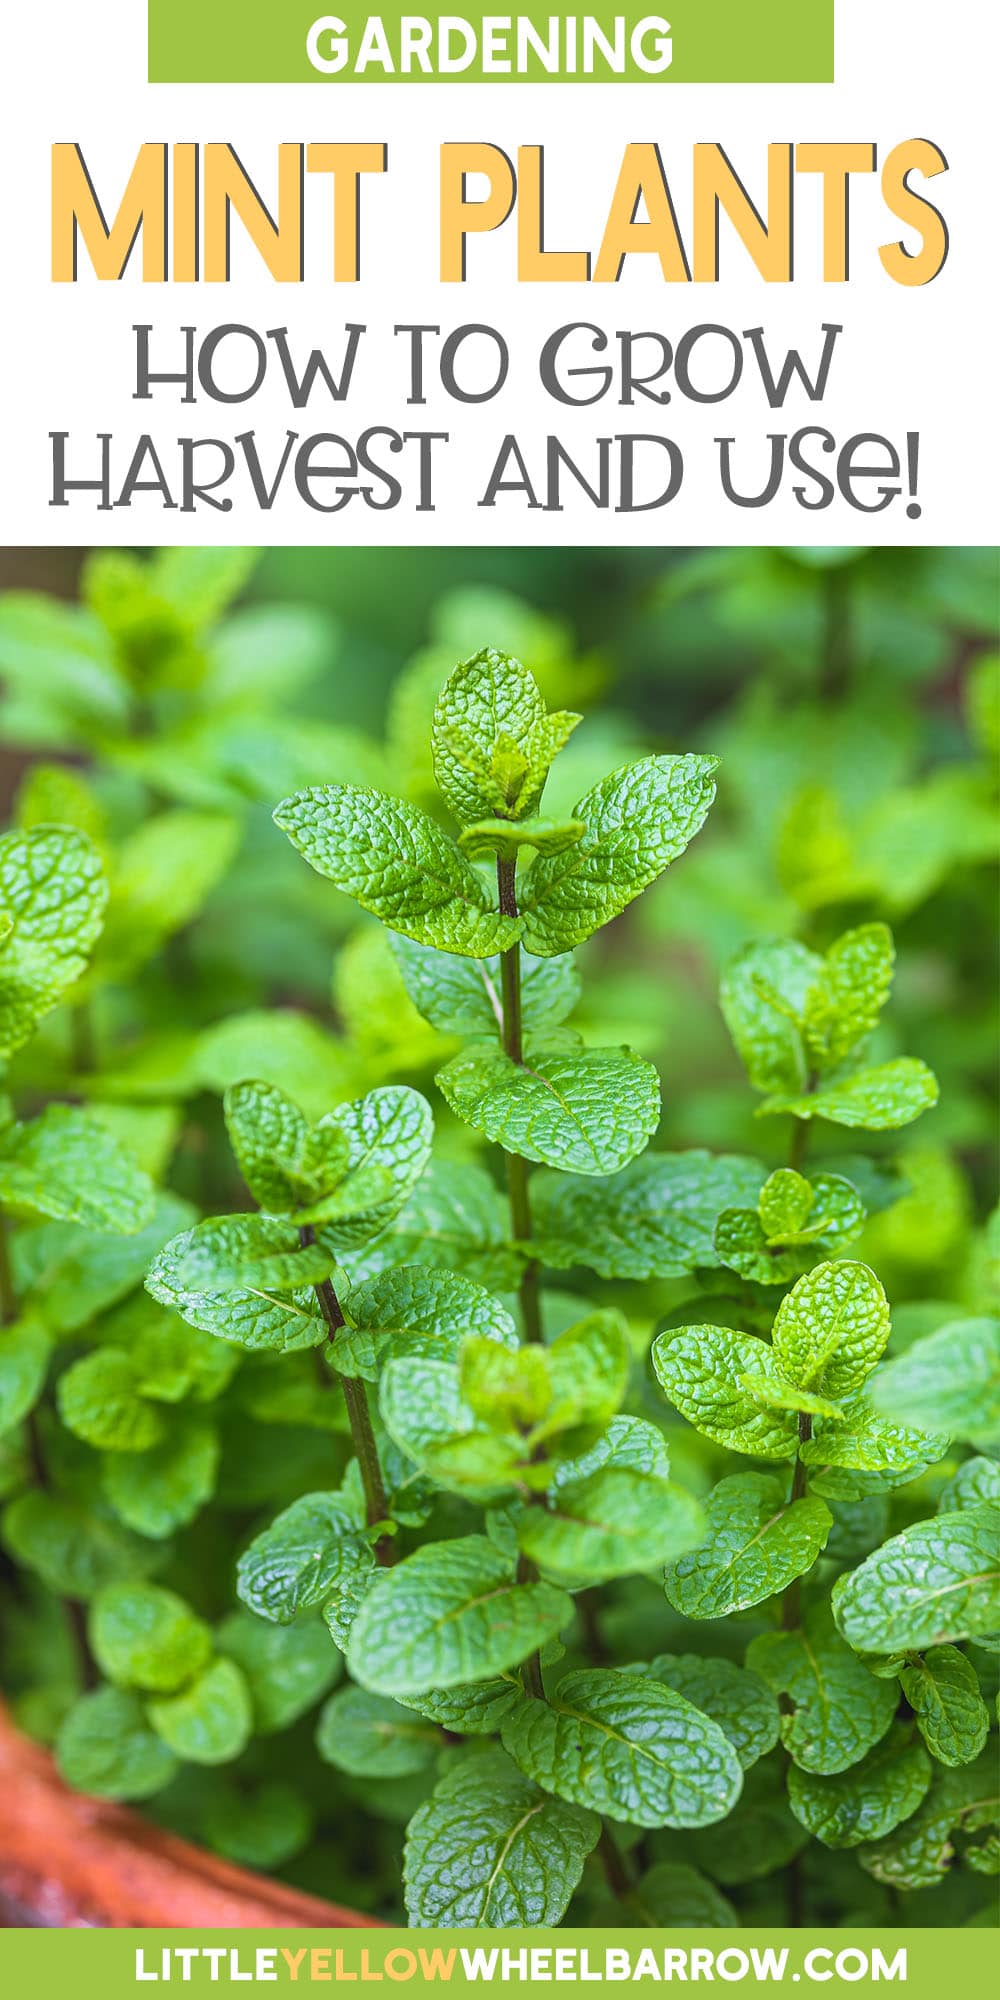
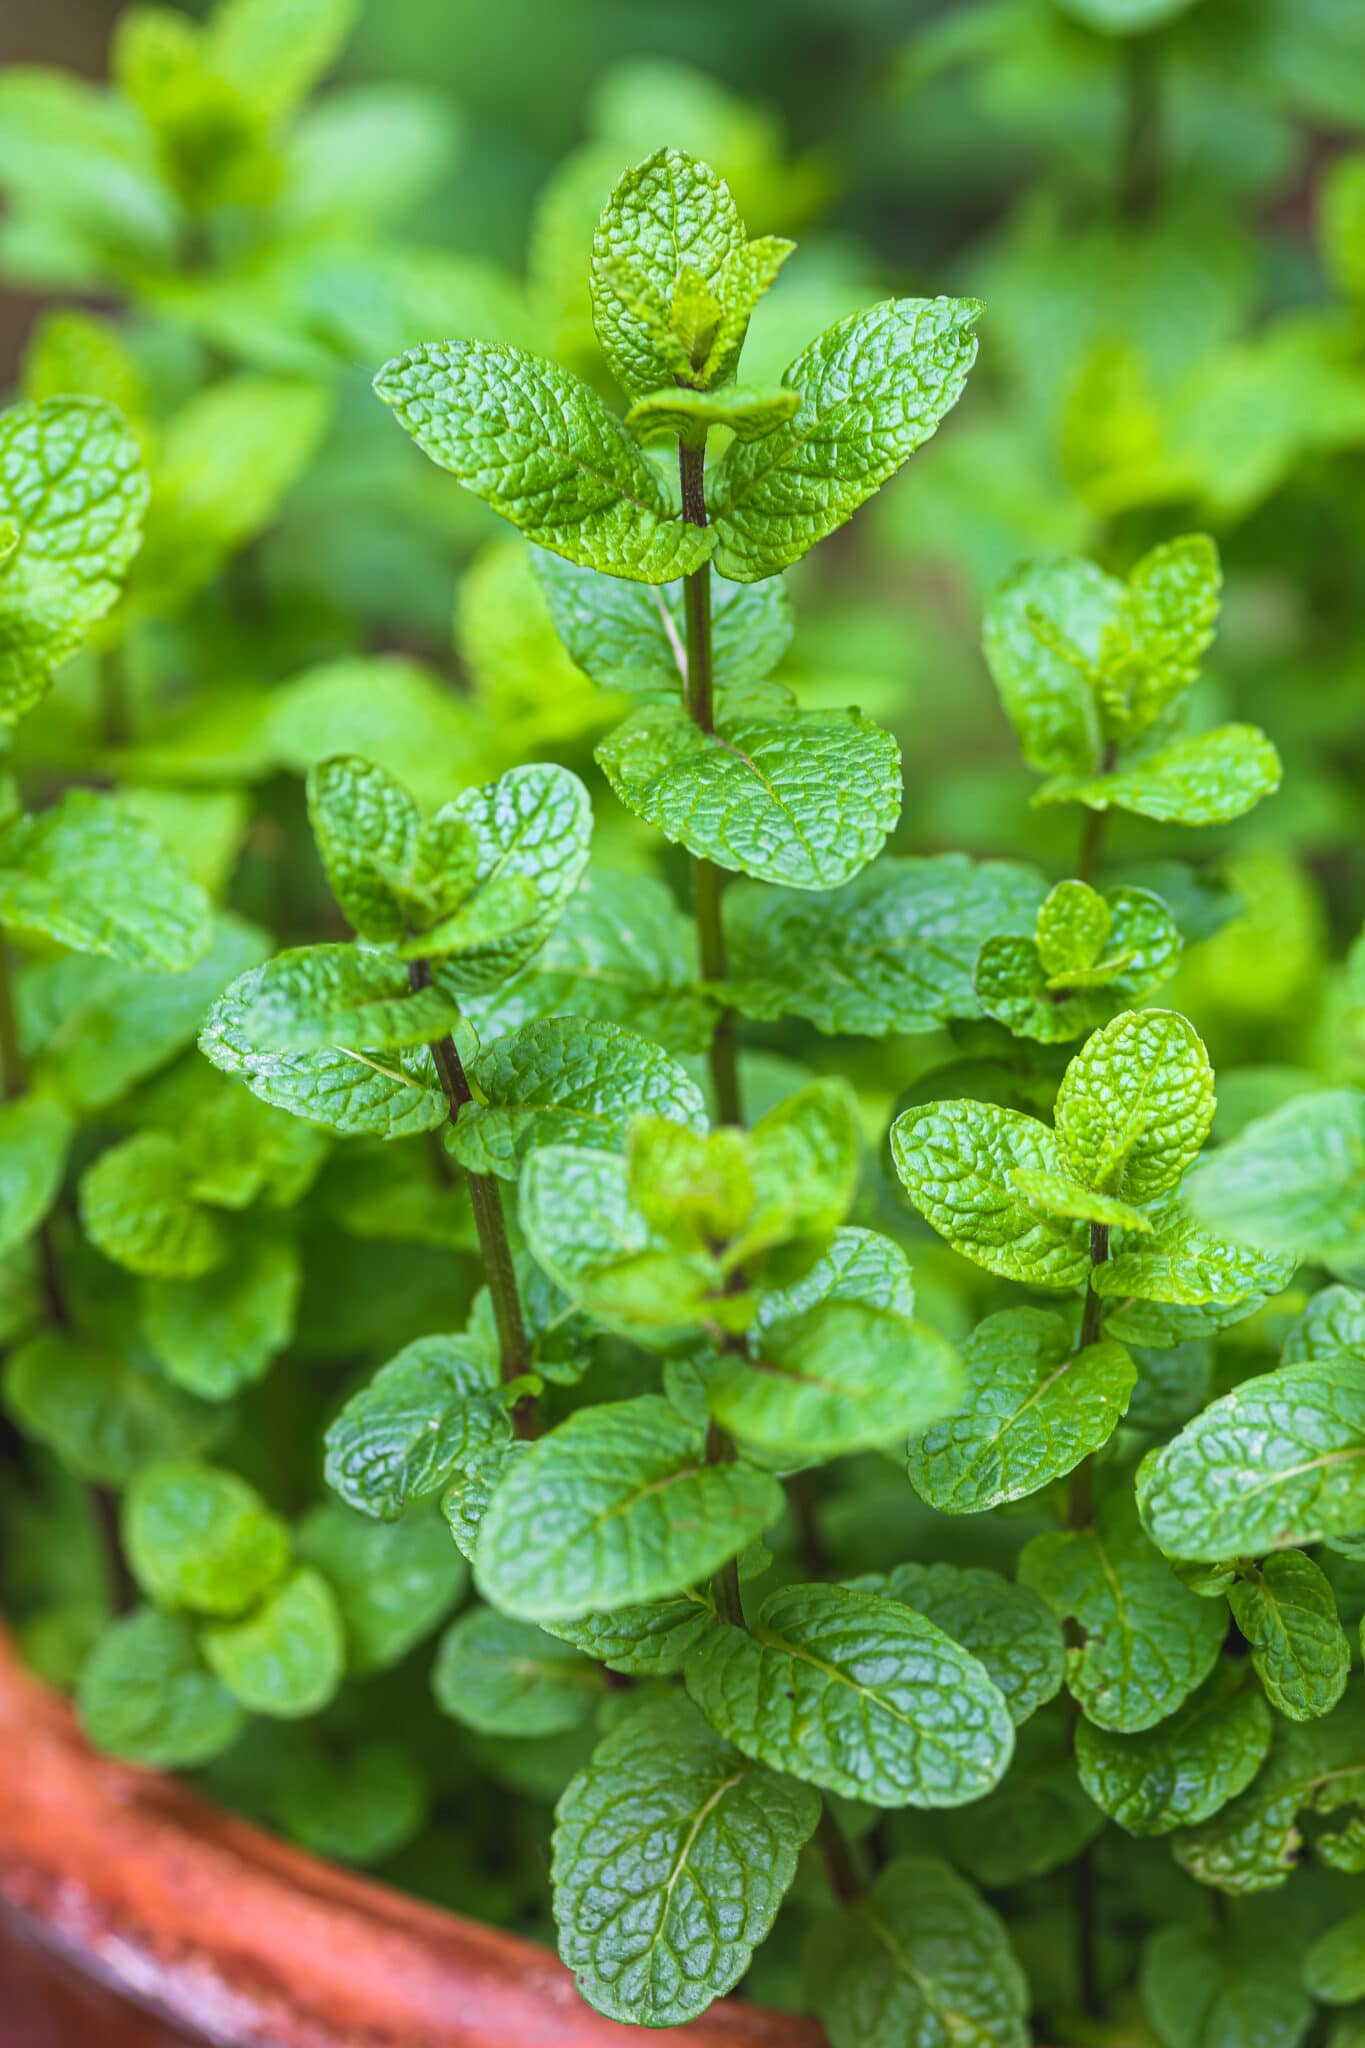
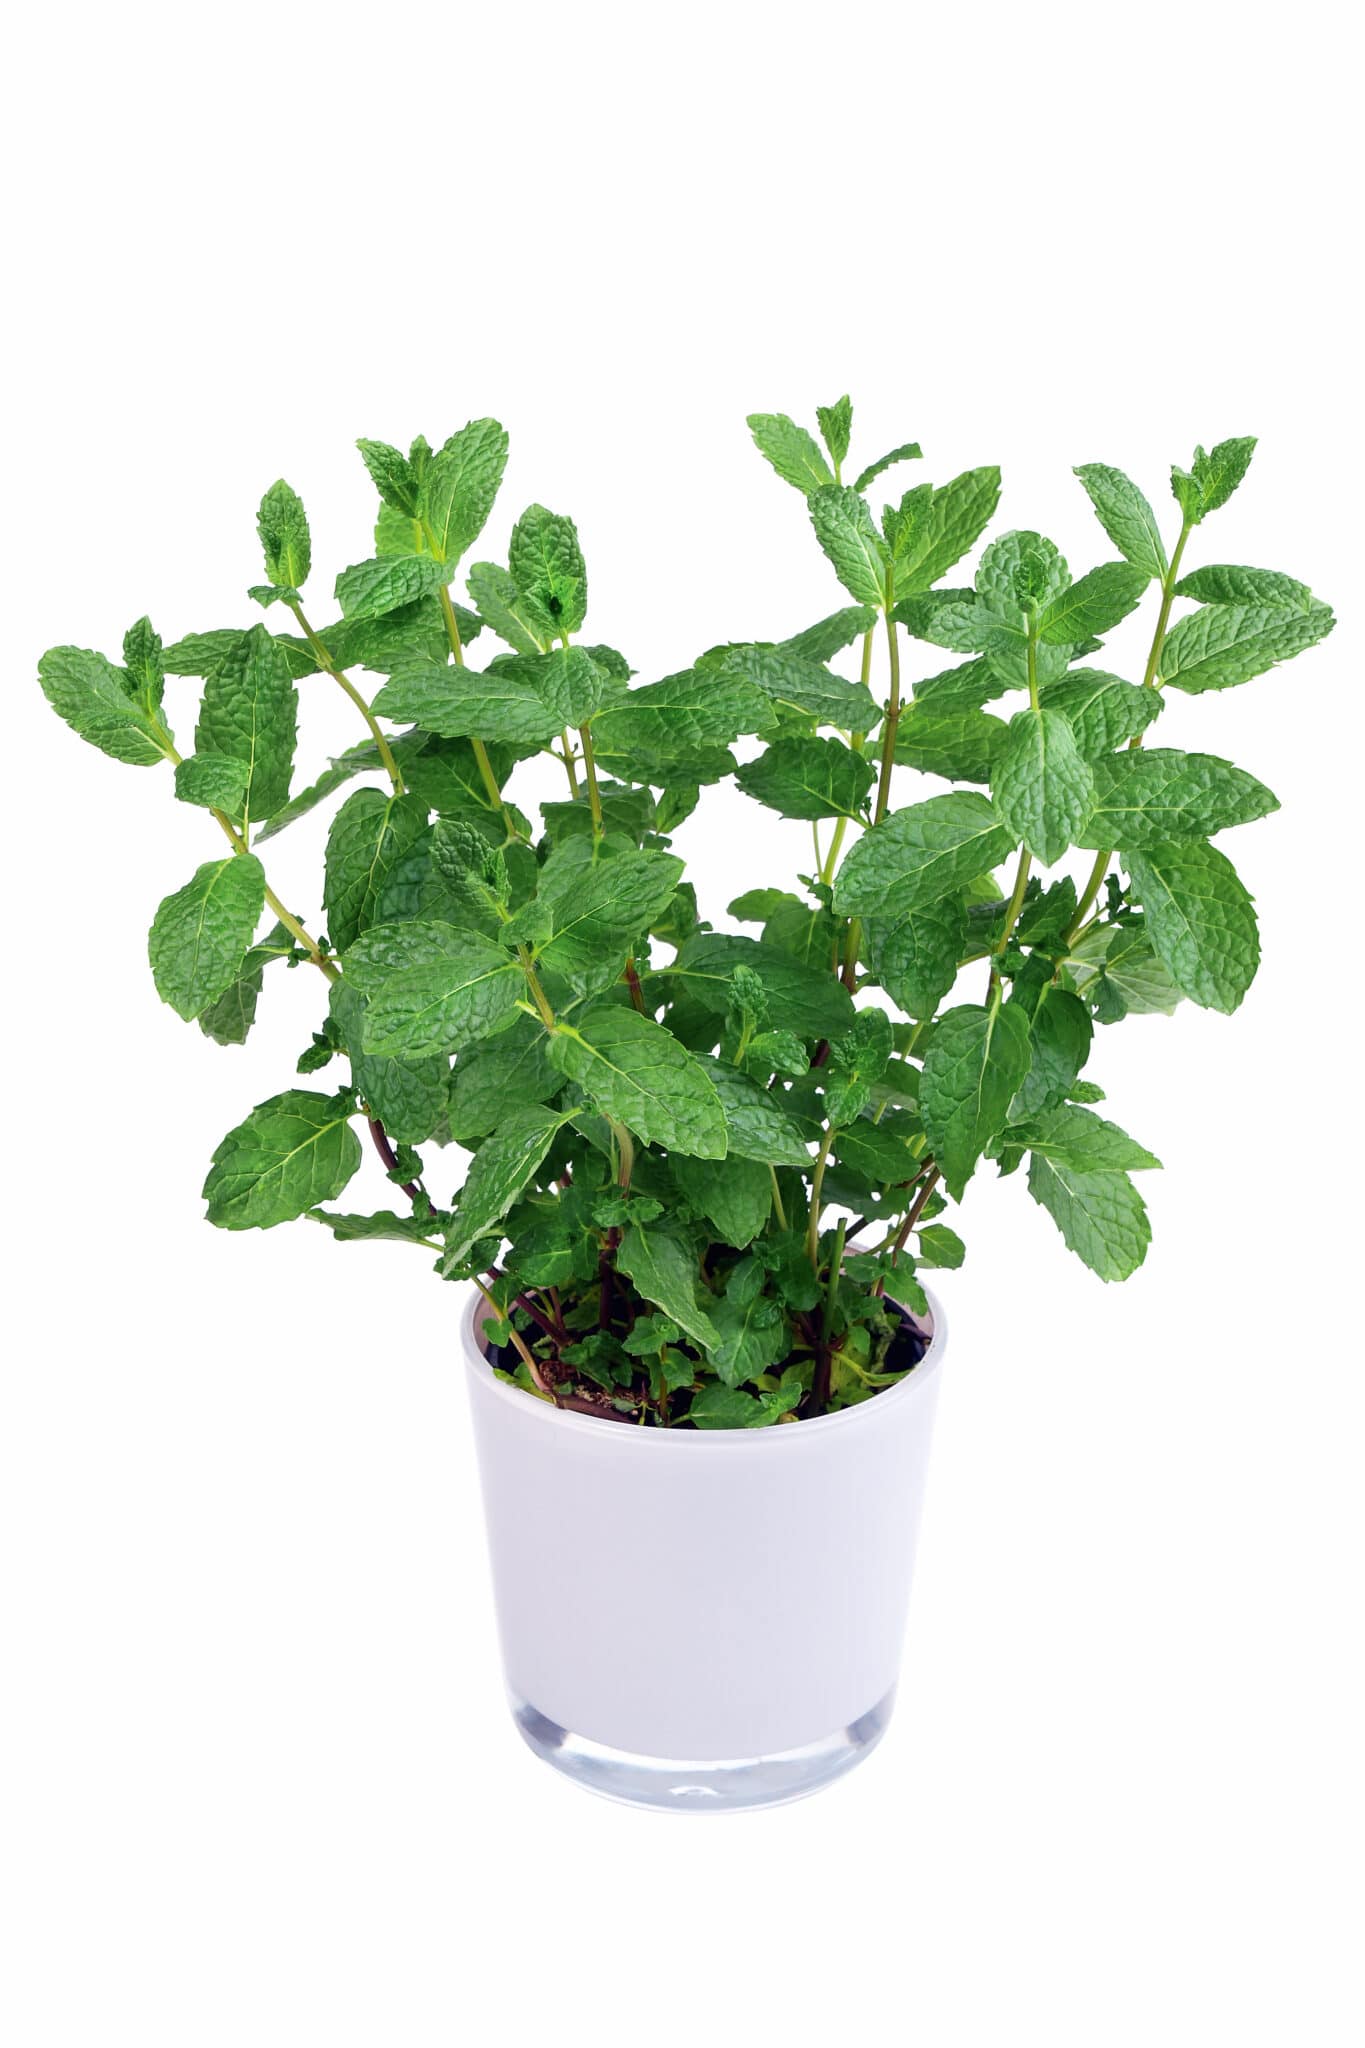
Mint itself is a beautiful, fragrant green herb with toothed leaves and very small flowers that can be white, pink, or purple. It makes a beautiful and beneficial addition to any garden, as long as you know how to manage it appropriately.
Fact: While mint plants can spread faster than we might want them to, it takes time for it to actually happen. Here’s what you need to know for growing mint in a frustration-free way!
How to Grow Mint from Cuttings
Mint spreads by sending out runners that spread out and form new roots, which makes it very easy to grow mint from cuttings – actually easier than growing mint from seed. Here’s how to grow mint from cuttings:
- Start with a stem from your preferred mint variety. This can be taken from a cutting in a garden, or even purchased in the produce section of the grocery store.
- Strip the lower leaves from the bottom 2-3 inches of the stem.
- Place the stem cuttings in a glass of water, with the bottom of the stems submerged, and the leaves above the water line. Keep in a bright room, but out of direct sun.
- Wait a few weeks for roots to form. Top up the water as needed.
- Once the roots are thick and healthy, fill a small pot with good quality potting mix.
- Poke a hole in the soil with your finger, place the cutting into the hole, and gently press in.
- Place the potted cutting in a bright spot but out of direct sunlight.
- Once the root cuttings are established after a couple of weeks, the young plants can be transplanted into a larger pot, or out into the garden. (read below for tips on where to plant so that it won’t take over the whole garden!)

How to Grow Mint From Seeds
Even though it’s easier to grow mint from cuttings, sometimes the only way to get your hands on specific mint varieties is to order seeds. This was the the only way I could get my paws on my favorite type of mint, chocolate mint. To grow mint from seed:
- Sow seeds indoors 8-10 weeks before the last frost date in spring.
- Fill a plant starter tray with potting soil.
- Plant mint seeds about 1/4 inch below the surface.
- Keep soil moist.
- Seedlings will start to sprout within two weeks. To speed this up you can put a heating pad under your starter tray.
- Once the seedling has become established the new mint plant can be transplanted into a larger pot, or planted directly outside in early spring after the last frost date. (read below for tips on where to plant so that it won’t take over the whole garden!)

Mint Plants Growing Needs
Mint is a perennial herb in the genus Mentha of the Lamiaceae family. Learning how to grow mint takes very little effort thanks to its vigorous nature (see the positive spin there?). Mint plants really only need:
- When to plant: Plant cuttings directly into the ground after the last frost.
- Light: Full sun to partial shade.
- Soil: Fertile, well-draining soil, ideally with a pH of 6.0-7.0.
- Fertilizing: Generally, mint doesn’t care if it has fertile soil or not, but if you want even more vigorous growth, use basic plant food or supplement with organic matter.
- Watering: Mint likes moist soil, but not soggy soil. Pots or containers require drainage holes.
- Spacing: Space plants 18-24 inches apart and plant them in containers if possible to keep them from spreading. If you want to add mint plants to your garden bed, you can even plant containers into the ground to prevent spreading.
- Climate: Mint will grow just about anywhere. In USDA hardiness zones 3 to 8 it is a perennial that will grow back year after year. In colder climates it can be brought in over winter. Not sure which USDA hardiness zone you’re in? Check out this handy map.

Ideal Growing Locations
Don’t bother playing a constant game matching will against will with your mint plants, because unless you’re willing to regularly thin out your mint plant crop, you’ll likely lose, with new plants sprouting up all over the place.
It’s a good idea to grow mint in a way that will limit its ability to spread and take over. Work with the natural tendencies of the plants by growing mint in locations suited for its strengths:
- In an empty or neglected area of your yard.
- As an indoor herb.
- In a small container on the window sill.
- As part of the rocky herb garden.
- In a high traffic area.
- In raised garden beds – it will spread through the bed, but stay contained to it without “jumping” out.
- Containers – these can be above ground or even planted into the ground!
- With other herbs that can keep up with it such as thyme, oregano, sage, and rosemary.
Keeping Mint Plants Healthy
Mentha plants are generally low maintenance and are considered to be rabbit, deer, and rodent resistant. However, as with any plant, there are a few things to keep an eye out for in order to keep your mint plants healthy and happy.
Harmful Insects
Mint plants naturally deter many insects, but keep an eye out for aphids and spider mites. You can reduce the population of these insects by simply blasting your mint plants with a strong jet of water on a regular basis.
Don’t worry- Your mint plants can handle the abuse!
Fungal Diseases
Mint plants can be susceptible to 3 different fungal diseases. If you notice indications of any of these, the best course of treatment is to remove the affected plants in order to prevent spreading.
- Mint rust – orange, brown, or yellow pustules on the undersides of leaves.
- Powdery mildew – white fuzzy dusting on the tops of leaves.
- Anthracnose – small spots that continue to get larger until the leaves fall off.

Harvesting Mint
Harvesting mint is a super simple task. If you want to use just a little mint, the easiest way is to simply pinch off a couple of stems at a time! New leaves will sprout in no time. Mint should be ready for harvest from late spring all the way through late summer, or all year long if you’re growing indoors.
If you want to harvest a large amount of mint, cut off the whole plant just above the second set of leaves. Don’t worry about killing your plant, because it’ll come back even bushier! You can safely harvest a large amount like this 2-3 times per growing season.
I recommend harvesting your mint just before the plant flowers, as that’s when the flavor and aroma are at their peak.
- Learn More: For more information on how to harvest mint, check out our full, comprehensive guide!
Storing And Preserving Mint
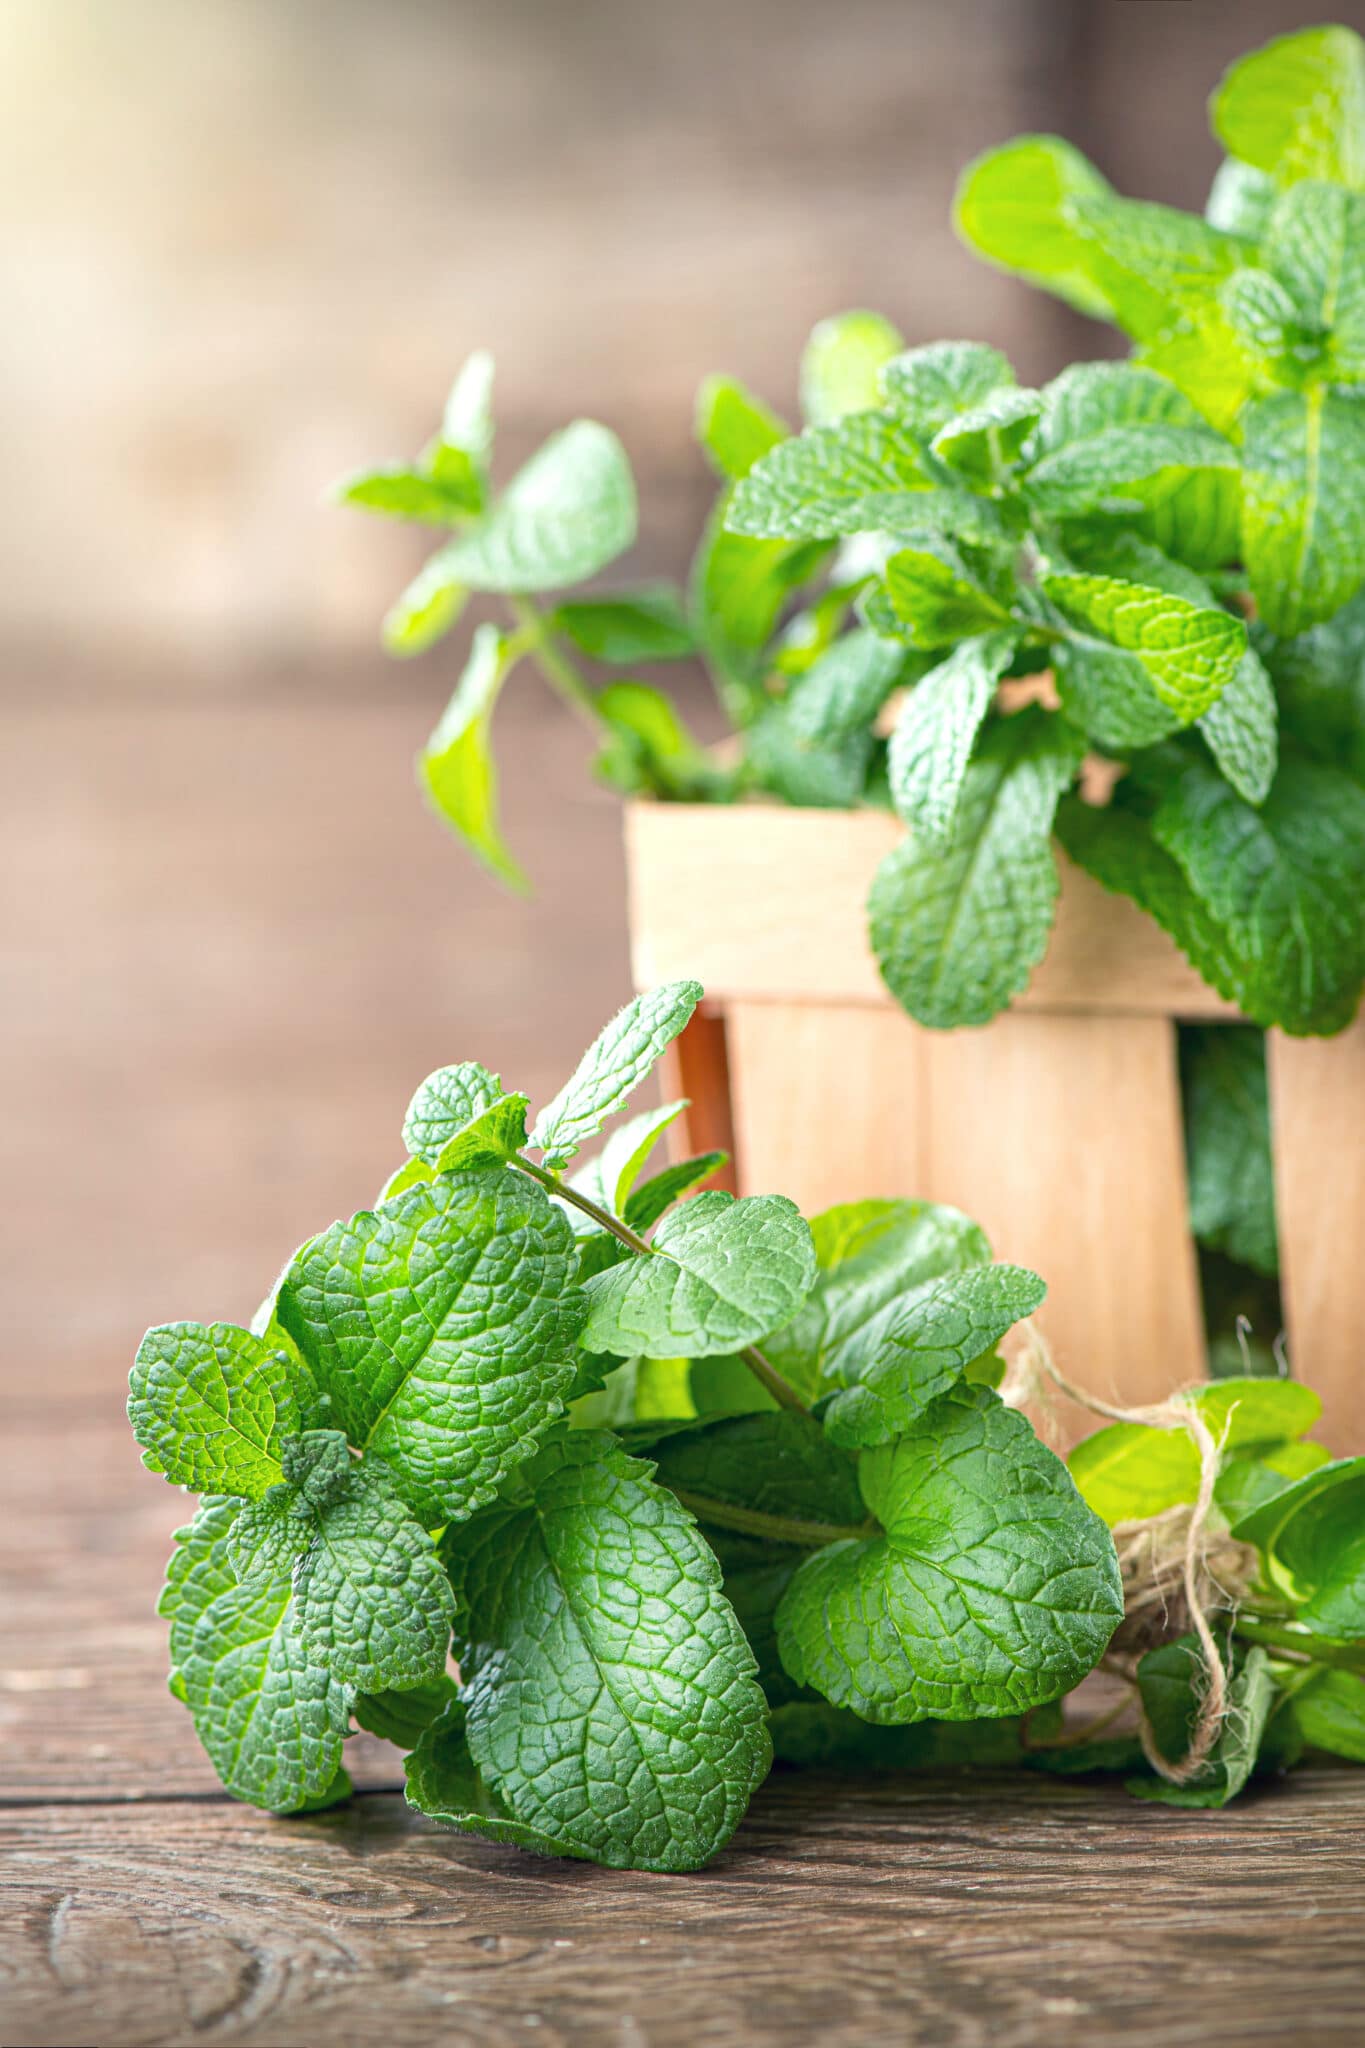
Mint is best enjoyed fresh, but you can also dry it or freeze it to store it all year.
When storing fresh mint, rinse off your leaves and dry them thoroughly. Then, put them in a container in the fridge for up to 7 days.
If you want to dry your leaves, rinse and dry a bunch of stems and tie them together. Hang them upside down for 1-2 weeks. Once the leaves are dried, remove them from the stems and store them in a container in a cupboard until you’re ready to use them. You could also use your dehydrator on the lowest setting to dry your mint plants.
Want to freeze your mint leaves?
Rinse and dry your leaves then remove them from the stems! Coarsely chop them up and put a pinch or two into the compartments of an ice cube tray. Add water and freeze.
You can add ice cubes to soups, drinks, or smoothies!
All The Different Ways To Use Mint Plants
Mint can be used in a variety of ways, which makes it extremely versatile and beneficial. Try using your mint plants in all these different ways!
In Cooking
Using mint as an herb in food and drink recipes is one of the most common ways to use this aromatic herb.
Try adding mint to:
- Desserts such as brownies, cookies, and cakes (it looks amazing as a garnish on chocolate!).
- Beverages such as smoothies, infused water, lemonade, punch, herbal tea, iced tea, and adult beverages.
- Mint pesto.
- Infused honey.
- Mint extract.
- Candies.
- Salsa.
- Jams and sauces.
- Salads.
- And more!

Aromatherapy
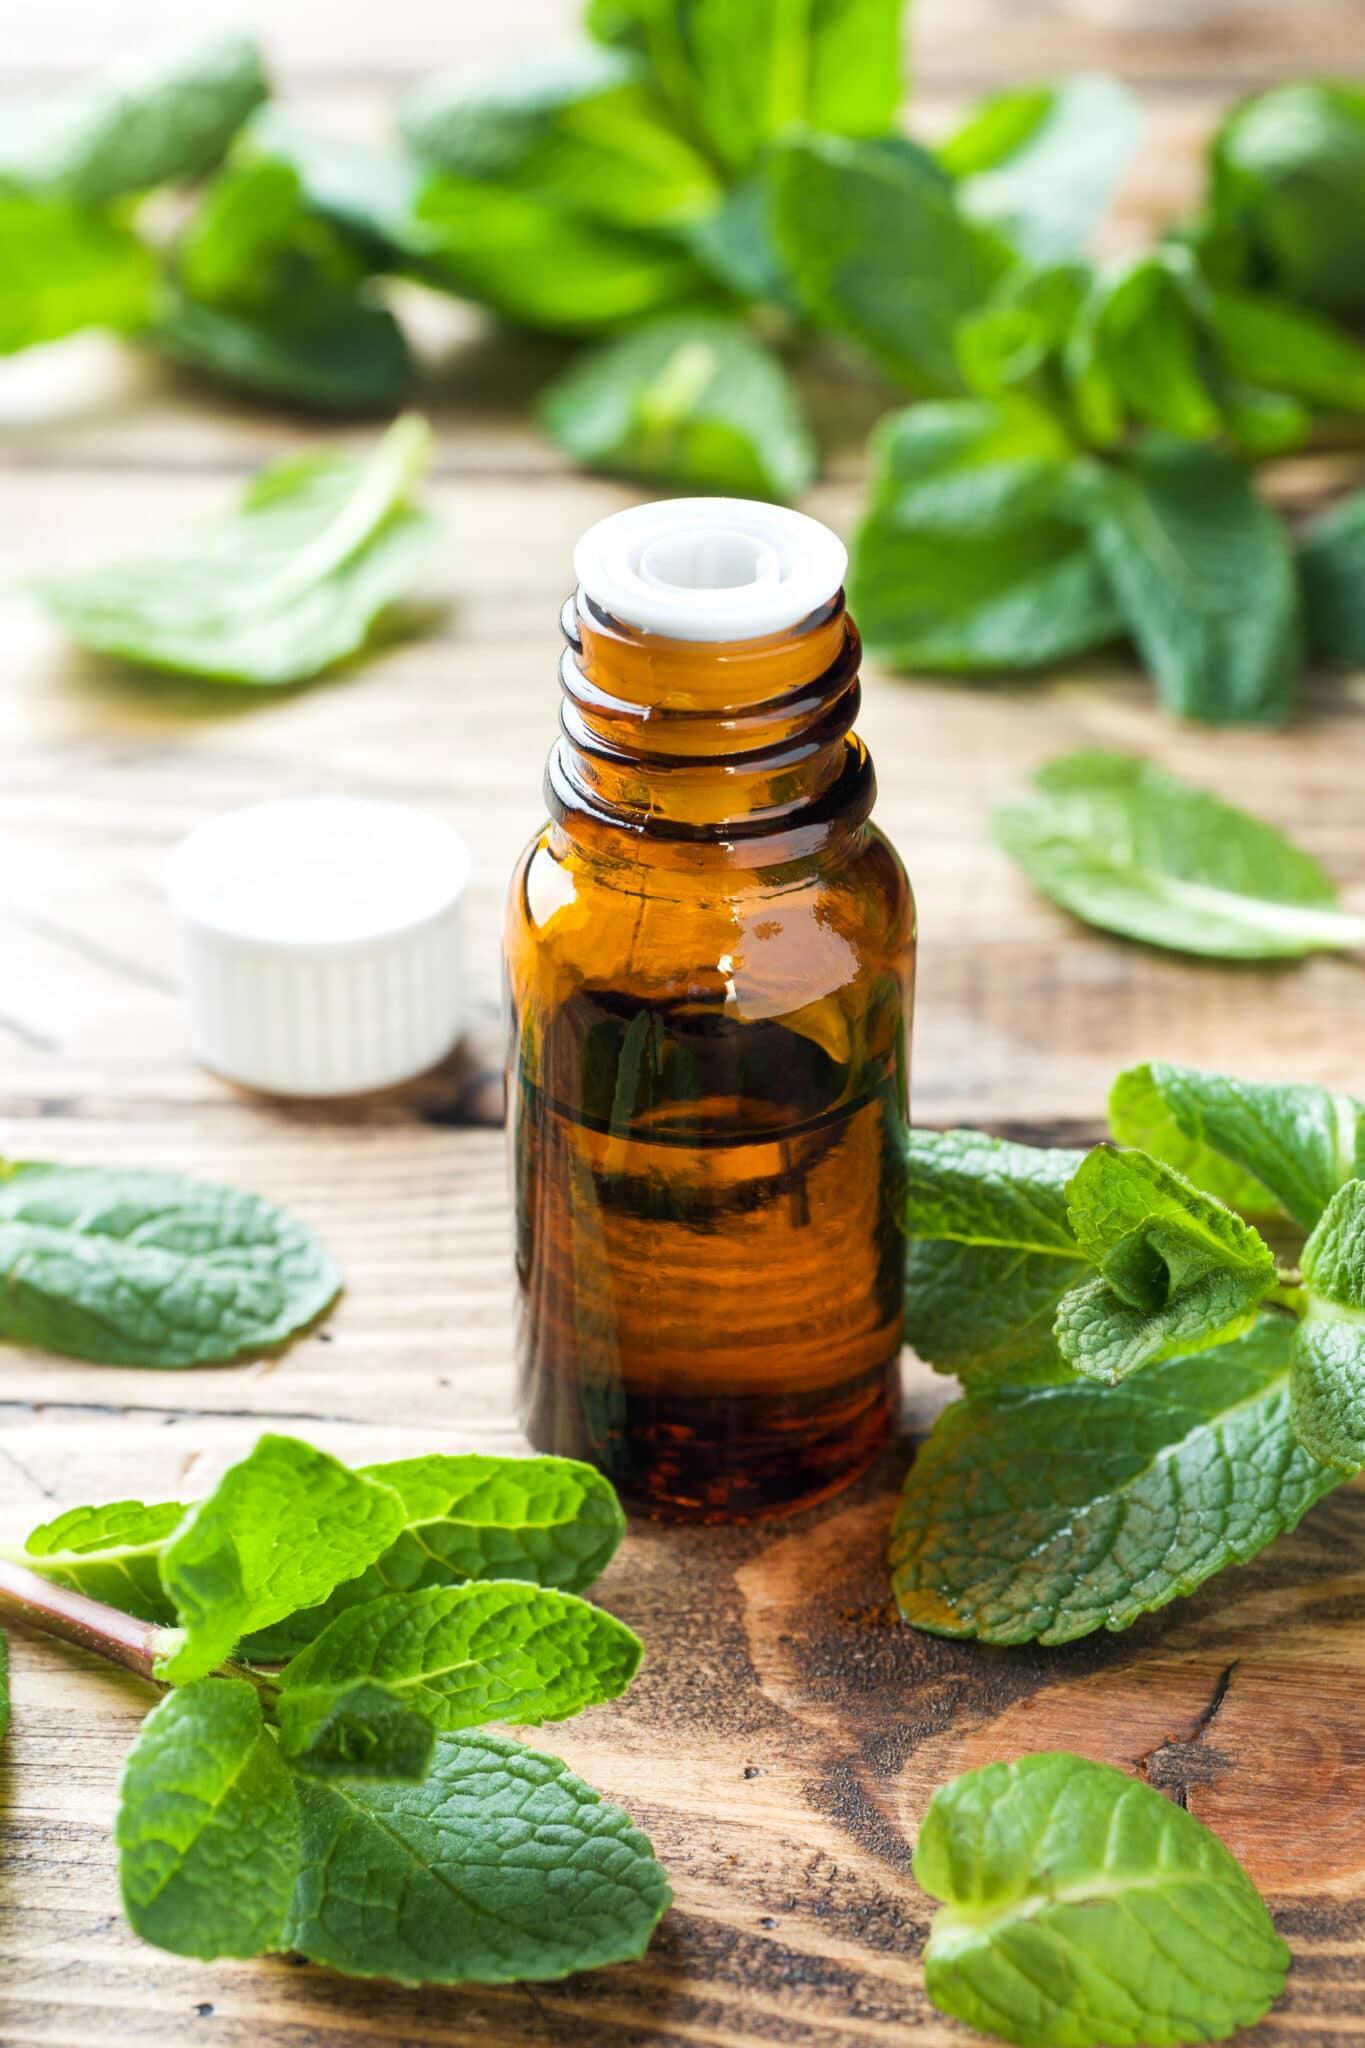
Fragrant mint is energizing and uplifting. Add it to candles, sprays, potpourri, or your diffuser to help energize you when you’re feeling sluggish.
DIY Bath And Beauty Products
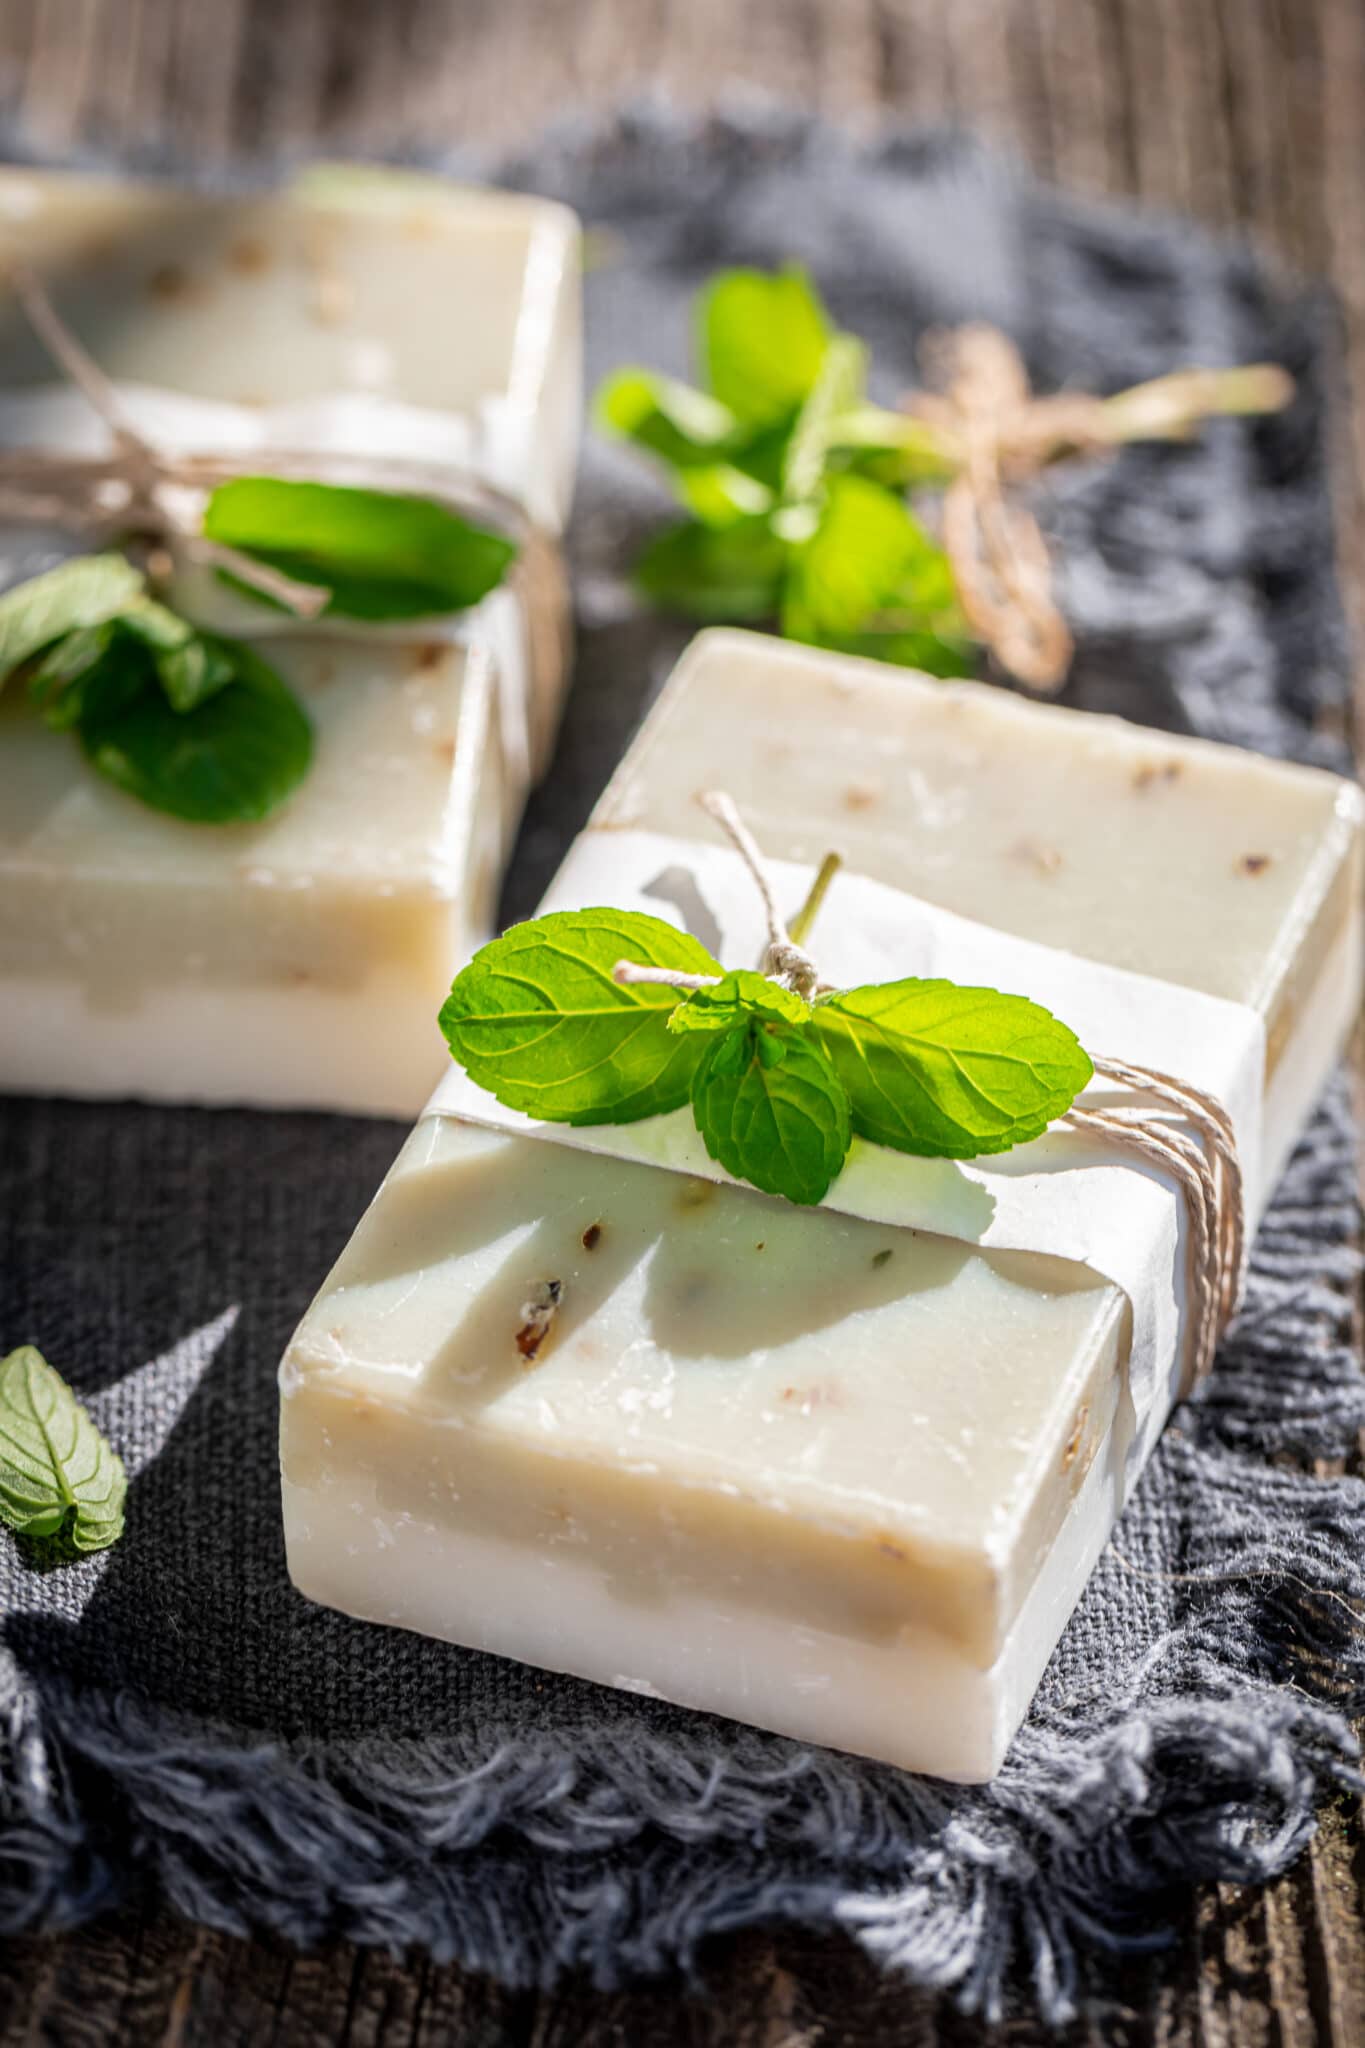
Mint can be added to many DIY body care products such as:
- Creams.
- Salves.
- Lip balms.
- Shampoos.
- Soaps.
- Lotions.
- Sugar scrubs.
- Bath bombs.
Mint blends exceptionally well with rosemary in body products to create a luxury scent.
Herbal Remedies
The sweet soothing fragrance and potent properties of mint make it ideal for use in herbal remedies to help with all areas of life. Use it in:
- Teas.
- Air Fresheners.
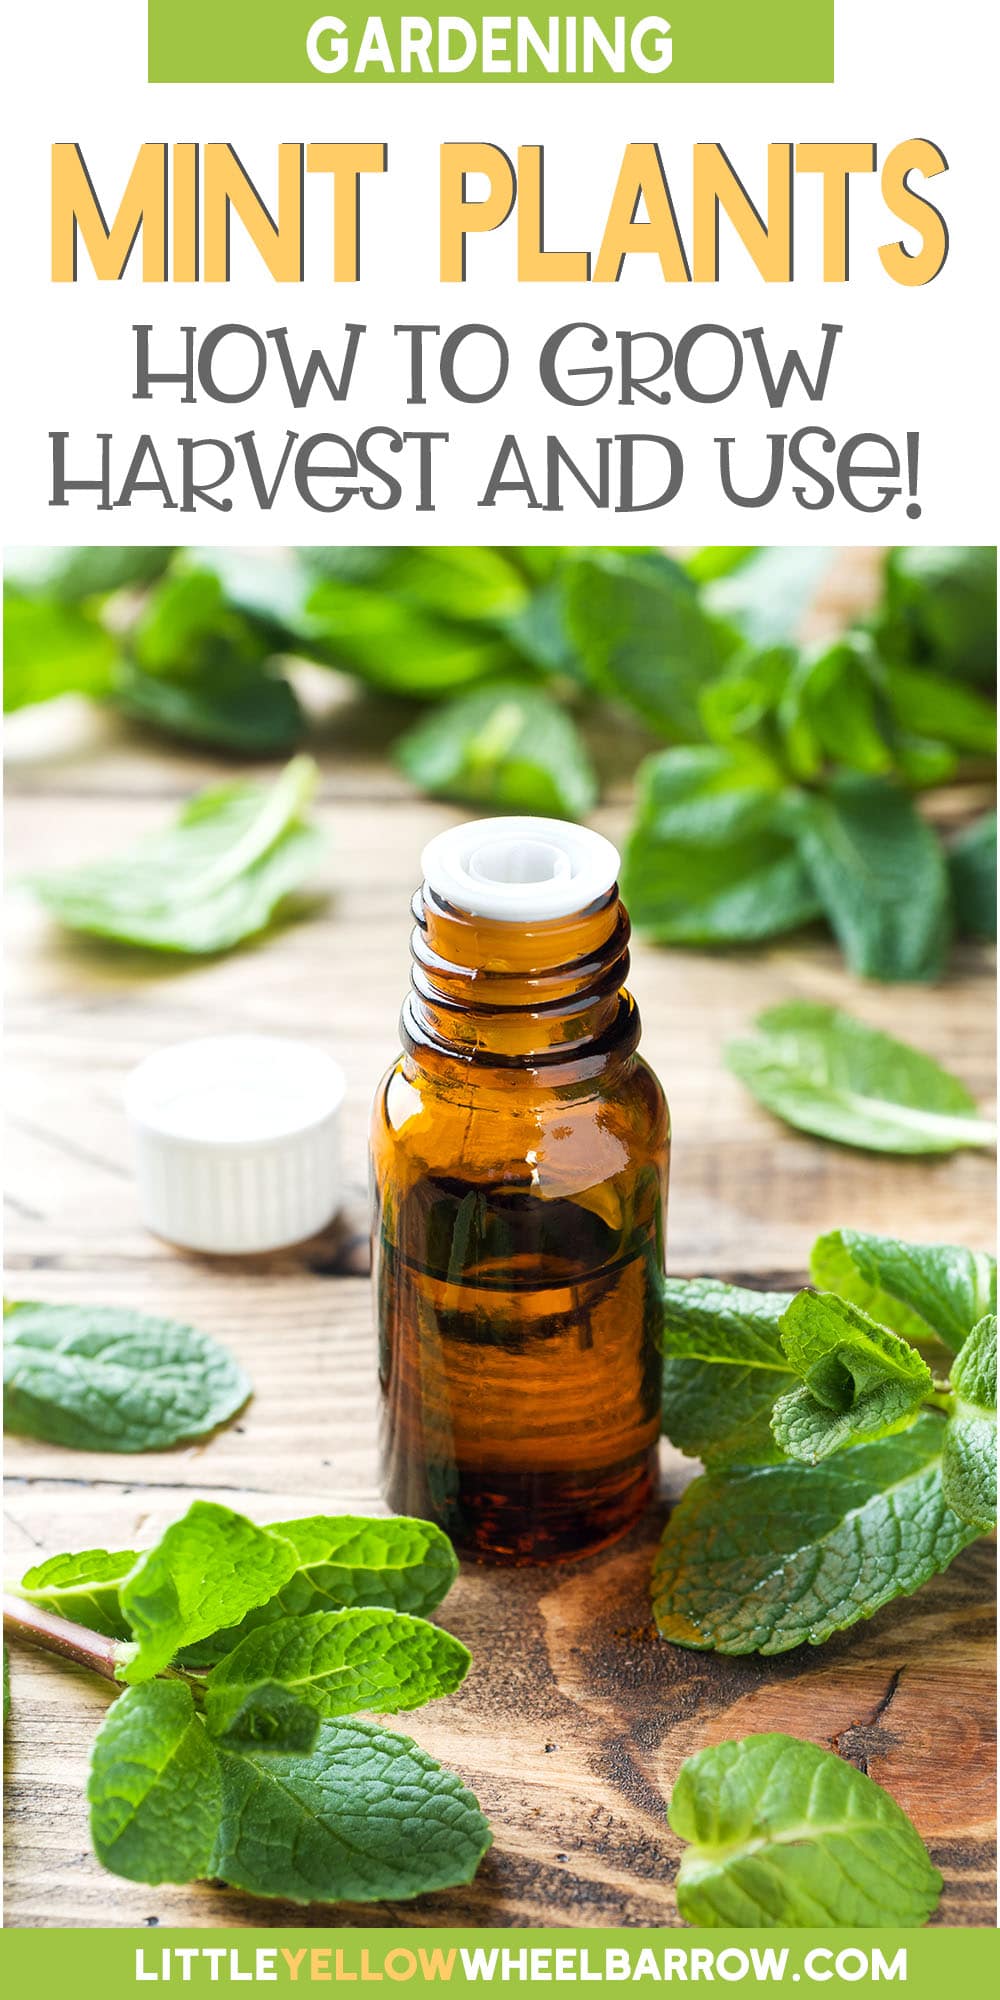
- Essential oils.
- Mosquito repellents.
I hope that after reading this post, you realize that the benefits of growing mint outweigh its bad reputation for being a super spreader. Give growing mint a try and see for yourself just how amazing this fragrant herb is!

More Gardening Resources

Author: Laura Kennedy
Writer & Owner of Little Yellow Wheelbarrow
Laura is a highly skilled gardener and fervent flower enthusiast. Despite her playful battle with plant spacing guidelines, Laura’s work inspires gardeners to create thriving, beautiful spaces that reflect both creativity and sustainability.
Editorial note: This post was originally published on May 18, 2021, and was updated on February 12, 2022.

