How to Grow Garlic In Pots – Step By Step
Growing garlic in containers is easy! If you know the proper steps, you will be able to grow enough garlic cloves to last through several seasons. How to grow garlic in pots isn’t much different from growing garlic in a garden plot, but there are a few essential details you want to get right to ensure a good harvest.
Does garlic do well in pots?
Yes, garlic does very well in containers. First, choose the suitable variety of garlic for your climate and provide a container with good drainage, excellent soil, and adequate water and fertilizer. Then, you can grow and harvest an abundance of garlic from your sunny deck or porch.
Tip: Homegrown garlic is much more intense in flavor than store-bought, which is one of the best reasons to grow your own!
First, Choose The Right Garlic To Grow in Pots
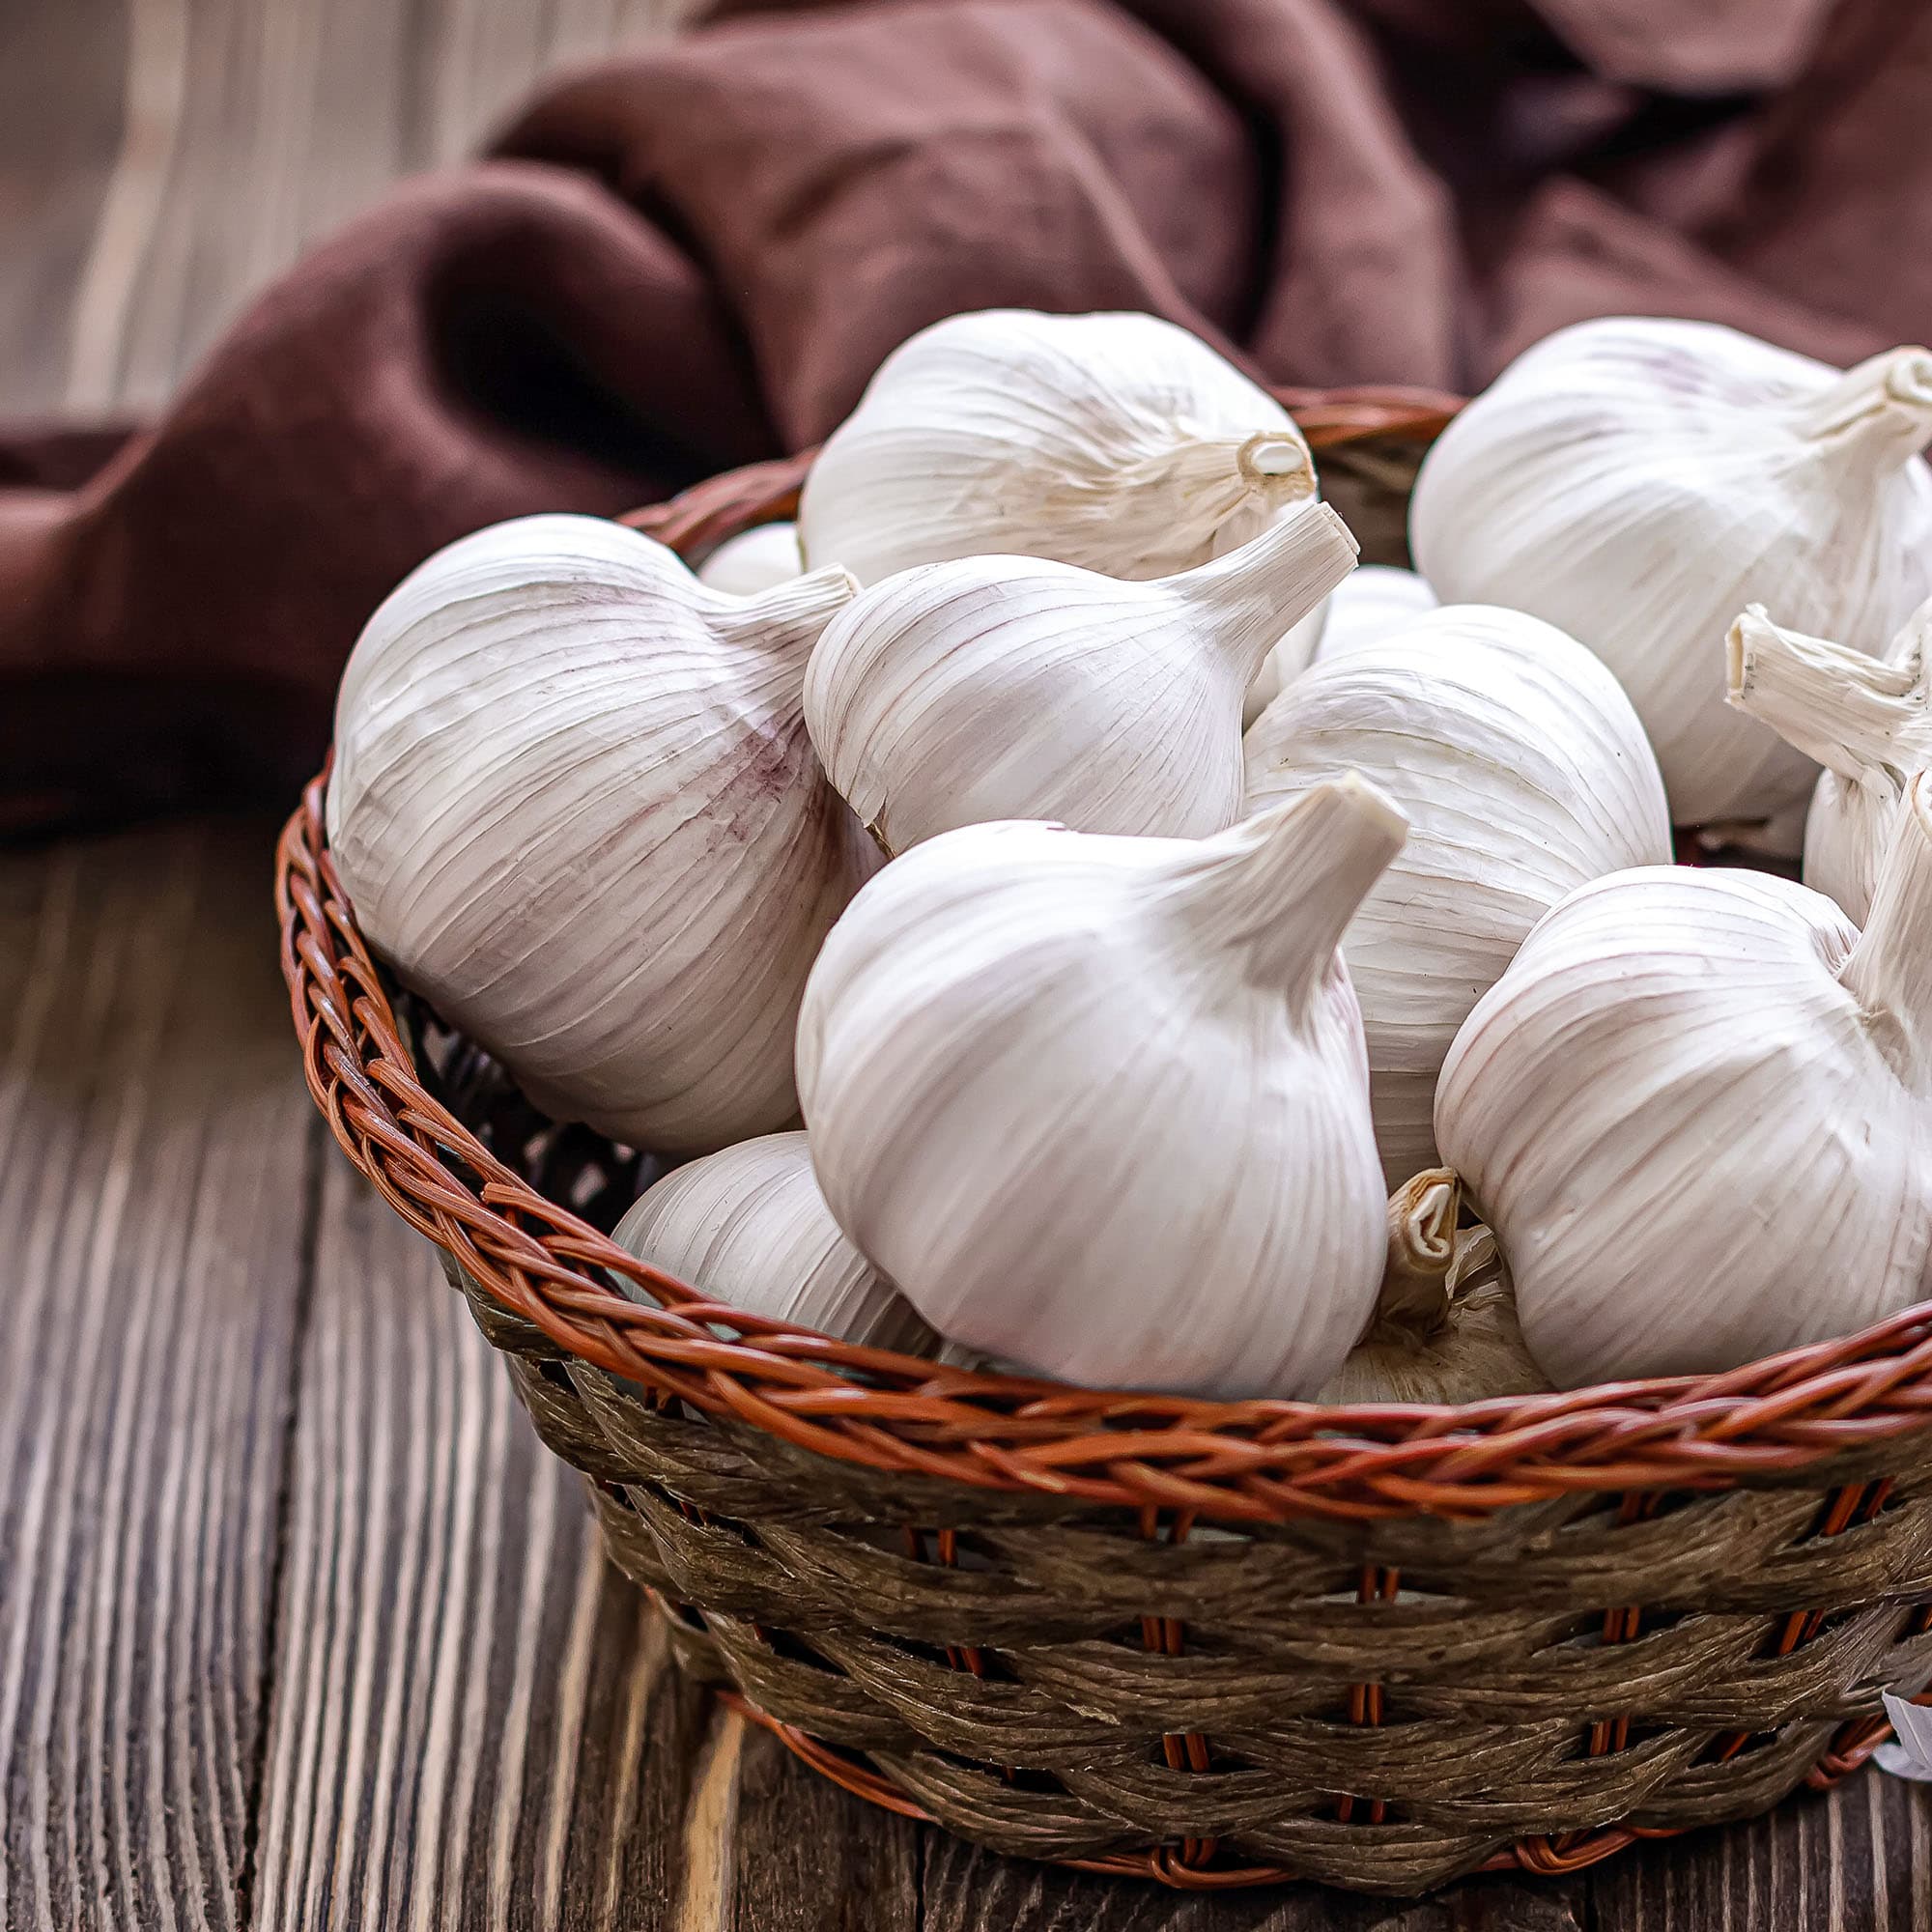
Garlic is a member of the allium family, along with onions, leeks, scallions, and shallots (to name a few). Fresh-grown garlic bulbs have a pungent, spicy, acidic flavor. But once cooked, the garlic sweetens considerably, making an excellent addition to add to almost any savory dish.
You can grow two primary types of garlic: softneck garlic and hardneck garlic.
Related: For more information on planting garlic, check out our guides on when to plant garlic and how to propagate edible perennials.
Grow Hardneck Garlic in Cold Temperatures (winters below 40F)
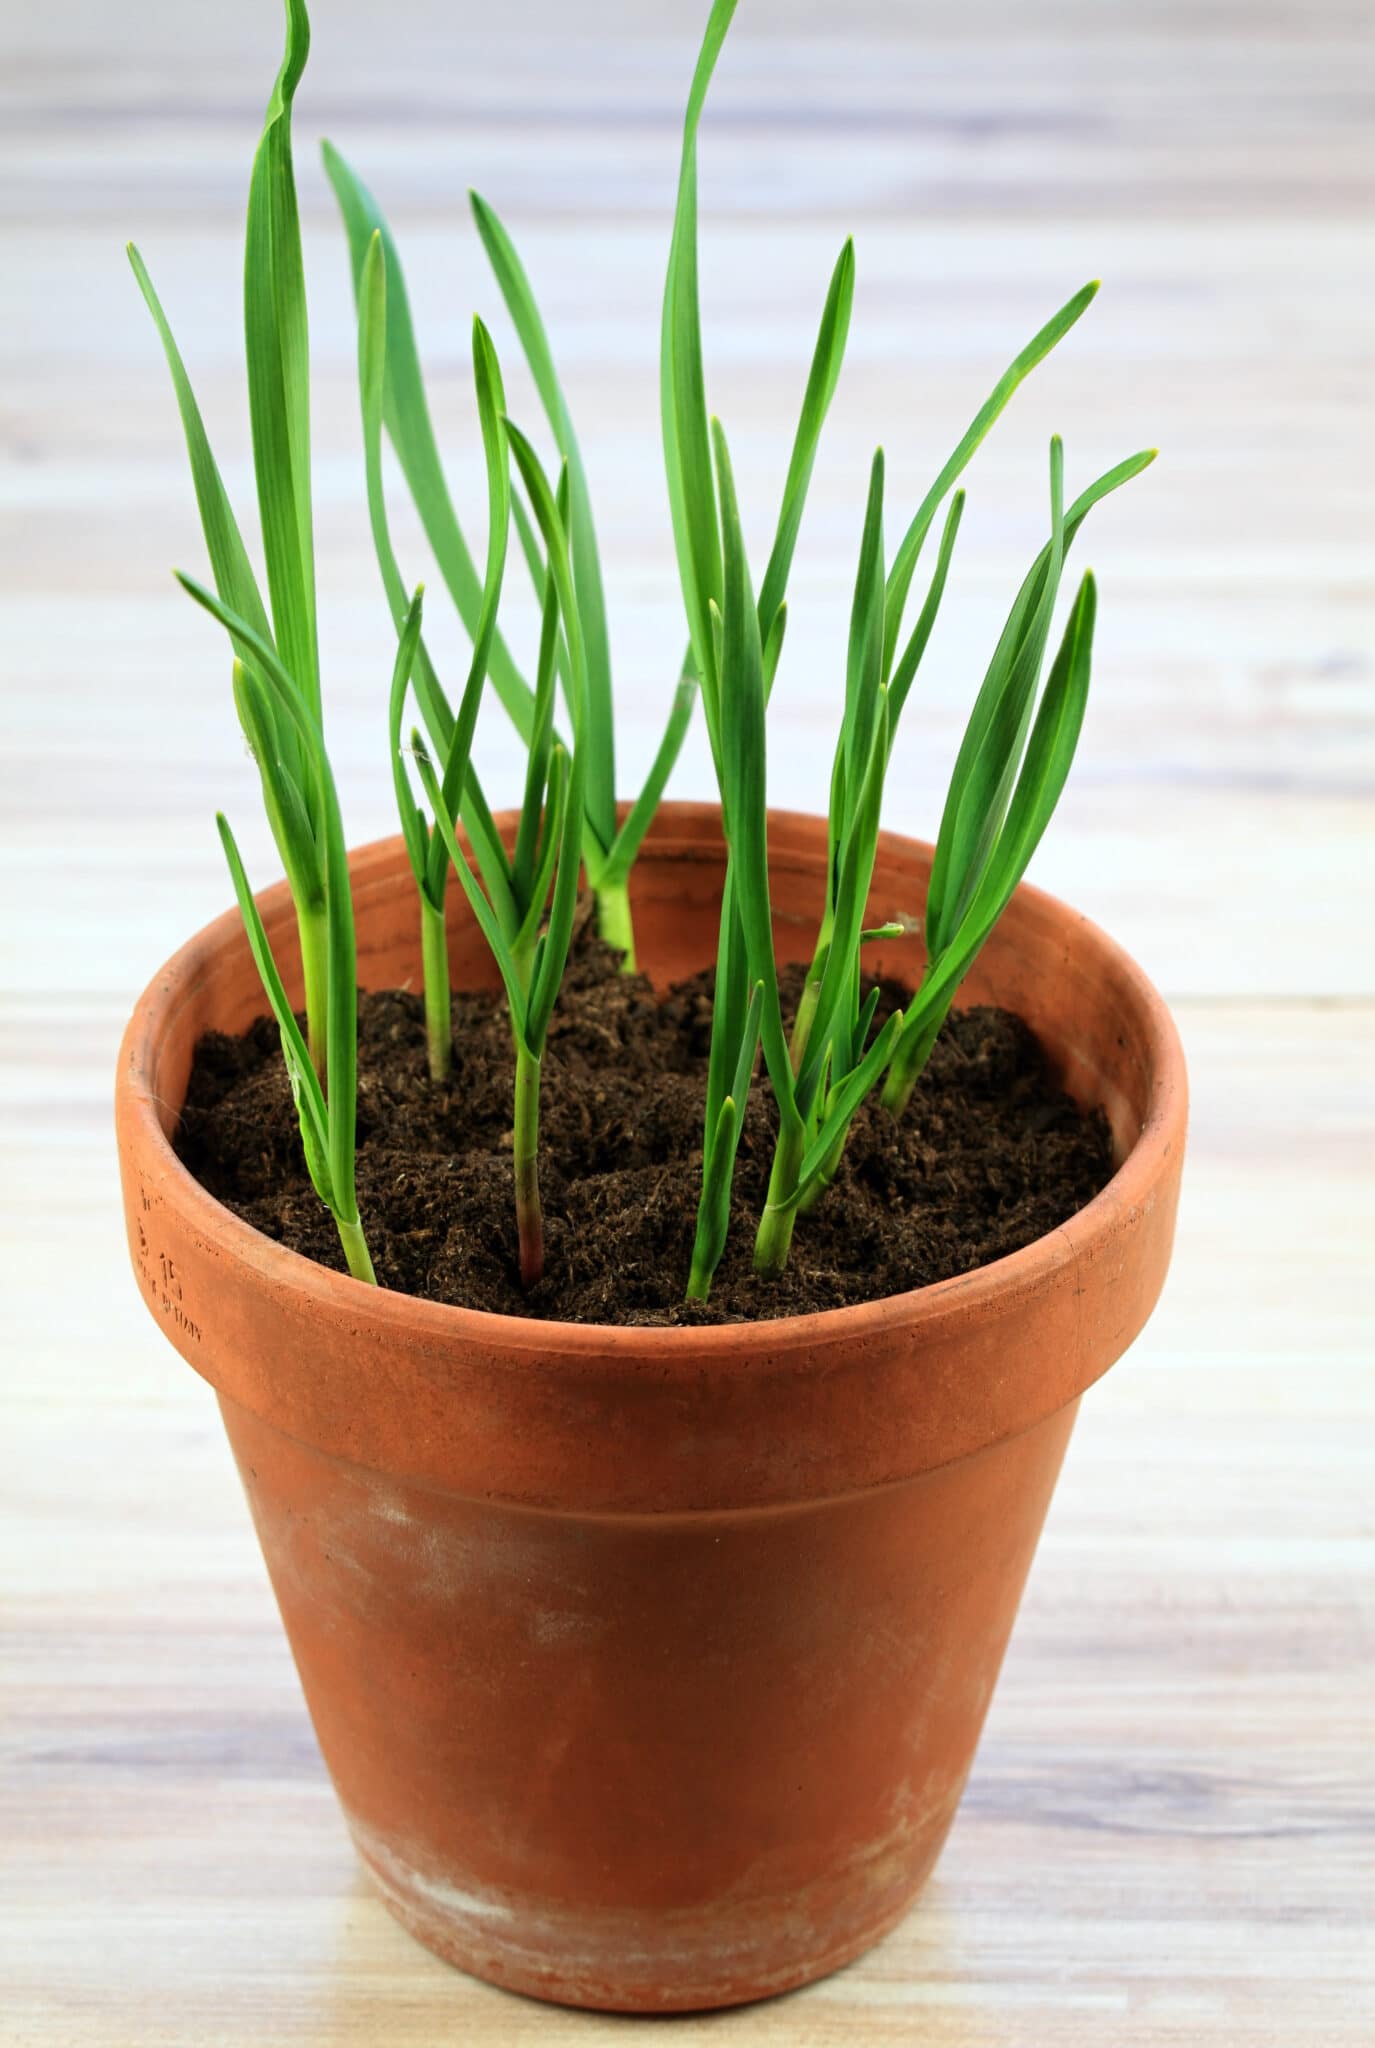
Hardnecks are the preferred garlic for cold climates because they are incredibly hardy. The plants produce bulbs with hard stiff stalks.
But, container planting hardneck garlic in the fall is tricky. First, you will need to insulate your pots, or plant the containers directly in the ground before the ground completely freezes. Then, add lots of mulch (like straw) around the top of the container to protect the garlic.
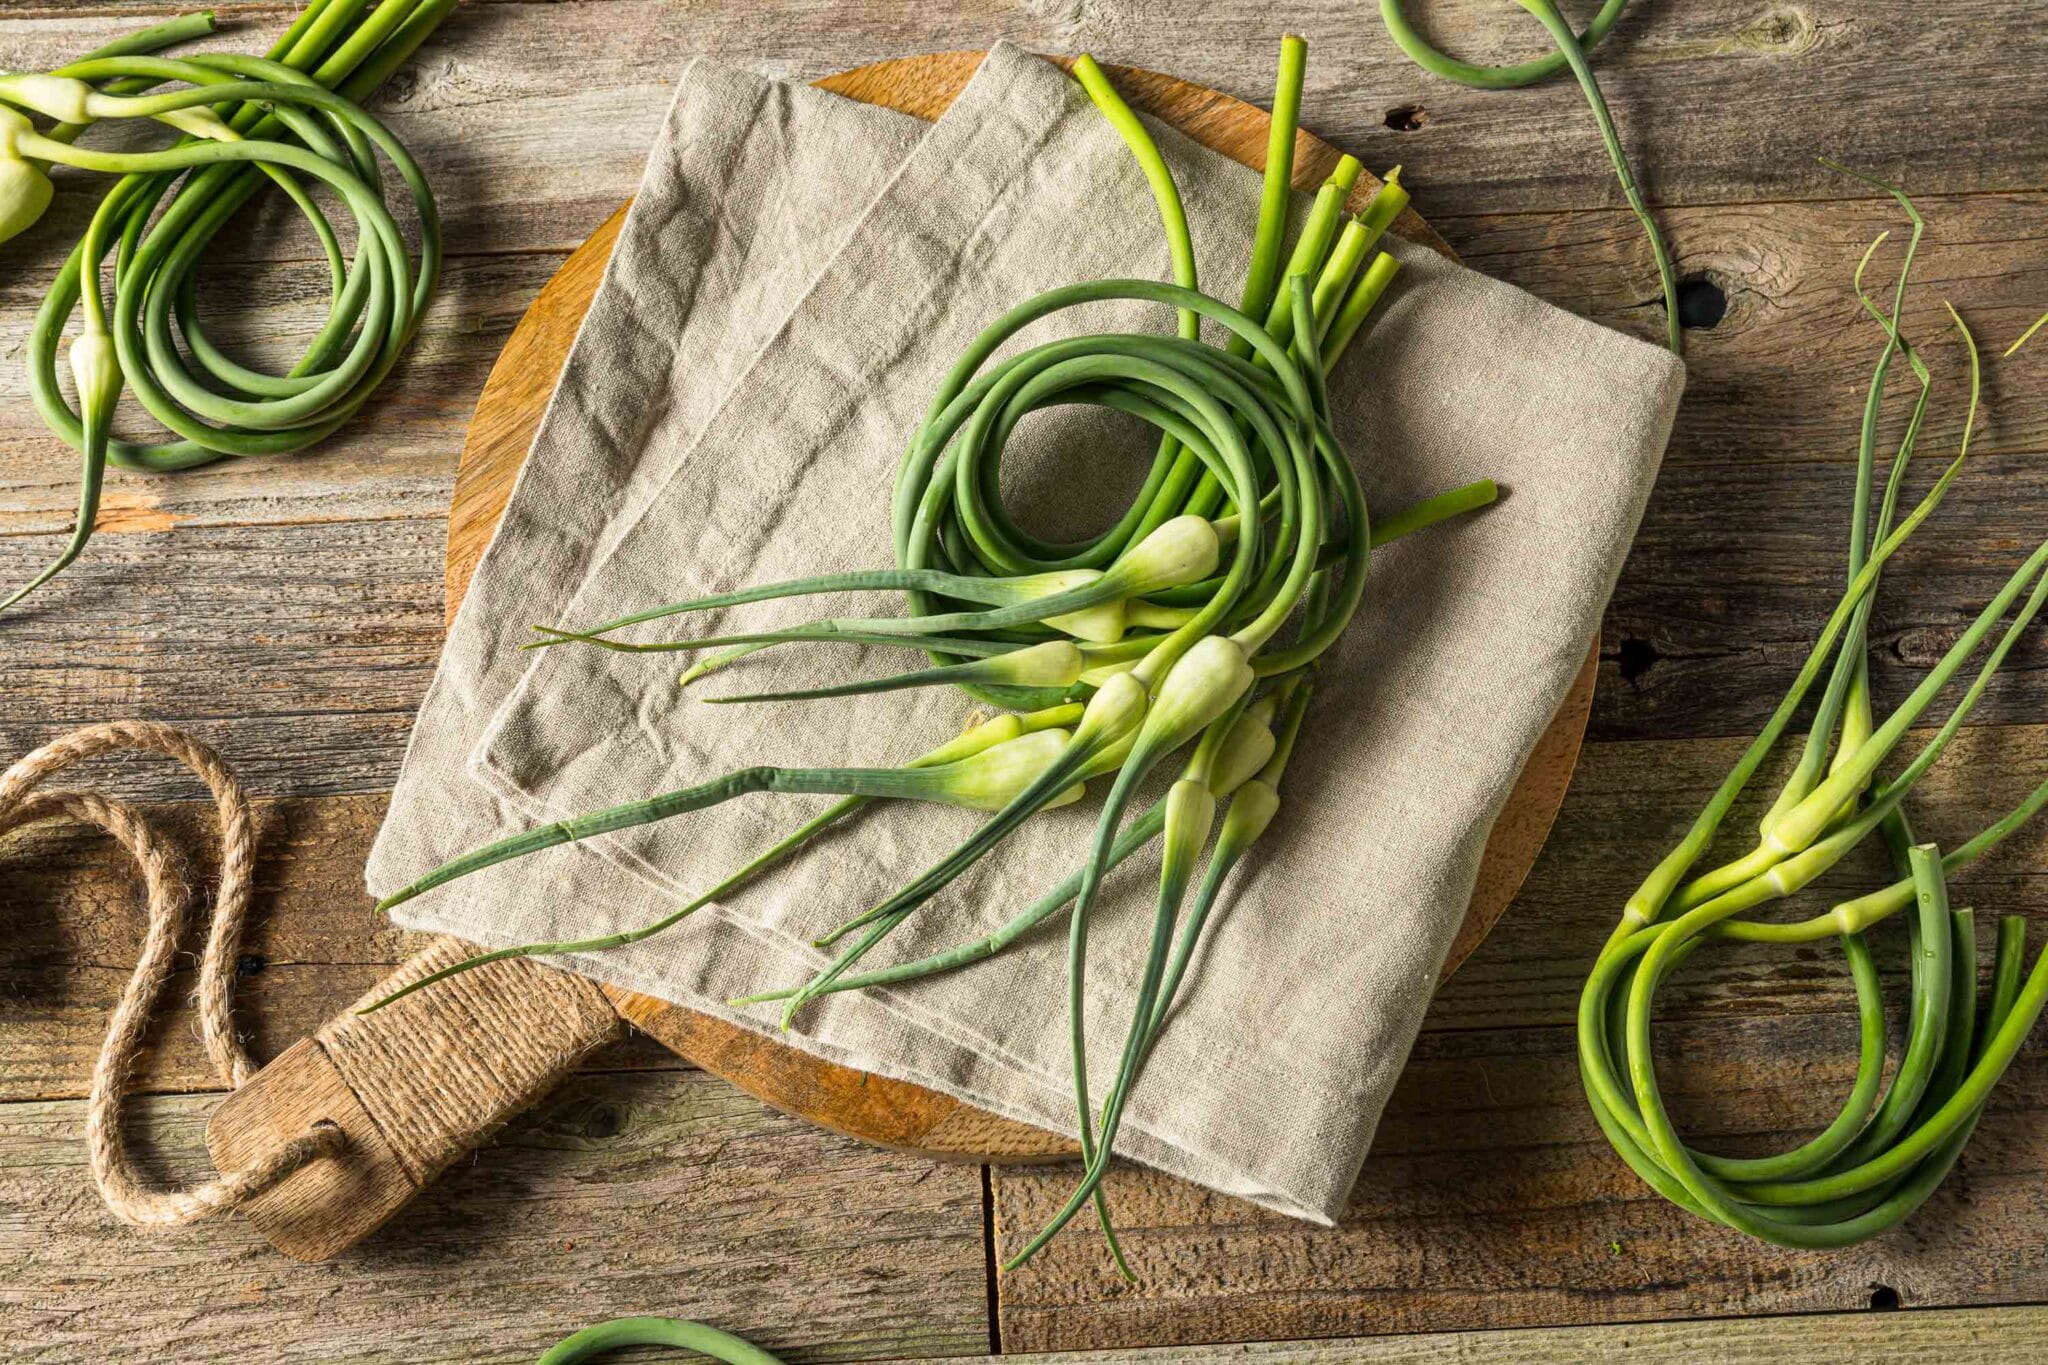
Hardneck garlic bulbs produce scapes in spring. You should remove those scapes to encourage the bulbs to grow as large as possible.
The scapes have a mild flavor and work well in stir fry, mashed potatoes, roasted vegetables, or added to summer salads.
Popular Hardneck Garlic Varieties
- Music
- German Red
- Purple Stripe
- Spanish Roja
Related: Looking for more cold-weather crops? Check out this list of frost tolerant crops that you can plant as soon as the soil becomes workable in late winter.
Grow Softneck Garlic In Warm Climates or Try Spring Planting in Colder Regions
Softneck garlics have necks that stay soft after harvest. The cloves have a strong flavor and tend to grow big bulbs. Softneck garlic is the best for long-term storage and grows best when planted in a warm climate zone with temperatures that do not dip below 40F.
Softneck varieties are usually planted in fall and harvested in early to mid-summer, but you can plant them in early spring in colder zones. Spring-planted softneck garlic will not grow bulbs as large as fall-planted garlic.
Popular Soft Neck Garlic Varieties
- Silver skin
- California Early
- Artichoke
Can I Plant Grocery Store Garlic Cloves?
Although you technically can plant garlic cloves from the grocery store, you should source garlic cloves directly from a local nursery. Producers can coat grocery store-bought garlic with growth inhibitors to stop sprouting and prevent the garlic cloves from growing.
In addition, grocery store garlic is hard to identify, and you will not know what kind of garlic you are growing, making it difficult to know if it is suitable to plant in your region or even in containers.
With that all said, if you have some sprouted garlic in your kitchen and want to see if it will grow, planting those individual cloves in a container is a fun experiment.

Next, Choose A Container at Least Eight Inches Deep
A durable plastic pot is one of the best containers to grow garlic. It likely will not crack during the winter and will not wick away precious moisture from your soil like a terracotta pot would.
Cold winter temperatures can be brutal on containers left outside. Ceramic, terracotta, and firestone are options, but they can break or flake.
Plastic will last and provide a suitable environment for your garlic to grow.
Be sure the container you choose is at least 8 inches deep and has adequate drainage holes.
Fill Your Pot With Fertile Well-draining Potting Soil
To grow garlic successfully in containers, you will want to choose a loose potting mix that is both well-draining and fertile.
Garlic needs an adequate and relatively fertile soil for its growth and development. And although garlic needs water, it will rot without proper drainage. Poor drainage will also encourage diseases.
You will want to avoid using garden soil in your containers. Garden soil is generally heavy and lacks water retaining ingredients like vermiculite. Your containers will dry out very quickly, especially in warmer weather, and you will want your soil to be water-retaining BUT well-draining.
Recommendation: We use Promix in our garden from their soils to their fertilizers because we get the best results. We are not affiliated with Promix in any way; it’s the brand we tend to use the most.
Plant The Garlic Cloves Four Inches Apart and Two Inches Deep
For fall-planted garlic, plant your cloves around your second frost in your containers. You can plant your cloves for spring-planted garlic as soon as you can work the ground in spring.
- Divide your garlic heads into individual cloves 24 hours before planting.
- Inspect your cloves before you plant and discard any that are soft, discolored, or too small.
- Tip: Larger planted cloves will produce bigger bulbs.
- Plant the garlic cloves with the pointy end up at 2 inches deep in your containers and at least 4 inches apart.

Place Your Garlic Pots Where they will receive Full Sun
You can grow garlic in the shade, the plants require at least 4 hours of sunlight a day, but they do best in full sun.
Avoid planting your containers in a windy unprotected area, as the containers will dry out faster.
Related: If you’re looking for plants you can grow in the shade, see our list of vegetables and flowers that grow best in the shadows of your garden:
Provide Your Garlic Plants with One Inch of Water a Week
Too little water can stress plants, and too much water can cause diseases. In soil with ideal drainage, garlic requires about one inch of water per week, either by rainfall or manual watering.
With that said, you will need to keep a closer eye on your container-grown garlic as containers tend to dry out quicker.
Dry soil is a natural signal to garlic that its bulb growing period is ending. This means you should stop watering your garlic pots one to two weeks before harvesting the bulbs.

Be Sure to Fertilize Your Growing Garlic
Garlic is a heavy feeder and will require lots of organic material and supplemental organic fertilizer during the growing season.
Garlic bulbs take a very long time to develop, so it is always a good idea to amend the soil with compost before planting garlic to give them a good start.
If you planted in fall, garlic should be side dressed in spring with additional compost or a broadcast organic fertilizer.
You will want your fertilizer to be high in nitrogen (blood meal is a good source). Work the fertilizer into the top inch of the soil away from the bulbs. Fertilize like this every three weeks until the bulbs begin to swell around mid-spring.
You will want to lean off fertilizing with heavy nitrogen sources after the bulbs begin to swell as it may stunt the development of the bulb.
Recommendation: We like to use compost for much of our fertilizing, but when we need additional nutrients, we reach for a seaweed foliar spray and liquid Promix.
Consider Adding Companion Plants
In a garden setting, garlic makes an excellent companion for many vegetables, such as strawberries, tomatoes, carrots, potatoes, cauliflower, and broccoli, to name a few. But growing garlic in pots means limited space so that these larger vegetables won’t fit.
An excellent companion to add to your garlic containers is leaf lettuce. Leaf lettuce, especially smaller varieties like Little Gem ( a favorite of ours), will take up only a bit of space and can be harvested in the fall or late spring before it starts to take over the container.
Leaf lettuce will act as a living mulch protecting the garlic bulbs from drying out in warm weather and providing an environment for beneficial insects to hide.
Learn More: See our post about companion planting benefits and our complete list of companion plants you can plant with garlic.
Deal with Pests as Soon as you Find Them
Onion maggots and thrips are your two most significant threats to your garlic bulb harvest.
Keep an eye out for any limp or yellowing garlic plants, as this signals you may have a pest problem.
Container-grown garlic planted in fresh garden soil will likely not be impacted by soil-dwelling pests, but keeping a watchful eye is a good practice.
Onion Maggots
You could have onion maggots if you find your garlic looking limp, yellowing, or not growing.
Onion maggot larvae will feed on roots, blubs, and stems and can spread diseases.
To prevent onion maggots in your garlic containers, use row covers and be sure not to let your harvest go too long. Crop rotation is also important to help avoid infestations in the following years.
Onion Thrips
If your garlic leaves near the base have white stripes or patches, if the leaf tips are browning, or if the bulbs are misshapen, you may have onion thrips.
To help prevent thrips, remove all plant debris at the end of the season and plant native plants around your garden to invite beneficial insects to help control thrips. You can also use mulch and row covers to help prevent insects’ access to your garlic.

Deal with Diseases as Soon as Possible
Garlic is generally a good grower without disease issues but can succumb to fungal rots and diseases like rust.
White rot Fungus
If your garlic leaves turn yellow, wilt, and die, or if you can see a white, cottony growth at the stem base or on the bulb, you may have root rot.
There is no cure for root rot, so you must destroy infected plants (do not compost). In addition, you will need to disinfect all tools that have come in contact with plants and infected soil.
Try solarizing with a black plastic cover and rotating crops to clean the soil.
Good prevention practices include:
- Crop rotations
- Planting robust, healthy, plump cloves purchased from a garden nursery.
- Remove all garlic debris from the garden at the end of the season, and do not add it to the compost bin.
Botrytis Neck Rot
Botrytis neck rot causes frequent losses to garlic.
When plants are stunted and turn yellow, check around the neck of the garlic. If you find soft tissue that has turned brown, you may have botrytis neck rot. If humidity is high in and around the plant, you may also find a gray feltlike substance around the base of the neck.
To help prevent Botrytis neck rot:
- Remove and destroy infected plants
- Avoid excess mulch and irrigation
- Do not overcrowd plantings to ensure adequate air circulation.
Rust
You can identify rust in garlic by spotting small elongated white dots on both leaves and stems. As the disease progresses, the dots develop into orange oblong lesions.
Heavy infections will cause leaves to turn yellow, wilt, and brown, reducing bulbs in size and quality.
To help prevent and control rust:
- Be sure to remove and destroy all debris after harvest. Do not compost.
- Crop rotation is highly recommended.
- Space adequately allows for air circulation.
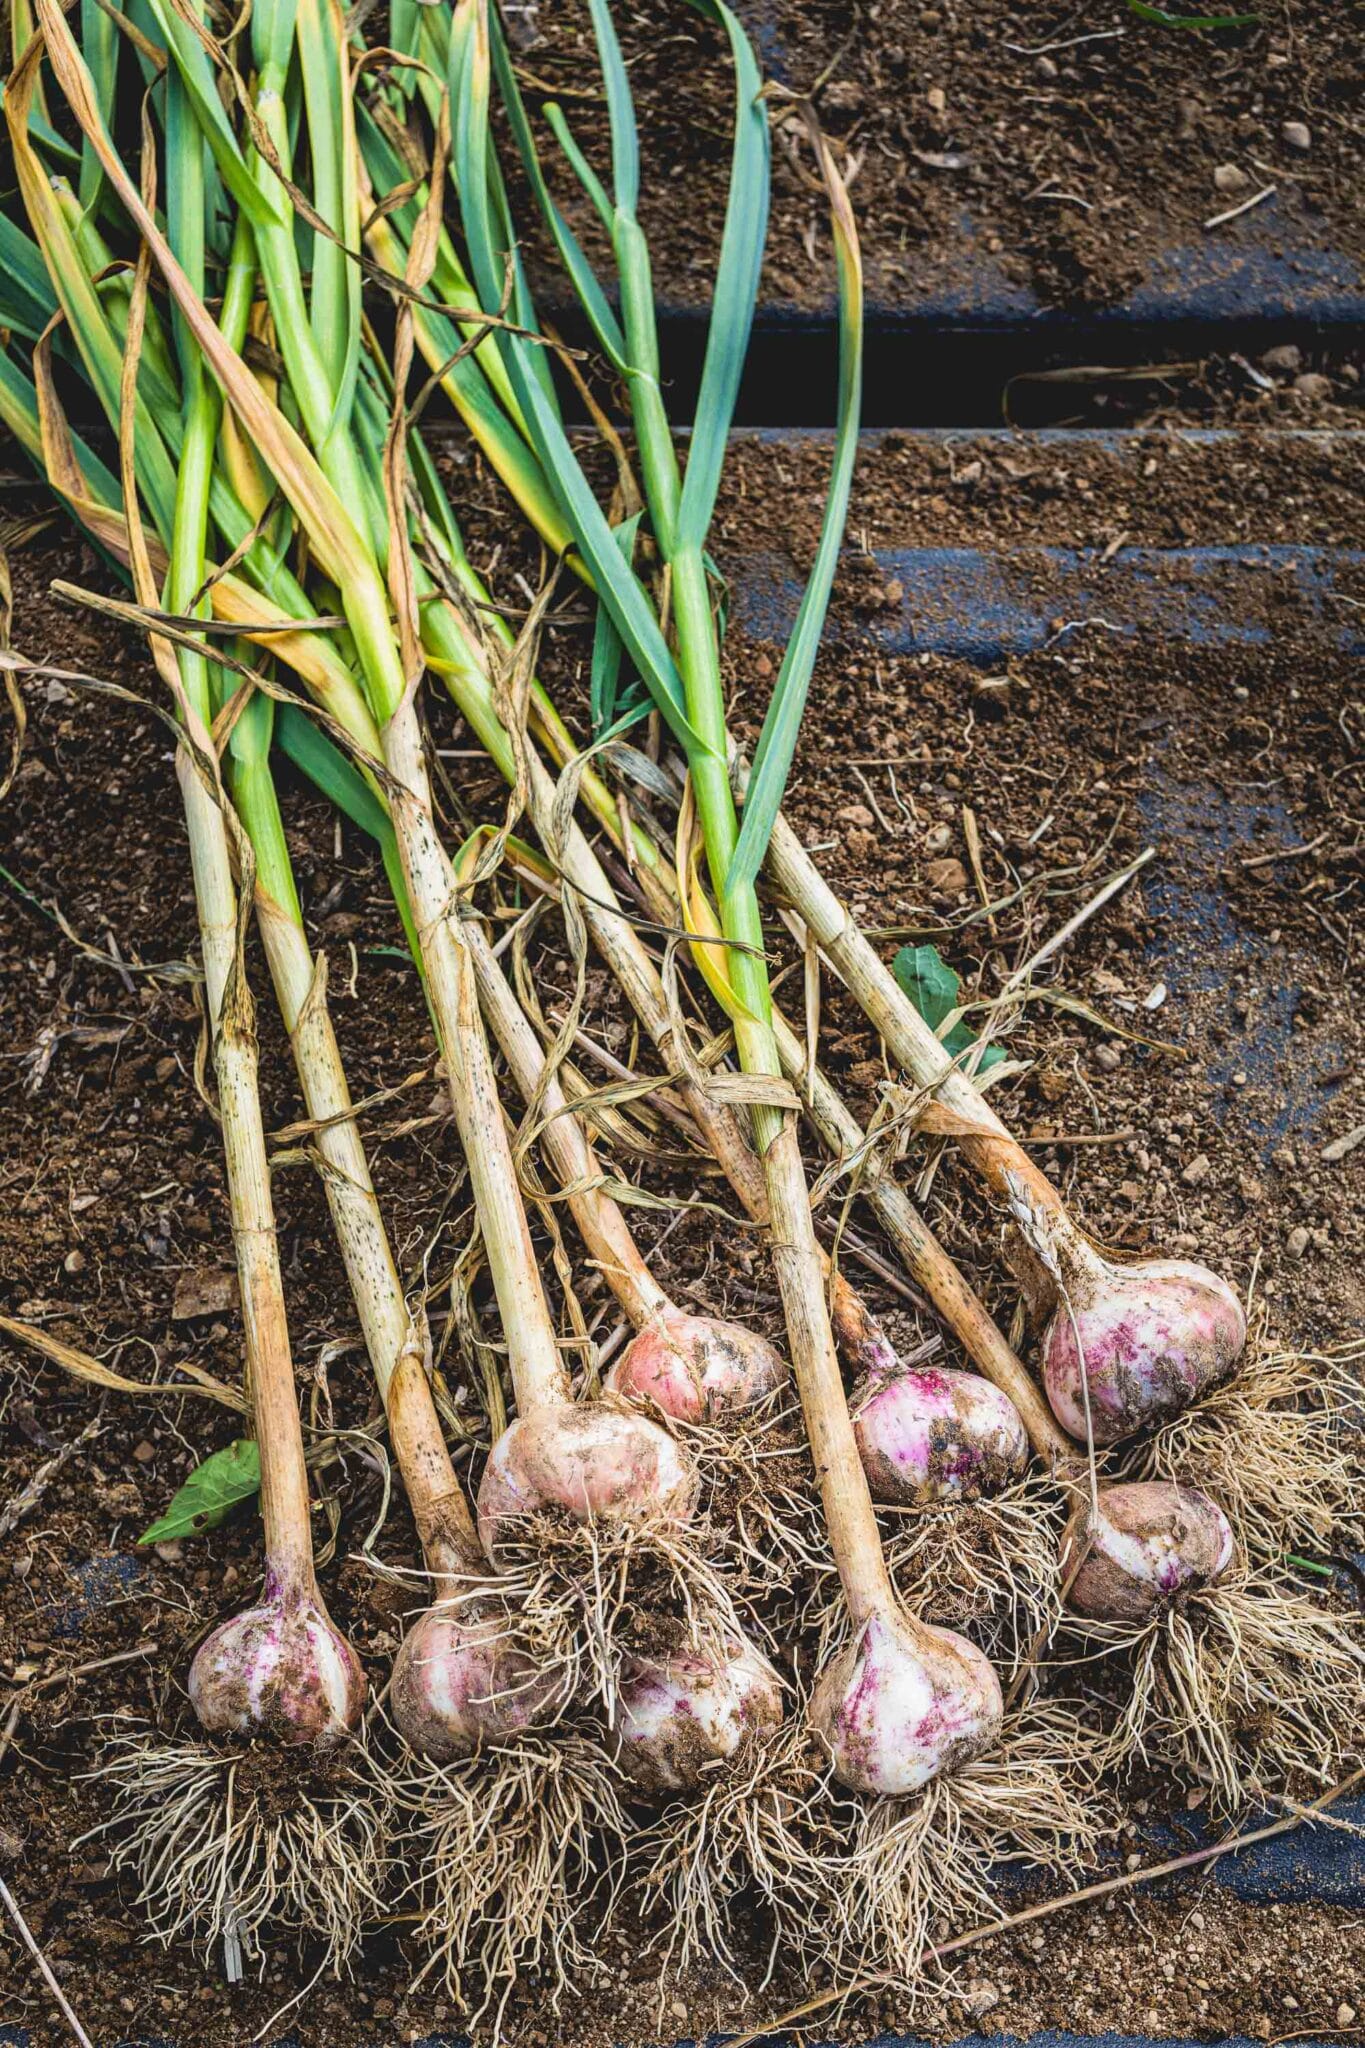
Harvest Your Garlic Gently (Don’t Pull Them Out)
When the lower leaves of your fall-planted garlic start to brown, it’s time to harvest. Usually, the timing of the fall-planted harvest will range from late spring to mid-summer.
You will want to dig up a few bulbs before harvesting your entire crop to ensure the bulbs are ready. First, check the bulbs to ensure that the wrapping is tight and filled. Loose papery wrapping will not last long in storage, so you must ensure bulbs are plump.
Don’t pull your garlic bulbs out of the ground, be gentle and carefully dig using a small garden fork to avoid damaging the roots.
Lift the plants and brush off any remaining soil with a soft brush. Do not remove the foliage until the garlic bulbs have dried.
Know When To Harvest Garlic Scapes
When you plant the hardneck garlic variety, you can harvest garlic plants that can produce large, white-green, long leaves that emerge in spring, and these long leaves are called scapes. However, you must remove scapes for your garlic bulbs to fully develop.
The scape has a delicious, mildly garlicky taste that you can use in your summer cooking.
Cure Your Garlic Before Storing
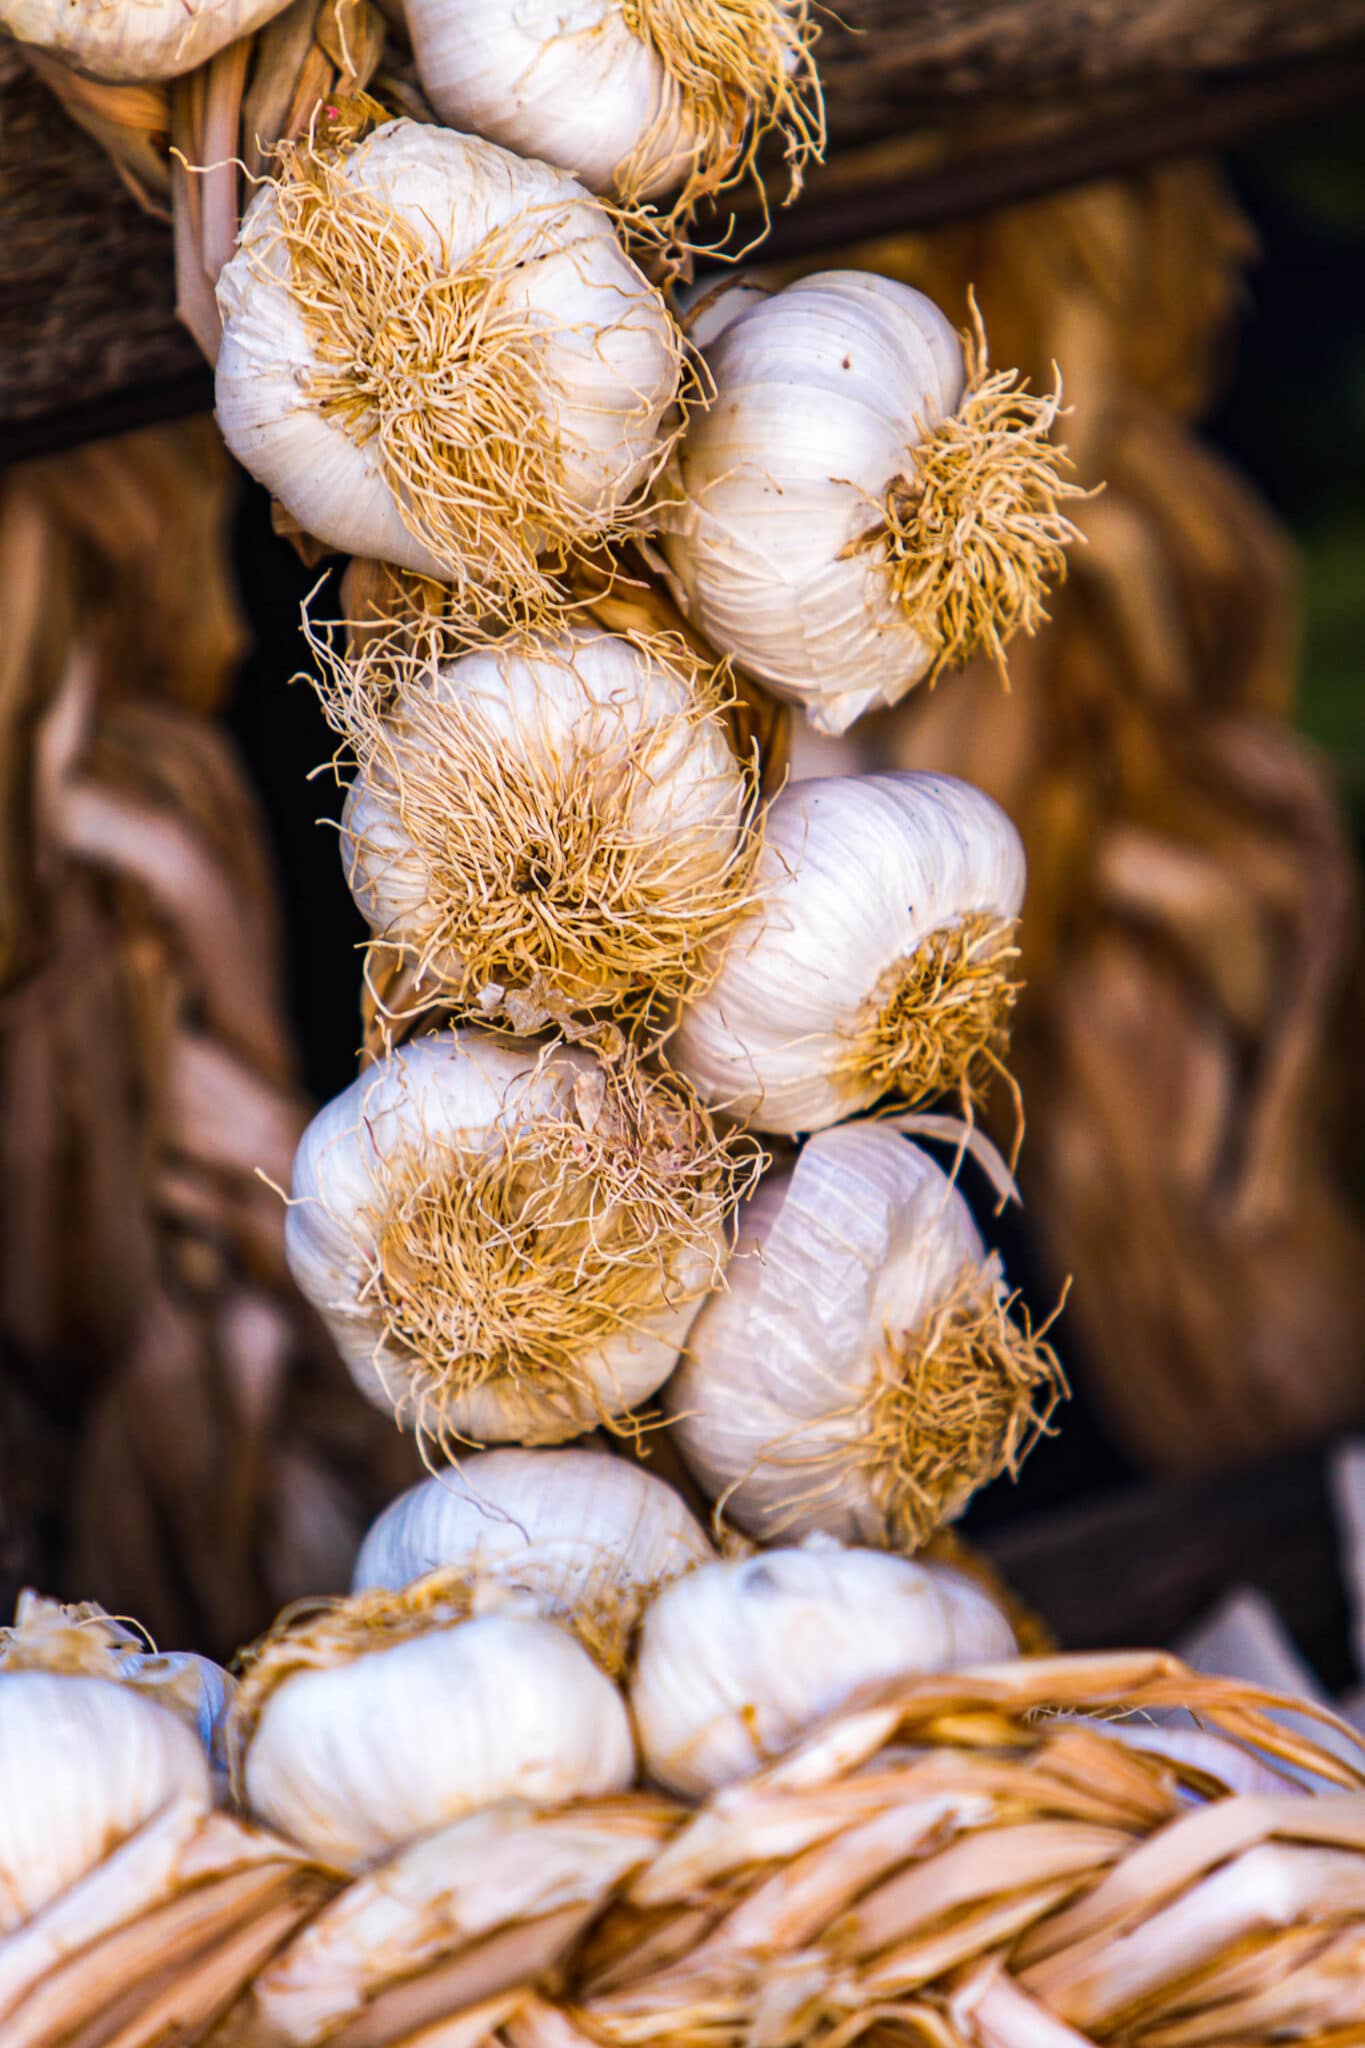
After harvesting, you will want to let your garlic bulbs cure in an airy dry spot for about 14 days.
After the initial drying period, you can hang your garlic upside down in bunches. You will want to ensure your garlic receives good air circulation.
After 2-3 weeks, the garlic bulb wrapper will be completely dry, papery, and ready for storage. Next, test the bulbs by cracking them to see if they remove quickly. If there is no softness and the bulbs snap easily, it’s time for storage.
Store garlic bulbs in a cool (around 40 Fahrenheit or 4 Celsius), dark, dry location. Avoid storing your garlic in a humid area. You can use wire baskets, mesh bags, or hanging to keep the garlic.
Properly dried and stored garlic will last until the next planting season.
Save your best-formed and largest bulbs to grow again in the fall. Selectively planting the best bulbs from your store of garlic will ensure you have the best garlic on the block.
Grow garlic in pots to save space in your garden!
If you’re planning a container garden this year; consider planting garlic in pots! Growing garlic in containers is easy so long as you provide the right sun, water, soil, and fertilizer through the growing season.
Homegrown garlic is tasty, and with so many different varieties to try, you can grow something other than your typical supermarket garlic.
Growing fresh garlic may seem like it’s not worth the effort when you consider how cheap garlic is at the supermarket, but supermarket-grown garlic cannot compare to homegrown. If you like garlic and enjoy a strong garlic taste, you will want to grow your own and experiment with different varieties!
Looking for more container gardening inspiration and ideas? Check out these other posts:
You can quickly grow garlic in pots, but did you know that many more vegetables and fruit grow well in containers?

Author: Laura Kennedy
Writer & Owner of Little Yellow Wheelbarrow
Laura is a highly skilled gardener and fervent flower enthusiast. Despite her playful battle with plant spacing guidelines, Laura’s work inspires gardeners to create thriving, beautiful spaces that reflect both creativity and sustainability.


