Fusion Mineral Paint Bayberry – Reviving an Old Dresser
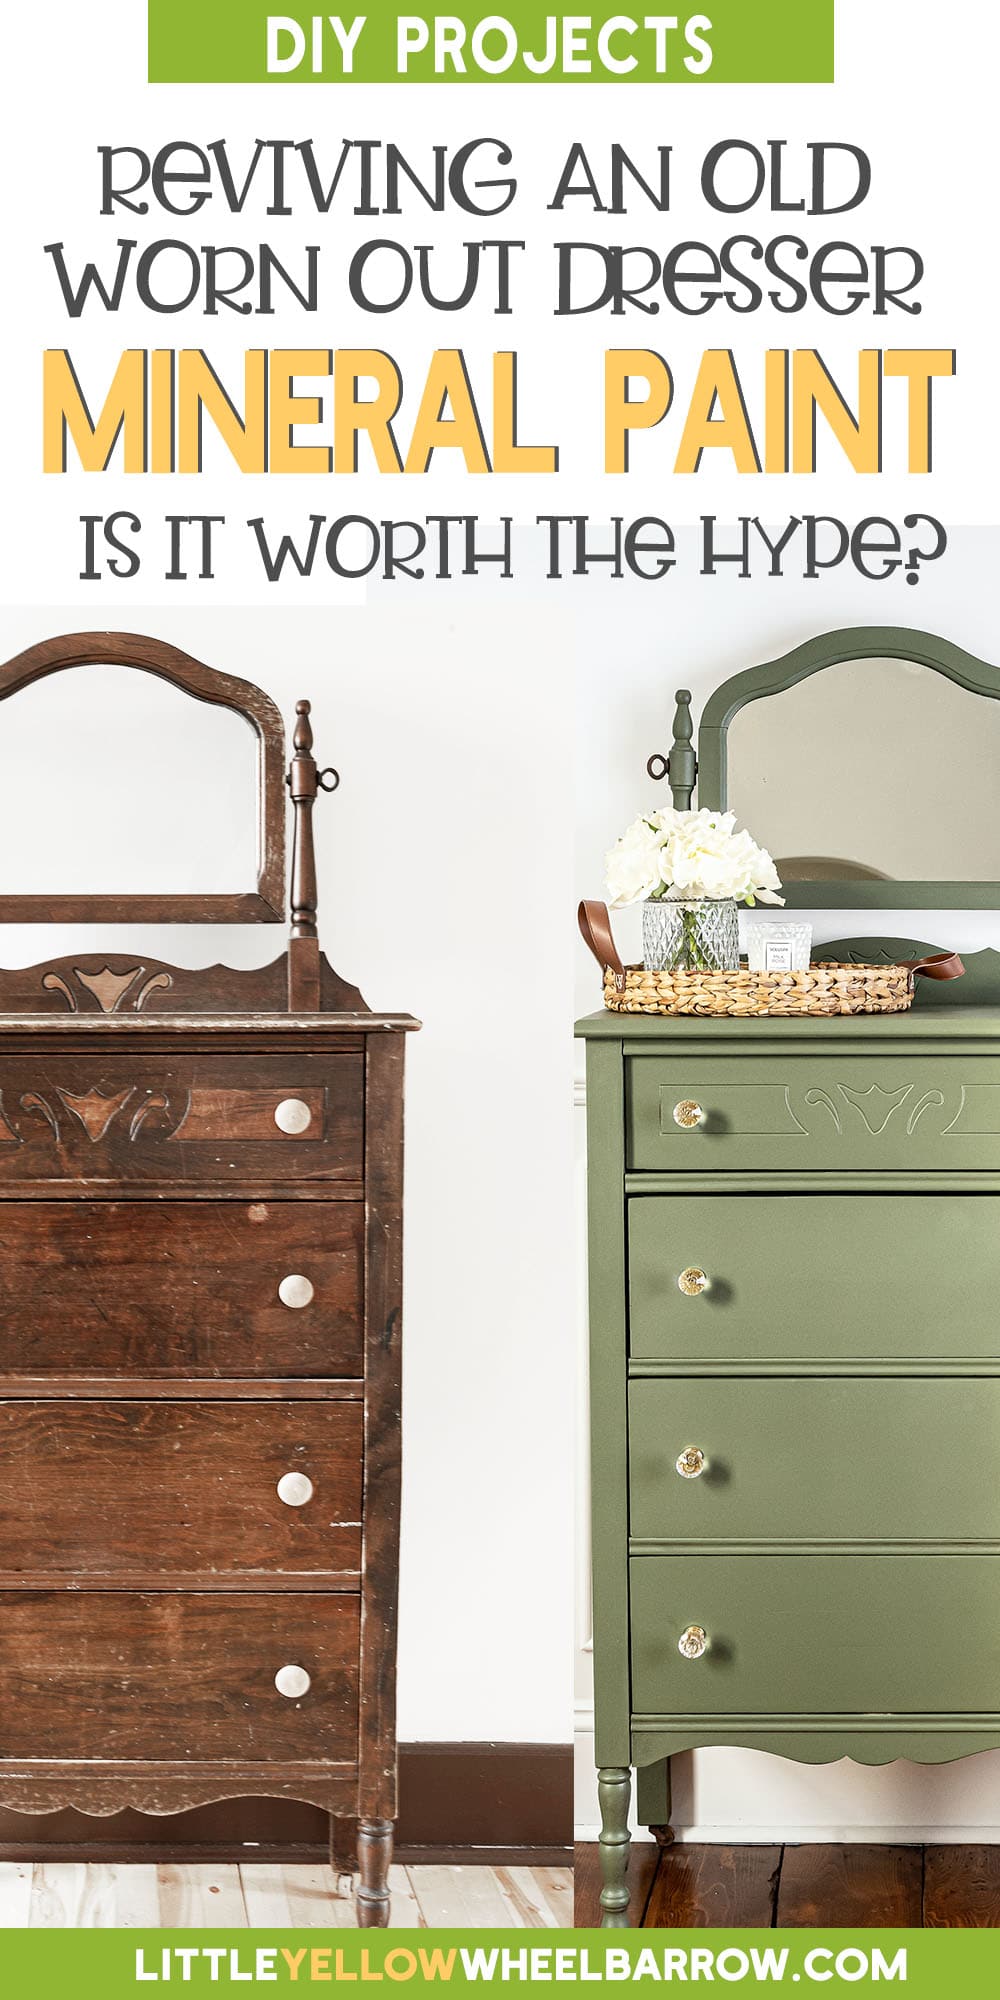
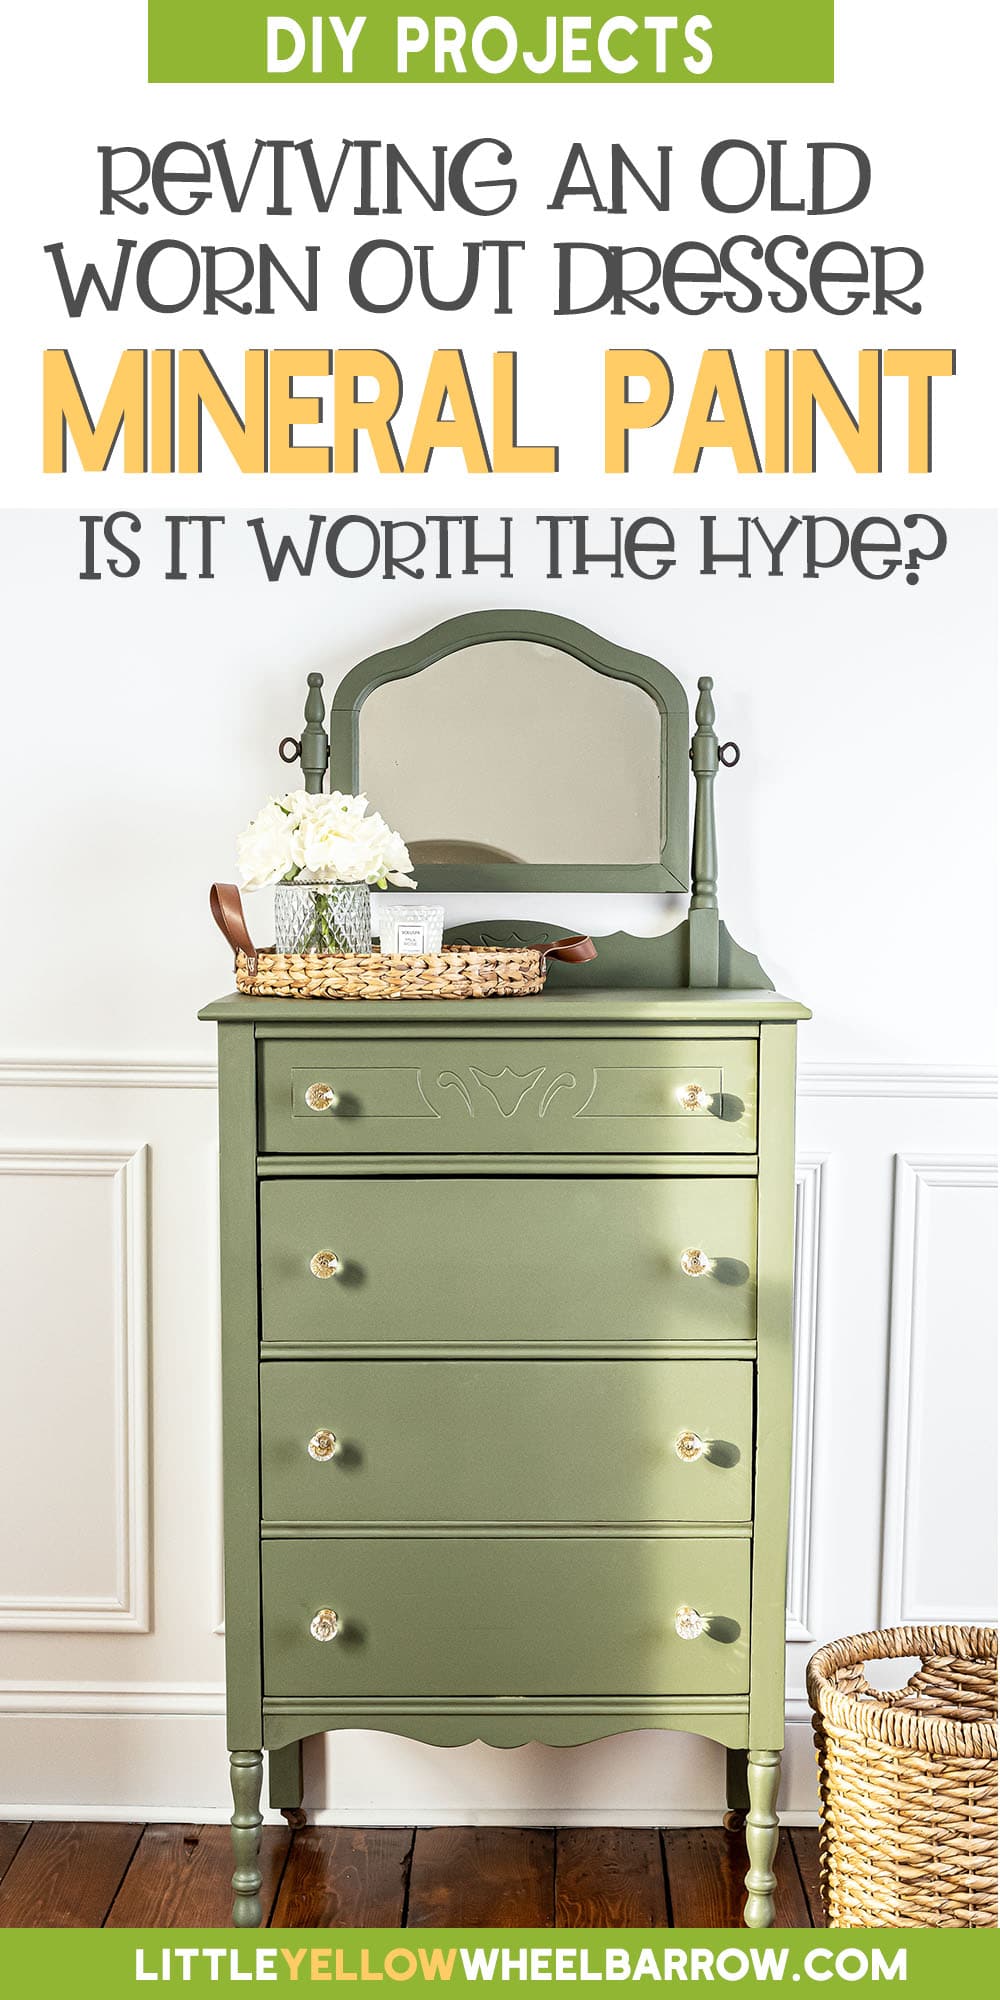
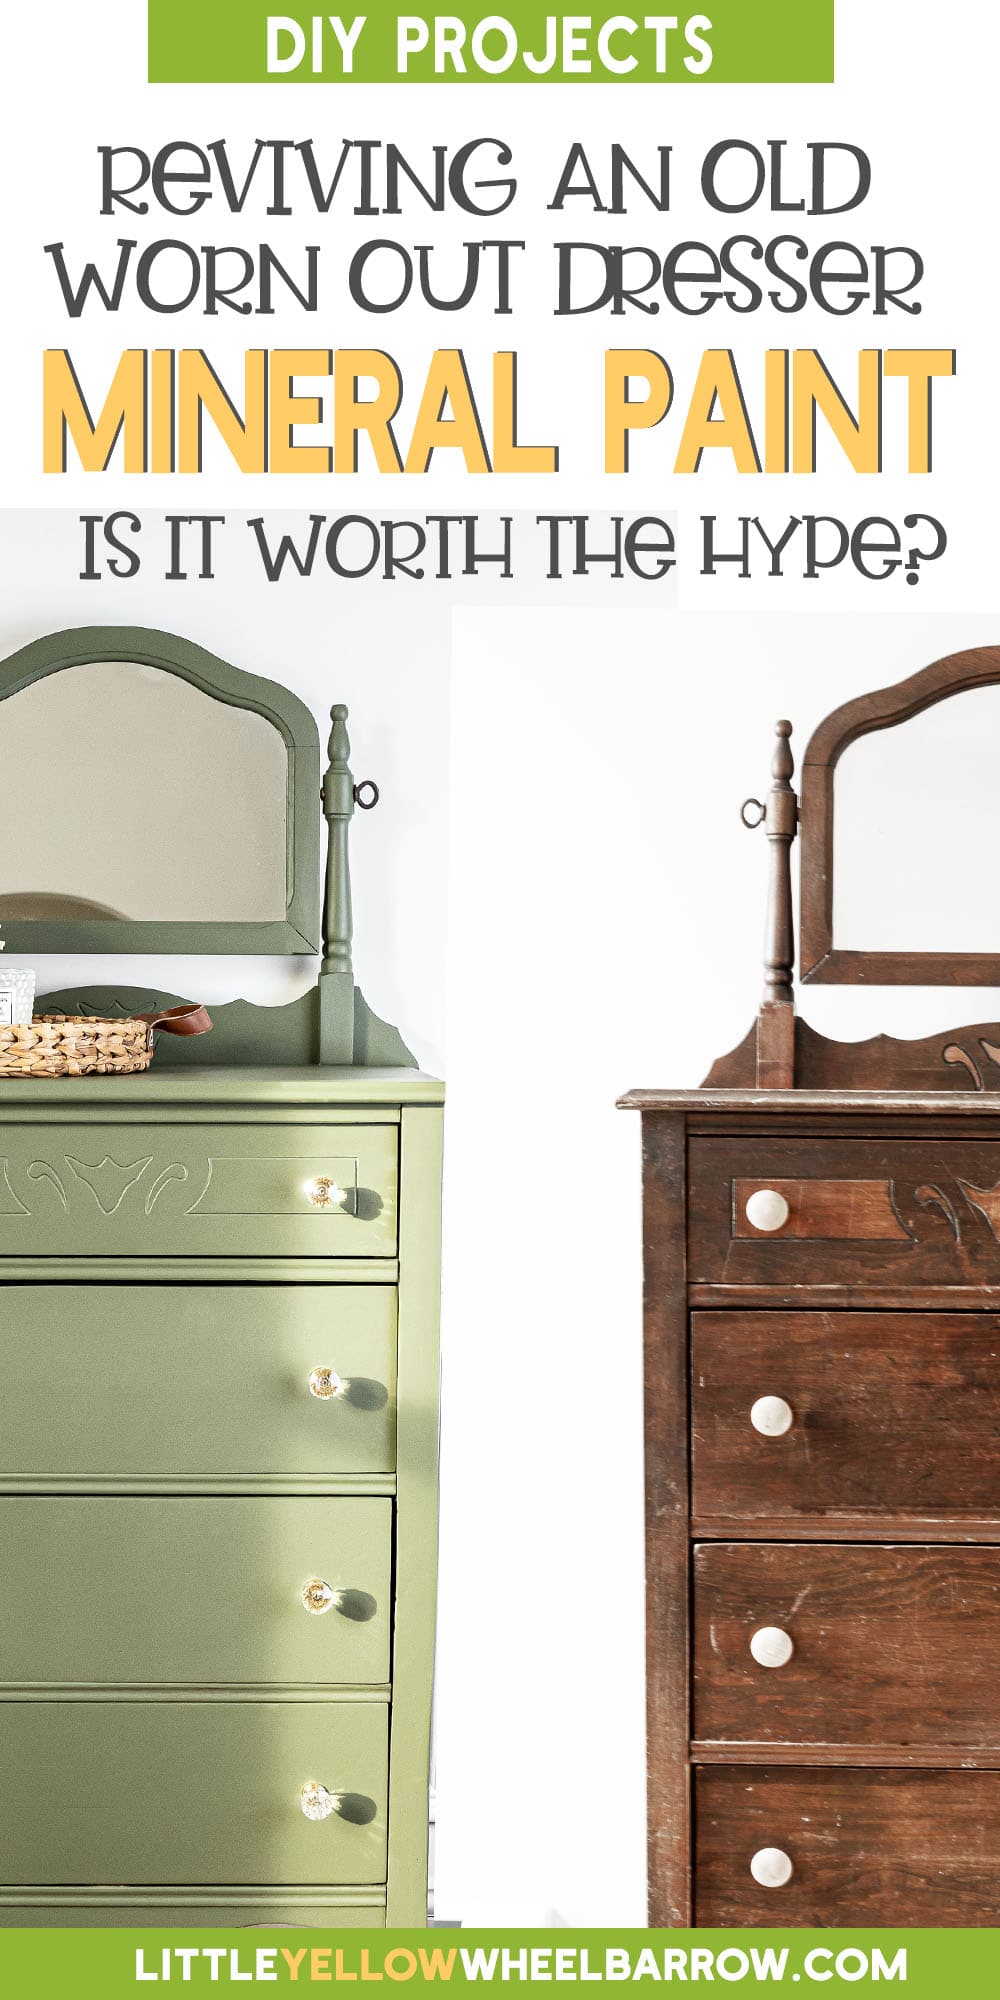
We recently moved into a beautiful 1860’s Victorian, and the prior homeowners left behind a few surprise items. One of the items was this lovely small profile dresser with a hinged mirror that I loved. The challenge was that it was in very rough shape. A friend recommended trying Mineral Paint, so I gave it a test. It turns out Fusion Mineral Paint in Bayberry is my new true love. The paint and the colour are truly unique!
Look at that lovely olive green colour, isn’t it pretty?

Can Fusion Paint Live up to the hype?
I’ve painted with all kinds of furniture paint over the years, and I have always been mildly disappointed. Either the color never leveled out, had streaks (mostly my fault, I guess), or the paint chipped significantly after the fact.
This dresser is solid wood with a beautiful shape and design with a touch of old-world charm. They don’t make furniture like this anymore.
The question was, could I make it look good again with a coat of Fusion Paint?


Materials we Used for this project
Affiliate Disclosure
This post may contain affiliate links. If you click one and purchase, I may receive a commission at no additional cost. You can read our disclosure policy here.
- Fusion Mineral Paint in Bayberry
- Fusion Mineral Clear Wax
- New crystal knobs (you can find these at antique stores for cheap!)
- 1 very old, very scratched-up wood dresser (try antique stores, thrift stores, and grandma’s place, you never know what is kicking around!)
- Safety Mask
- Lead Test (if your item was made before 1970)

Where can you find Fusion Mineral Paints?
There are stockists all over North America. I gave links to the products from Amazon, but you’re better off finding a stockist because they will have all the specialty bits and bobs usually at a better price.
If you go to Fusion Mineral Paint’s website you will be able to search for a stockist in your region.

Tool Used for This Project
- Sander
- Sandpaper
- TSP
- Rags
- Painters tape
- Wood filler
- Screwdriver (to remove the knobs)
Step 1
Remove all the hardware from your project and set it aside to clean, polish, or replace.
If you have metal handles with old paint, you can soak them overnight in a jar filled with two parts hot water and 1 part vinegar. The paint should wipe off the following day. I have used this trick to clean hinges on painted doors for years, and it works like a charm.
Step 2
Give the entire project a quick going over with some sandpaper to remove the top layer of old varnish or paint. Of course, sanding is not required, but I have found that sanding before painting, even just a little bit, makes a world of difference in the project’s durability.
Deep scratches will need to be sanded, or they will show. Fusion covered the smaller, more shallow scratches, but deep heavy scratching should be sanded out if you want a smooth finished surface.
You can also use wood filler to fill holes and larger cracks or gouges. Allow the wood filler to dry before sanding to a smooth finish.
Use wood glue on any parts that are loose.
!!! Warning !!! Lead Paint is No Joke – Protect Yourself
If your furniture item was made before 1970, wear a heavy-duty filtered mask. Lead paint is no joke, and inhaled can make you incredibly sick.
Sand your project outside, away from pets, waterways, and children.
With a simple take-home lead test from the hardware store, you can test for lead paint.

Step 3
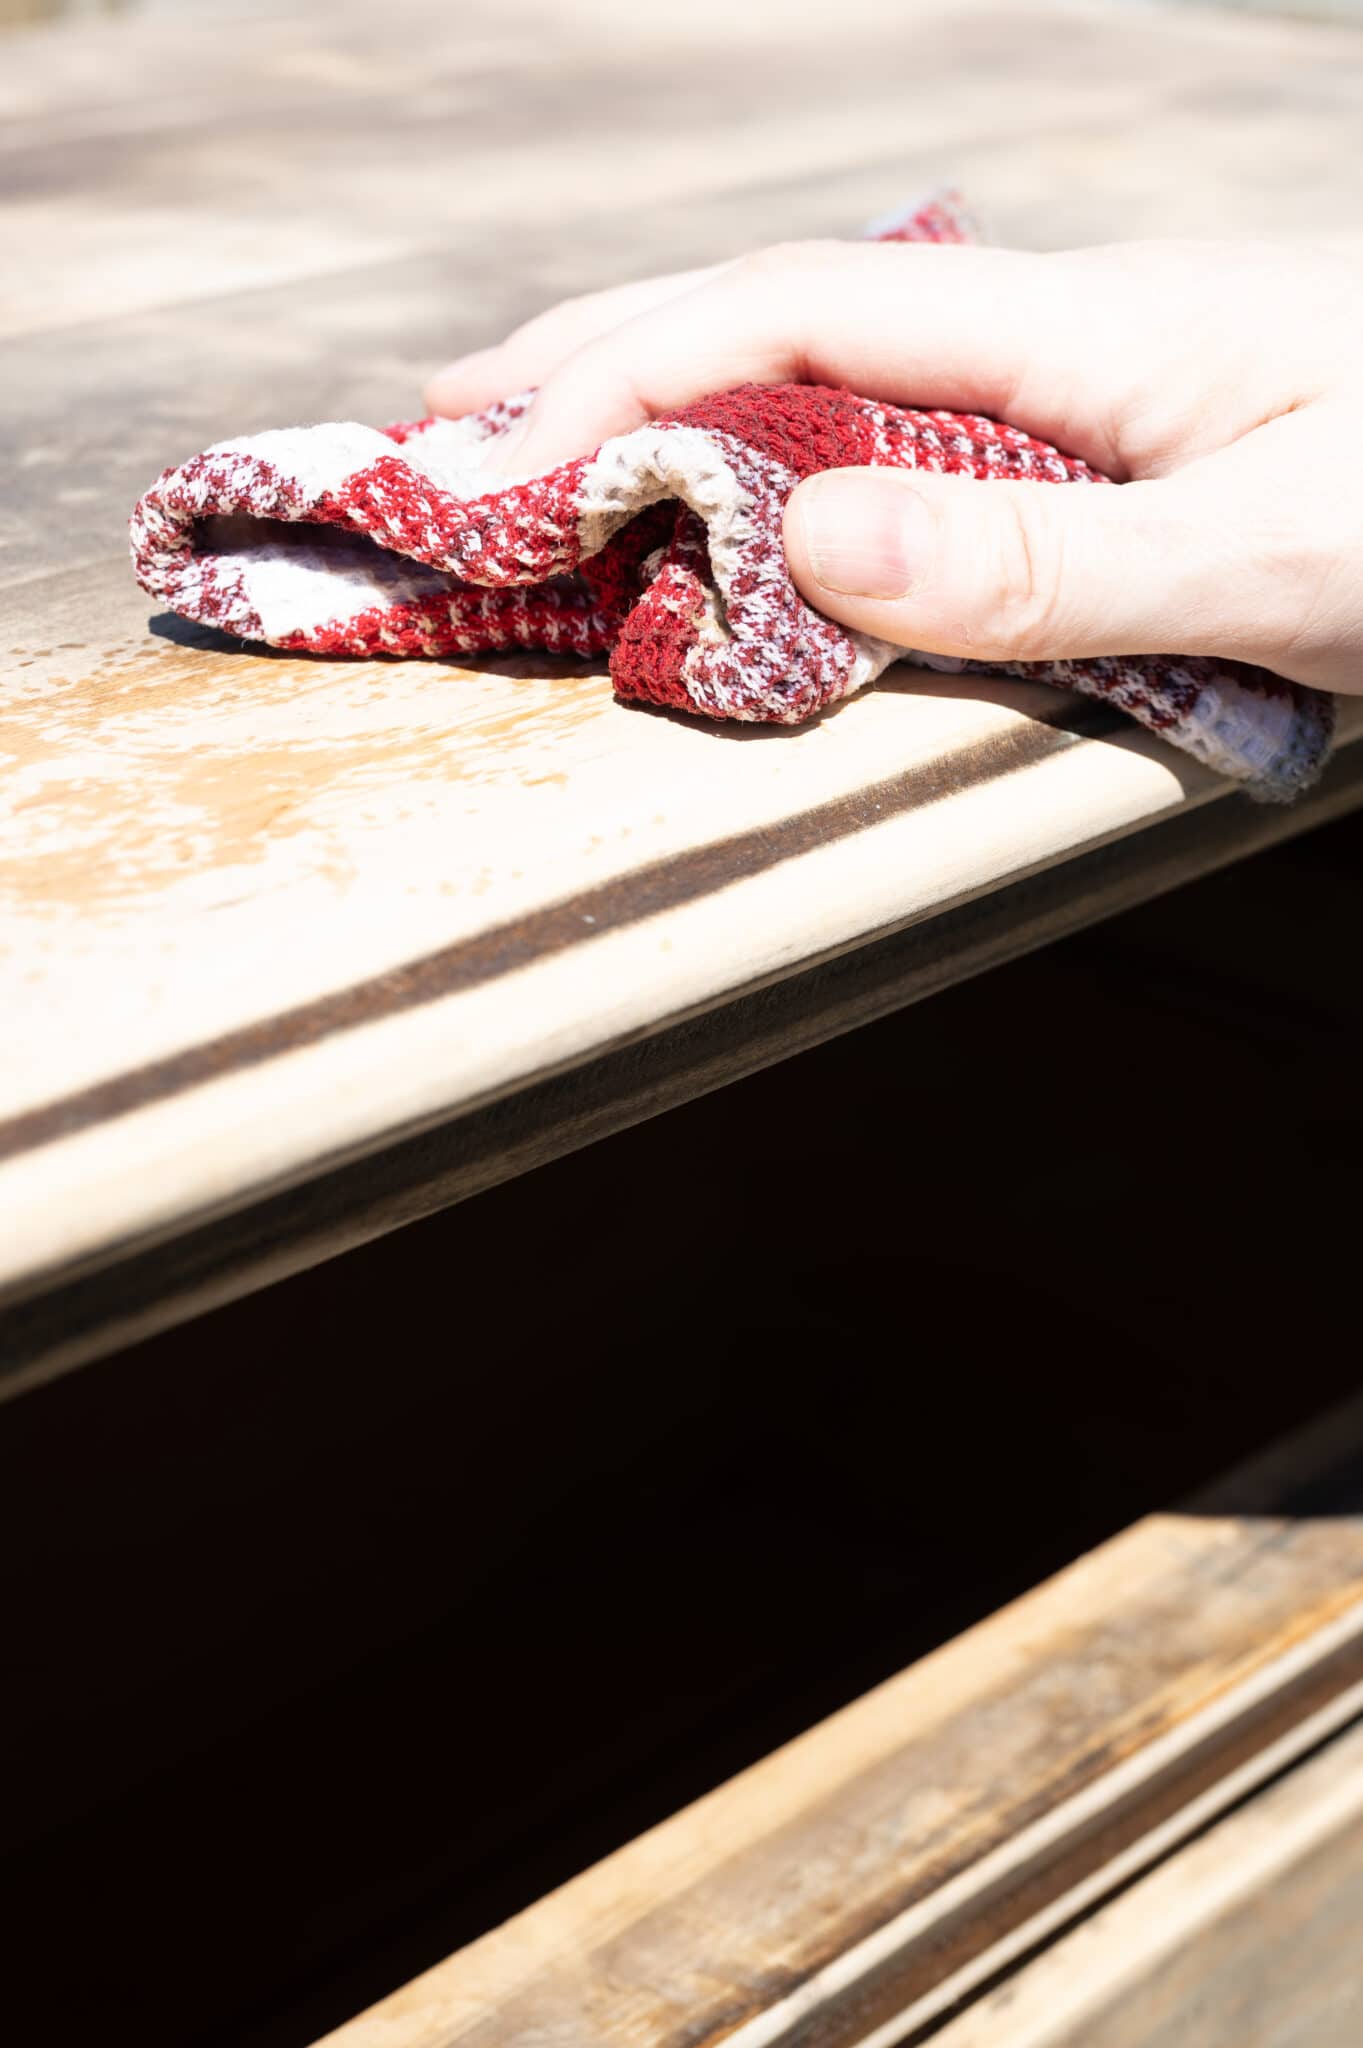
Clean the entire project with a tack cloth to remove any residual dust from the sandpaper.
Clean the entire project with TSP and a clean cloth.
Use another clean cloth and a bucket of warm water to wipe rinse off the TSP.
Let the dresser dry before you begin painting.

Step 4
Tape off the inside edges of the dresser and either paint or spray paint the inside. I opted to use spray paint because I loved the golden luster of the spray paint, but this is optional. You can paint the inside with Fusion mineral paint as well.
I find that painting the runners on the dresser and the base of the drawers is generally a bad idea. The paint eventually rubs off and may cause the drawers to bind, so I would avoid painting those areas if you can.
Step 5
Using your paintbrush begin to apply the mineral paint. Work in long strokes in small areas to avoid drips, pools, and paint lines. Do not spend too much time working on a section. The paint dries incredibly fast, and the more you continue to paint over-drying Fusion mineral paint, the more lines you will create in the project.
It is best to do two lighter coats instead of covering everything on the first past.

Can you use a sprayer with fusion mineral paint?
You can spray Fusion mineral paint with a sprayer. I tested my small Wagner on another project, and it worked like a charm. I had to dilute almost at 40% to get the proper flow, but it worked incredibly well and had no negative impact on the paint. The coating I got on that project was flawless.
There is one downside to painting with a sprayer. You will use WAY more paint spraying. For example, I could only paint one side table with one whole pint of paint.
Step 6
Let the whole project dry. Once dry, go over the entire thing with 220 grit sandpaper and be sure to erase any drips or uneven lines.
Step 7
Give the whole thing a light second coat of paint and let dry.
Step 8
Add a dab of Fusion Mineral Paint Furniture Wax to a soft cloth. Use the wax very sparingly. A little goes a LONG way. But take your time. Turn on some tunes and zone out for a while while you give your new piece of furniture a coat of love.
The wax will help protect it and give it a charming luster. The wax also helps to provide it with a bit of water protection. It doesn’t make it entirely impenetrable for water, but it does help prevent watermarks.
Once the wax is on, give the entire thing a good polish with a soft cloth.

Step 9
I replaced my wooden knobs with lovely antique-looking crystal knobs. The remaining hardware was brass. It came clean with a bit of twinkle brass cleaner but never came as shiny as I wanted it. So I cheated and used a tiny bit of Rub N Buff on my metal so that they shined.
If you have lovely old knobs, I suggest refurbishing them with some polish or paint.

Final Notes and Comments about Mineral Paint
I am floored at how well this paint went on, how well it covered my scratches, and just how much I love the final product. I’ve since used Fusion mineral paint on two new side tables, and I am about to use it on a tile floor (gasp, I know).
I have experience using chalk paint, milk paint, spray paint, you name it, but I haven’t used anything quite like Fusion Mineral Paint in Bayberry. I even had a tough time getting the paint off my tray when washing up. After using that paint tray a few times, the fusion mineral paint markings are STILL there and will not wash off. It’s exceptionally durable.
Fusion Mineral Paint is a fantastic product, and I am so bummed I never tried it before now!
If you have any experience using Fusion, leave a comment. I would love to hear your tips and tricks.
Keep Good Old Wood Furniture Out Of Landfills!
You don’t need to find all your furniture at a thrift or antique store, but the hunt is half the fun. You never know what you’re going to see, and once painted, it can be the star of a room.
I just picked up a 120-year-old spool bed for my guest bedroom for 70 bucks. I just about fainted when I found it and looked at the sticker. Seventy dollars, solid wood, in excellent condition, and the texture and lines of the bed are incredible. It will be the focus of that finished room for sure.
Did I mention it was only 70 bucks? A little paint and that baby is going to look beautiful!
It pains me to think if I didn’t buy it, it may have ended up in a landfill. UGH!!!


Looking For More Fun DIY Projects For Your Home?
We have a few lovely home furniture and DIY projects you may want to check out …
- An Industrial Desk Made from Vintage Sewing Machines
- How to Build a DIY Pot Rack and Secure it to Your Ceiling
- These DIY Hanging Planters are so Cheap They Will Blow Your Mind!
- How to Build Simple and Inexpensive Decorative Shutters
- Handmade Knit Baskets For Your Home
- Hardwood Floor Restoration: After Years of Neglect
- How to Make DIY Scented Soy Candles

Fusion Mineral Paint Bayberry - Reviving an Old Dresser
Upcycling an old worn out dresser with Fusion Mineral Paints gorgeous Bayberry color.
Materials
- Fusion Mineral Paint in Bayberry
- Fusion Mineral Clear Wax
- Staalmeester Flat Paint Brush (or square I used both flipping back and forth)
- New crystal knobs (you can find these at antique stores for cheap!)
- 1 very old, very scratched up piece of wood furniture.
- Safety Mask
- Lead Test (if your item was made before 1970)
Tools
- Sander
- Sandpaper
- TSP
- Rags
- Painters tape
- Wood filler
- Screwdriver (to remove the knobs)
Instructions
Step 1
- Remove all the hardware from your project and set it aside to clean, polish, or replace.
- If you have metal handles with old paint, you can soak them overnight in a jar filled with two parts hot water and 1 part vinegar. The paint should wipe off the following day. I have used this trick to clean hinges on paint doors for years, and it works like a charm.
Step 2
- Give the entire project a quick going over with some sandpaper to remove the top layer of old varnish or paint. Of course, sanding is not required, but I have found that sanding before painting, even just a little bit makes a world of difference for the project's durability.
- Deep scratches will need to be sanded, or they will show. Fusion covered the smaller, more shallow scratches, but deep heavy scratching should be sanded out if you want a smooth finished surface.
- You can also use wood filler to fill holes and larger cracks or gouges. Allow the wood filler to dry before sanding to a smooth finish.
- If your furniture item was made before 1970, wear a heavy-duty filtered mask. Lead paint is no joke, and inhaled can make you incredibly sick. Sand your project outside, away from pets, waterways, and children.With a simple take-home lead test from the hardware store, you can test for lead paint.
Step 3
- Clean the entire project with a tack cloth to remove any residual dust from the sandpaper.
- Clean the entire project with TSP and a clean cloth.
- Use another clean cloth and a bucket of warm water to wipe rinse off the TSP.
- Let the dresser dry before you begin painting.
Step 4
- Tape off the edges of the dresser and either paint or spray paint the inside. I opted to use spray paint because I loved the golden lustre of the spray paint, but this is optional. You can paint the inside with Fusion mineral paint as well.
- I find that painting the runners on the dresser and the base of the drawers is generally a bad idea. The paint eventually rubs off, so I would avoid painting those areas if you can.
Step 5
- Using your paintbrush begin to apply the mineral paint. Work in long strokes in small areas to avoid drips, pools, and paint lines. Do not spend too much time working on a section. The paint dries incredibly fast, and the more you continue to paint over-drying Fusion mineral paint, the more lines you will create in the project.
- It is best to do two lighter coats instead of covering everything on the first past.
Step 6
- Let the whole project dry. Once dry, go over the entire thing with 220 grit sandpaper and be sure to erase any drips or uneven lines.
Step 7
- Give the whole thing a light second coat of paint and let dry.
Step 8
- Add a dab of Fusion Mineral Paint Furniture Wax to a soft cloth. Use the wax very sparingly. A little goes a LONG way. But take your time. Turn on some tunes and zone out for a while while you give your new piece of furniture a coat of love.
- The wax will help protect it and give it a charming lustre. The wax also helps to provide it with a bit of water protection. It doesn't make it entirely impenetrable for water, but it does help prevent watermarks.
- Once the wax is on, give the entire thing a good polish with a soft cloth.
Step 9
- I replaced my wooden knobs with lovely antique-looking crystal knobs. The remaining hardware was brass. It came clean with a bit of twinkle brass cleaner but never came as shiny as I wanted it. So I cheated and used a tiny bit of Rub N Buff on my metal so that they shined.
- If you have lovely old knobs, I suggest refurbishing them with some polish or paint.


