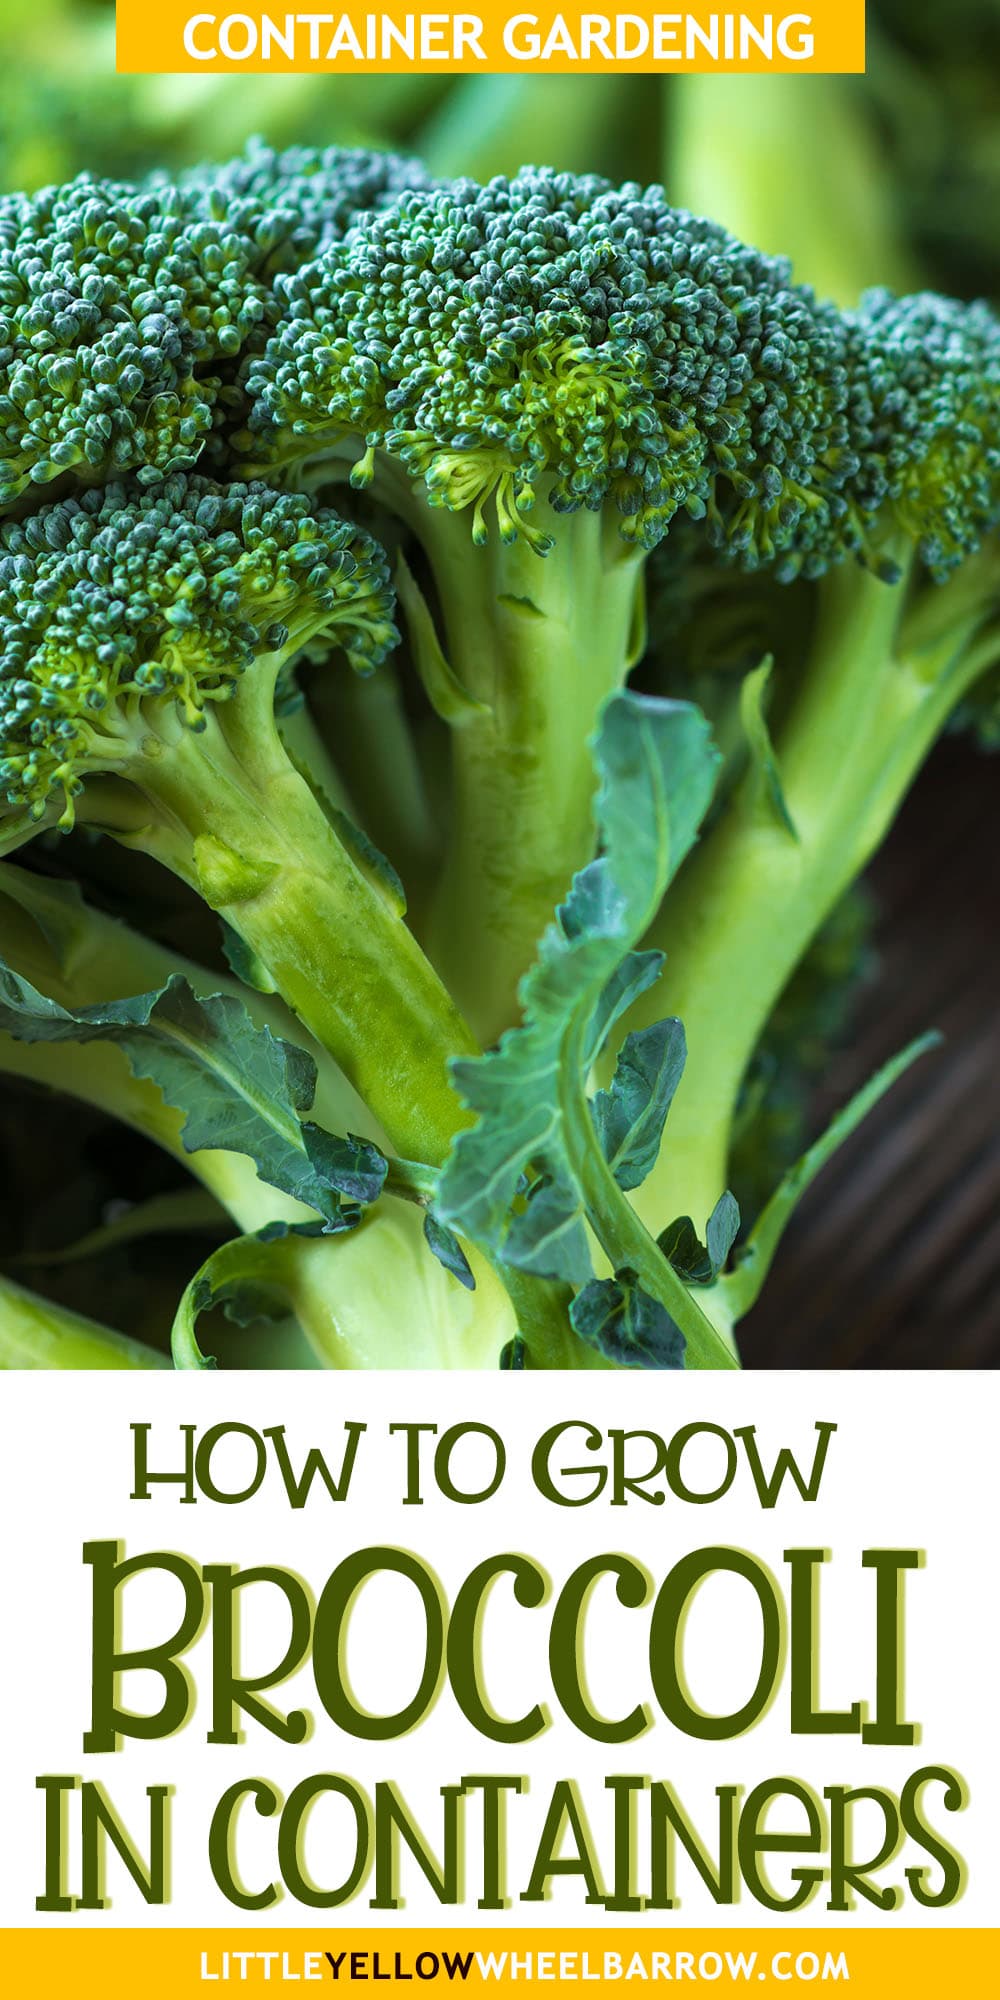
Grow Broccoli In Containers Hassle Free
Do you love broccoli, but don’t can’t grow it due to a lack of garden space? Even folks with gardens will often pass by planting broccoli because of the space that it takes up – But did you know that you can grow broccoli in containers?
Growing broccoli in containers is easy if you know how:
When growing broccoli in pots and containers you need to choose compact varieties with short growing seasons. After that, it’s simply a matter of providing the right sized container, with good growing soil, sunshine, water, and fertilizer.
To learn how to grow broccoli in a container garden read on!

Affiliate Disclosure
This post may contain affiliate links. If you click one and purchase, I may receive a commission at no additional cost. You can read our disclosure policy here.
Step 1: Start with Broccoli Varieties that are Suitable to Grow in Containers
You will want to grow broccoli varieties suitable for planting in containers. Suitable varieties will have compact tight heads and a relatively short growing season.
Three excellent choices are :
- Waltham 29 Broccoli – This is a great variety to grow in containers. Waltham 29 has a large broccoli head and long stalks and is a perfect addition to gardens in colder regions. It will sprout multiple stalks.
- Royal Tenderette Hybrid. Royal Tenderette Hybrid is a broccoli sprouting hybrid that produces several three- to four-inch stalks that grow a floret. This quick variety matures in just 50-60 days from germination and can have up to three harvests.
- Di Cicco This heirloom cultivar forms heads instead of multiple stalks. Di Cicco will mature in 50-70 days.
Are you too impatient to wait for broccoli to mature? Then good news everyone; broccoli can be grown as a microgreen in 7-14 days! Check out our article on growing microgreens to learn more.
Learn More: Are you interested in growing more vegetables and fruit in containers? We have guides that will help you with your container gardening adventure:
Step 2: Next, Choose a Broccoli Container with Good Drainage, at least 12 Inches in Diameter
To grow a large broccoli head simply plant one plant in a container that is at least 12 inches wide and 12 inches deep.
To grow shoots you can crowd in several plants that will produce much smaller heads but produce more many side shoots later in the season. You will need a container about 18 inches wide to accommodate 3 broccoli plants.
You will also need to choose the best type of container for your broccoli. Choose a light color container over a dark; dark containers will heat up considerably more than light, and that heat could be enough to heat the soil high enough to encourage the broccoli to bolt.

Step 3: Start Broccoli Seeds Indoors Eight Weeks Before Your Last Frost Date
You will want to grow broccoli seeds indoors eight weeks before your last frost date. Broccoli is a cool-weather crop that will need to reach maturity before the hot days of summer. Once the temperature reaches 75F, the plants will turn bitter and bolt.
Start by filling a seed-growing tray with sterilized seed-starting soil. You do not want to use potting soil but a good seed-starting mixture.
Plant two broccoli seeds 1/4 inch deep and cover with soil and water gently. Keep the soil moist – but try to avoid overwatering.
Broccoli does not require light to germinate, so you can start them anywhere, but as soon as you see the germinate (4-10 days), place your trays on a bright sunny windowsill or under a grow light.
When using a grow light, keep the light about 1 1/2 inches away from the broccoli plant. As the seedlings grow you can move the lights up. Keeping the light close to the seedlings prevents leggy seedlings.
Once the seedlings have germinated and have at least 2 sets of leaves, thin the seedlings to one per section.
If you are growing broccoli seedlings on a windowsill rotate the trays often to prevent the seedlings from growing too much toward the light source.
Related: Did you know that broccoli can be grown as a fall crop? Check out this article on fall gardening to learn more!

Step 4: Prepare The Container with Fresh Potting Mix
Broccoli is a heavy nutrient feeder and will require a fertile potting mix. Look for organic potting soil that is rich in organic matter. The potting soil should also be well-aerated and have excellent drainage properties.
Avoid using soil from your garden. Garden soil can come with insect larvae as well as diseases.
Potting mix is also often amended with extra water retaining properties which will help maintain moisture levels in pots that may dry out faster than in traditional gardening beds.
We like Pro-mix vegetable potting mix for our container garden.
Step 5: Harden Off and Transplant your Broccoli Seedlings
Starting 3-4 weeks before your last spring frost date begins to harden off your broccoli seedlings. You will want to take your plants outside for an hour at the start and increase the time outdoors by an hour a day until the plants can withstand the outdoor environment without wilting or curling.
Plant broccoli seedlings in their final pot and place them outside after the last frost date in your area.
Step 6: Provide Your Broccoli with 1.5 inches of Water a Week
Seedlings will require consistently moist soil, but you will want to be careful not to overwater. Overwatering can cause roots to rot.
You will want to water every second day to keep the soil evenly moist. However, during hot stretches, you may need to water more frequently.
Broccoli requires an inch and a half of water a week to thrive.
Step 7: Choose the Ideal Location For Your Container Broccoli Plant to Thrive
The wonderful thing about growing broccoli plants in a container is you can move it if the location you picked isn’t ideal. For example, if the weather is hot and you’re worried about the broccoli plant bolting, you can always move it to a shadier location.
The best location for growing broccoli is where it will receive at least 6-8 hours of sunlight a day but will have partial shade during the mid-day sun.
You will want to keep the soil cool and evenly moist.

Step 8: Consider Adding Containers of Companion Plants Near Containers of Broccoli
Grow broccoli near a few containers of companion plants. There are several companion plants that will help deter and confuse many of the insect pests that attack members of the brassica family:
Plant aromatic herbs like dill, rosemary, sage, and mint. These are intensely scented herbs that can help deter and hide the broccoli plants’ scent.
Learn more: These herbs are incredibly easy to grow, and we have complete growing guides so you can learn how to grow them from seed to harvest:
You can also plant trap crops of marigolds or nasturtiums to lure aphids away from your broccoli plants.
- Learn More: We have guides on how to grow nasturtiums from seed and a detailed companion planting guide for nasturtiums. They make lovely additions to any garden.
- Also, be sure to check out the marigold companion planting guide.
Daisies, cosmos, and calendula will help attract beneficial insects like yellow jackets, which will help manage populations of cabbage loopers.
Why Add Companion Plants?
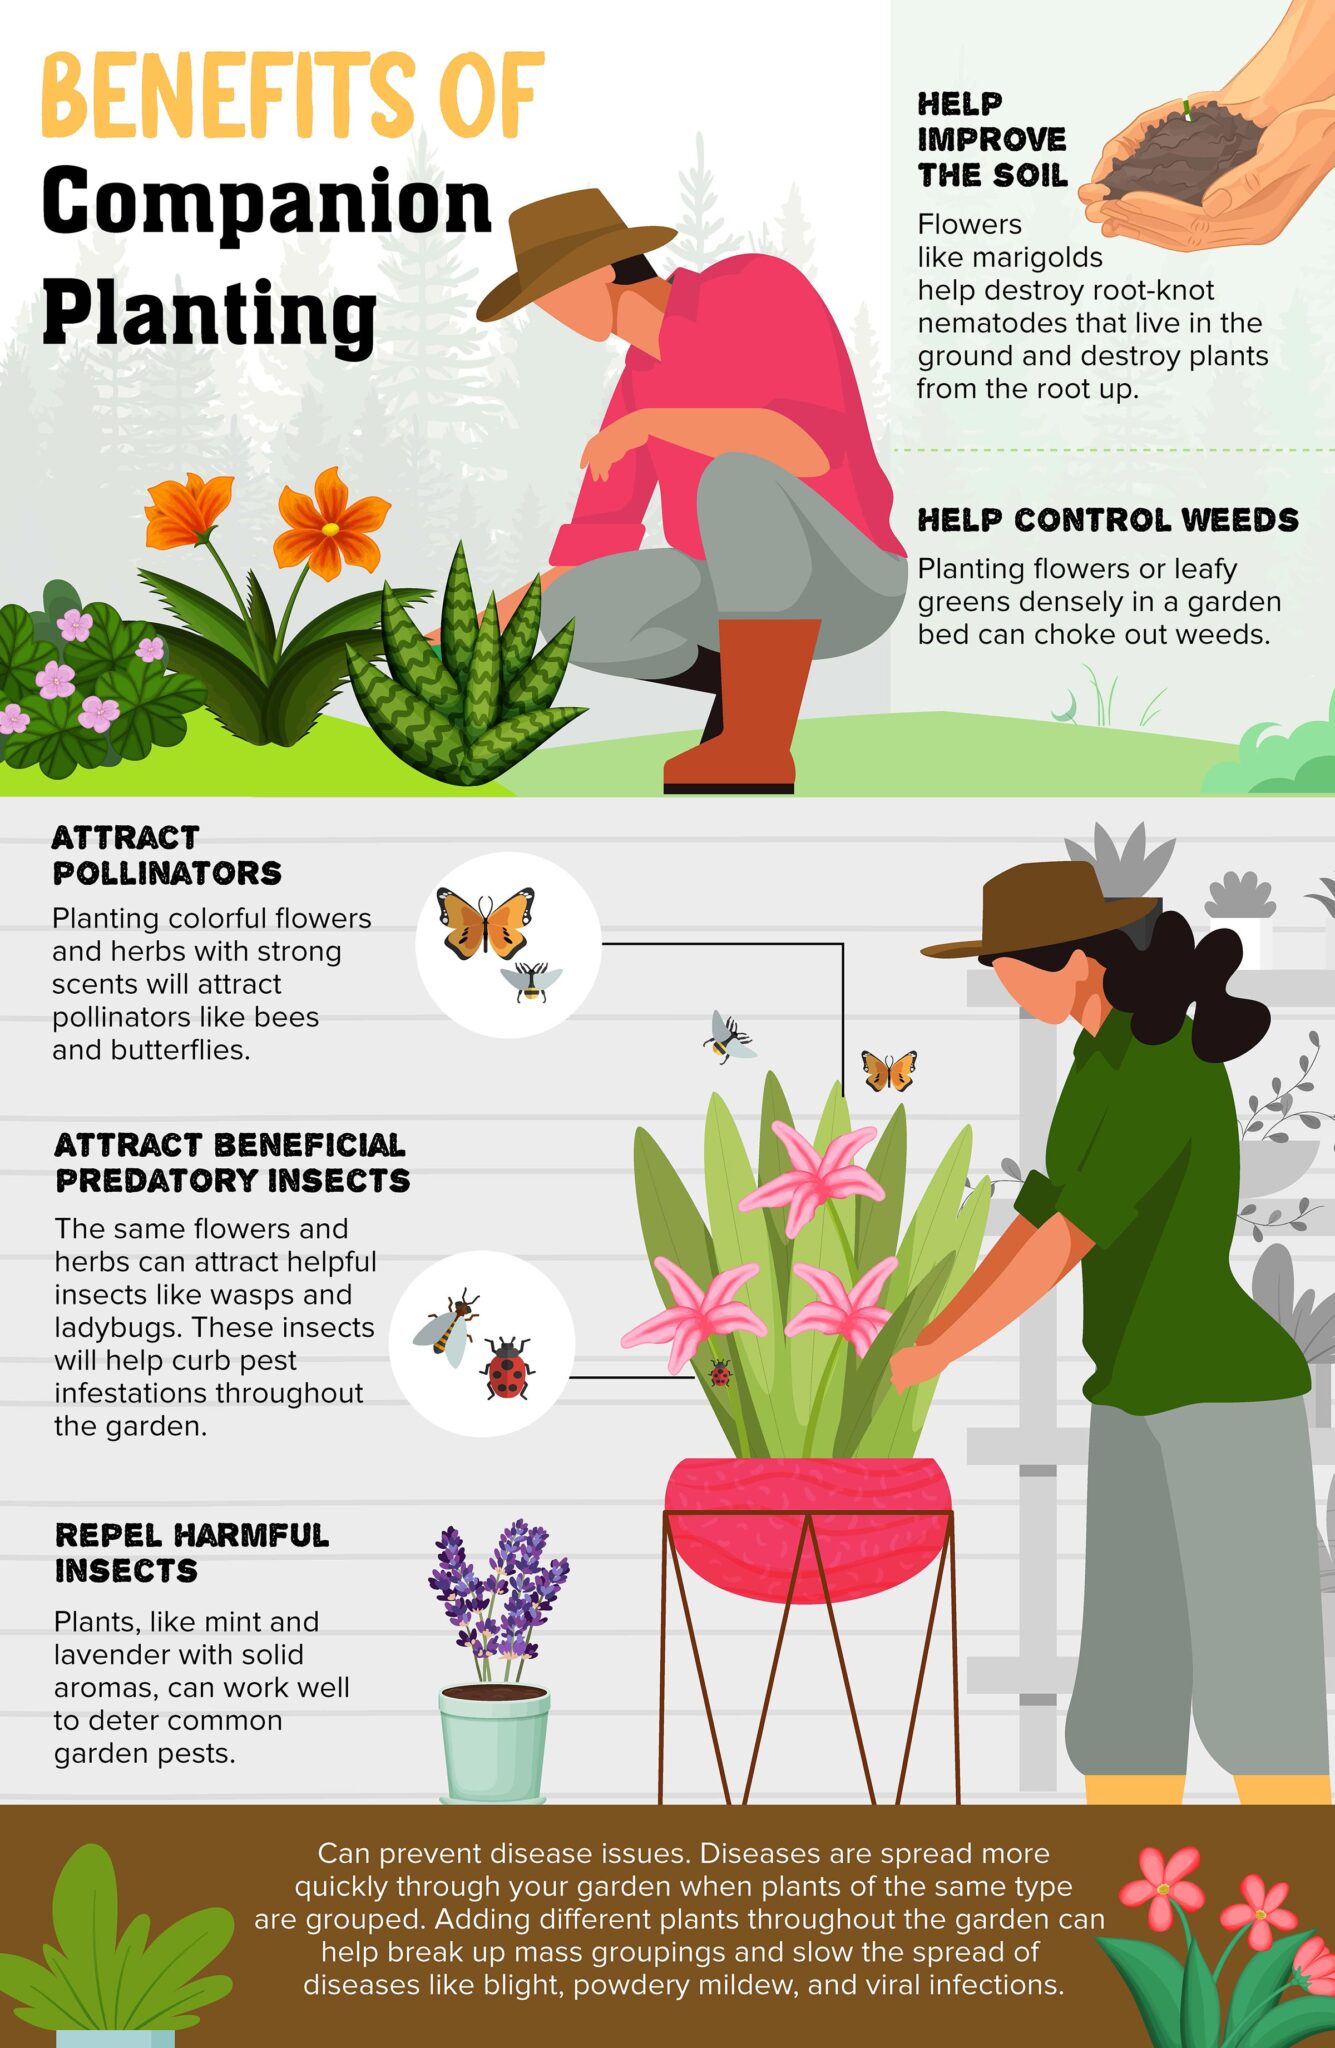
Companion planting offers many benefits for any type of garden. Adding companion plants to your vegetable container garden can help aid with:
Attracting beneficial pollinators: Planting bright-colored blooms with abundant food sources like pollen and nectar will help encourage pollinators to your garden.
Attract many beneficial insects: Herbs and flowers will also attract predatory insects such as parasitic wasps, hoverflies, spiders, lacewings, and ladybugs
Deter Pests: Aromatic plants like garlic and chives can help repel pest insects, like flea beetles, aphids, cabbage worms, and cabbage loopers.
Companion plants can help with weed control. Densely planted greens like spinach and lettuce or low-growing flowers like nasturtiums can shade out weeds.
Can help prevent the spread of diseases in your garden: Many garden diseases spread quickly when plants of the same family are grouped in mass plantings. Diversify your plantings to make it more difficult for diseases to spread.
Learn More: Companion Planting 101.
Step 9: For Robust Plants, Fertilize your Broccoli Every Four Weeks
Like most cole crop plants, broccoli is a heavy feeder and will need supplemental fertilizer during the growing season.
If you started with good organic soil, you should only need to fertilize your broccoli plants every four weeks. Use an all-purpose low-nitrogen organic fertilizer that contains both magnesium and boron.
High nitrogen fertilizer can cause hollow stems.
Step 10: Manage Pests As Soon as You Find Them
There are a few pests that can cause damage to your broccoli plants. The best control method is to cover the plants with row cover material during planting, but if that is not ideal, we have additional recommendations to help control each pest :
Flea Beetles
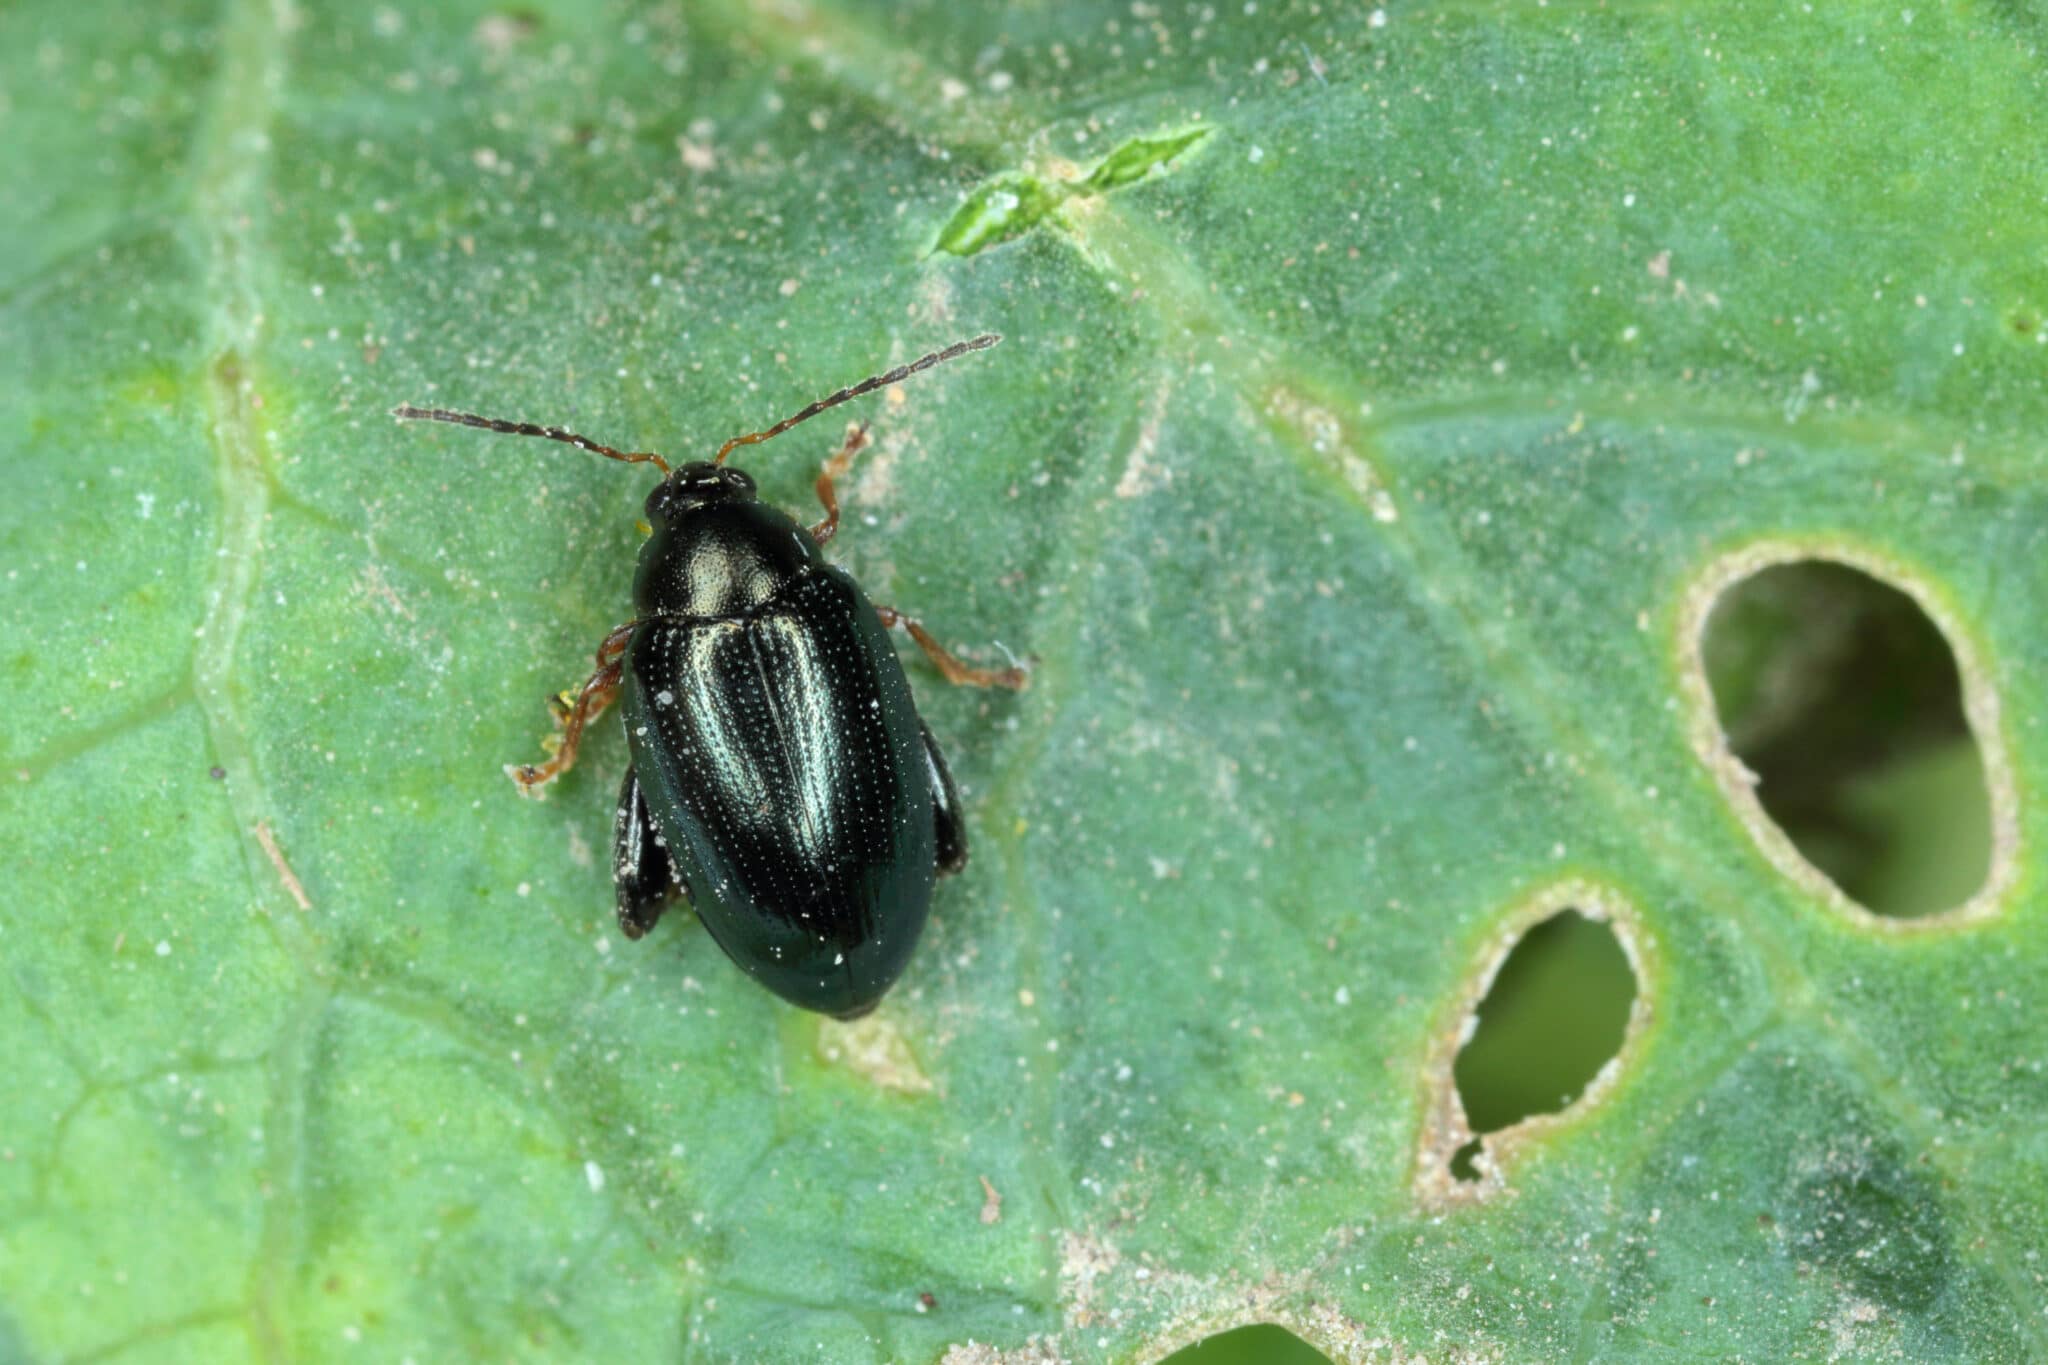
Flea beetles are shiny small black insects that jump when disturbed.
The beetles will feed on leaves, leaving tiny holes.
To prevent flea beetles, especially on cole crop family plants like broccoli, cover the seedlings as soon as they are planted and keep them covered until harvest.
Radishes planted nearby can be used as a trap crop for flea beetles.
Learn More: For more information, check out our article on managing flea beetles organically.
Cabbage Loopers
Cabbage loopers are light green with two white strips down the center of their backs. They crawl by looping their bodies forward like an inchworm.
Cover the plants with row covers during transplanting to prevent their access to prevent them from feasting on your broccoli.
If you’re not keen on covering your container garden with row covers, you can also place pots of daisies, cosmos, or calendula near your broccoli plant to deter the insects.

Cabbage Worms
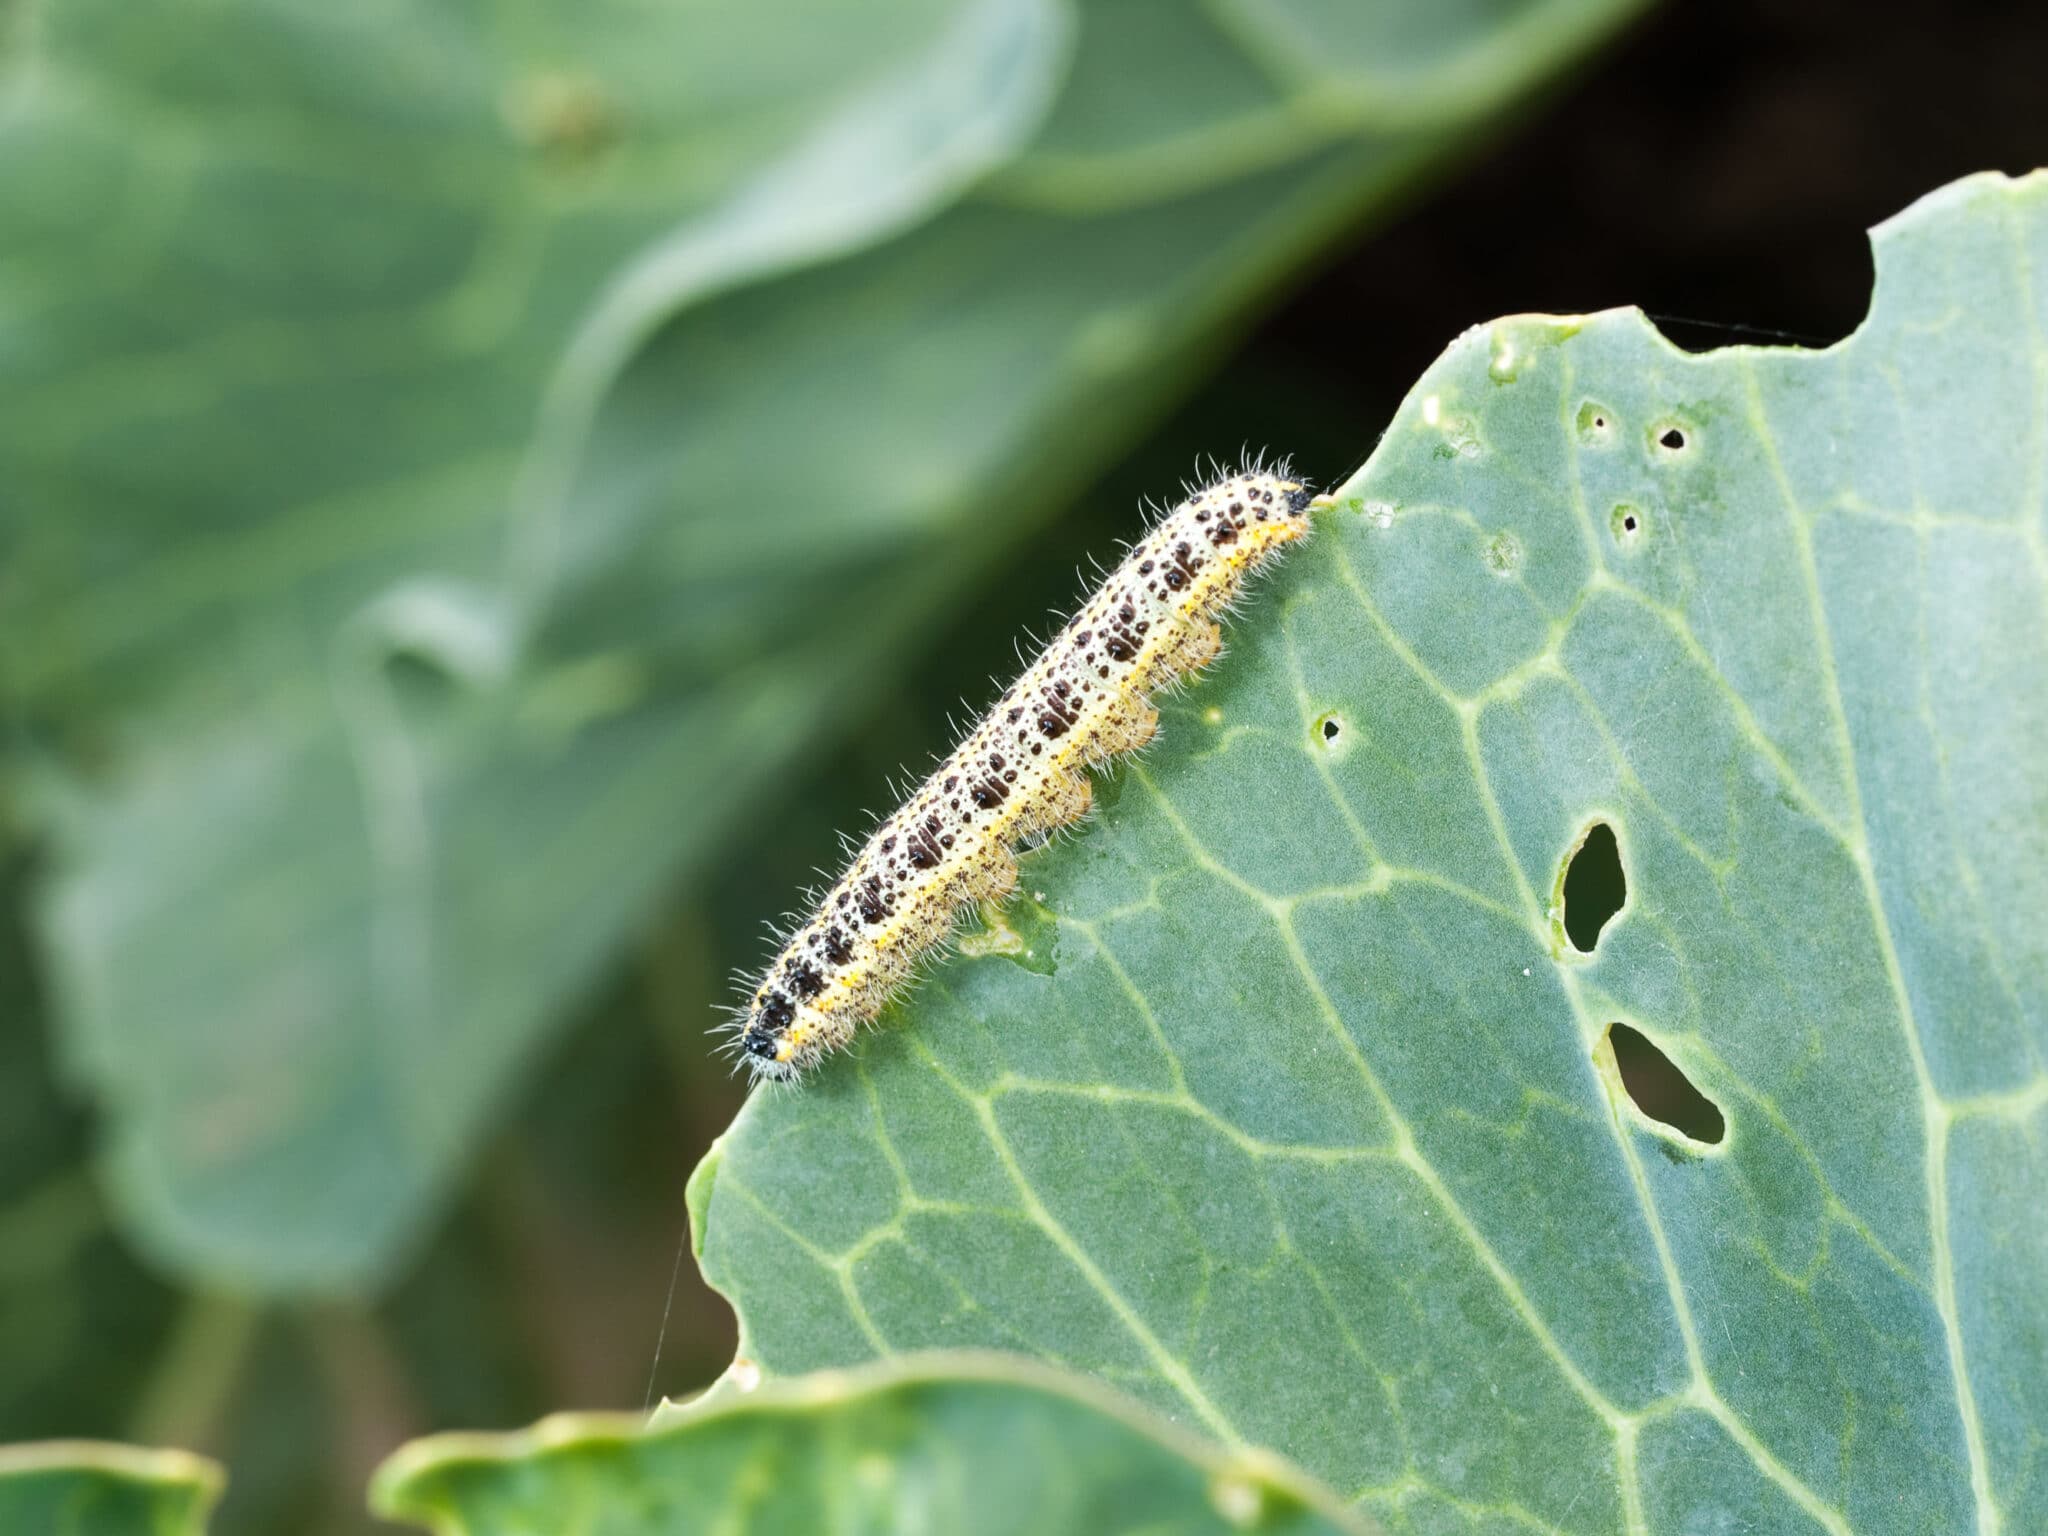
Cabbage worms are light green caterpillars with a single yellow stripe down the center of their backs. The adult is a small white butterfly that flits around the garden during the daytime.
Cover plants with row cover during transplanting and leave in place to control cabbage worms until harvest time.
Aphids
Aphids are soft-bodied pear-shaped insects that can be maple brown, green-yellow, pink, black, or blue. Aphids are usually wingless, but sometimes you will seed winged females. Adults are less than 1/ 10 inches long.
Aphids will pull the juices from the plant, causing the leaves to curl up and turn yellow.
To control aphids, try planting trap crops of marigolds or nasturtiums. You can also destroy aphids with a strong blast of water from the hose.
For heavy, challenging infestations, use insecticidal soap spray every 5-7 days until the infestation is under control.
Learn More: See our complete guide for organically managing aphid infestations.

BAD BUG BEGONE!
$5.99
Are harmful insects running your gardening season?
Our guide to organic pest control methods offers practical solutions for dealing with common garden pests without using harmful chemicals. With step-by-step instructions and easy-to-follow tips, you’ll learn how to create a pest-resistant garden that is safe for your family and the environment. A great on-hand resource for any gardener!
A must-have resource for Gardeners
Our digital e-book is for you if you’re a home gardener passionate about growing healthy, pesticide-free plants! Over 100 pages of organic pest management information are perfect for beginner gardeners and pros alike.
Step 10: Manage Broccoli Plant Diseases Quickly
Growing broccoli in containers with fresh, well-draining soil will help prevent many diseases that may be present in the vegetable garden.
Generally speaking, container-grown broccoli only needs to look out for root and stem rots that will present in young plants and downy mildew.
Black Rot
Black rot is caused by warm, moist conditions, usually encouraged by overwatering, poor drainage, and roots sitting in waterlogged soil. It will present with black cankers on the crown.
To prevent black rot choose resistant varieties and avoid overwatering.
Downy Mildew
Downy mildew will present with yellow angular spots on leaves that turn brown or white.
To prevent downy mildew do not water from above, avoid overwatering and ensure good air circulation
Clubroot
Clubroot is caused by a fungus-like organism and will cause wilted and stunted plants with yellowing leaves. When roots are inspected they are distorted and swollen.
You can do nothing to save your broccoli plants if they are infected with clubroot. You must destroy (not compost) any infected plant materials and the soil in which the plant was grown.
Sanitize all tools that have come in contact with the disease to prevent spreading it around to other containers or plants in your garden.
Clubroot can be prevented by maintaining a pH level of 7.2.
Step 11: Harvesting Container of Broccoli
Your broccoli plants will be ready to harvest in 50-70 days from the day you planted your seeds.
You can harvest broccoli multiple times before the mid-summer heat arrives and causes it to bolt.
There are two ways to harvest broccoli:
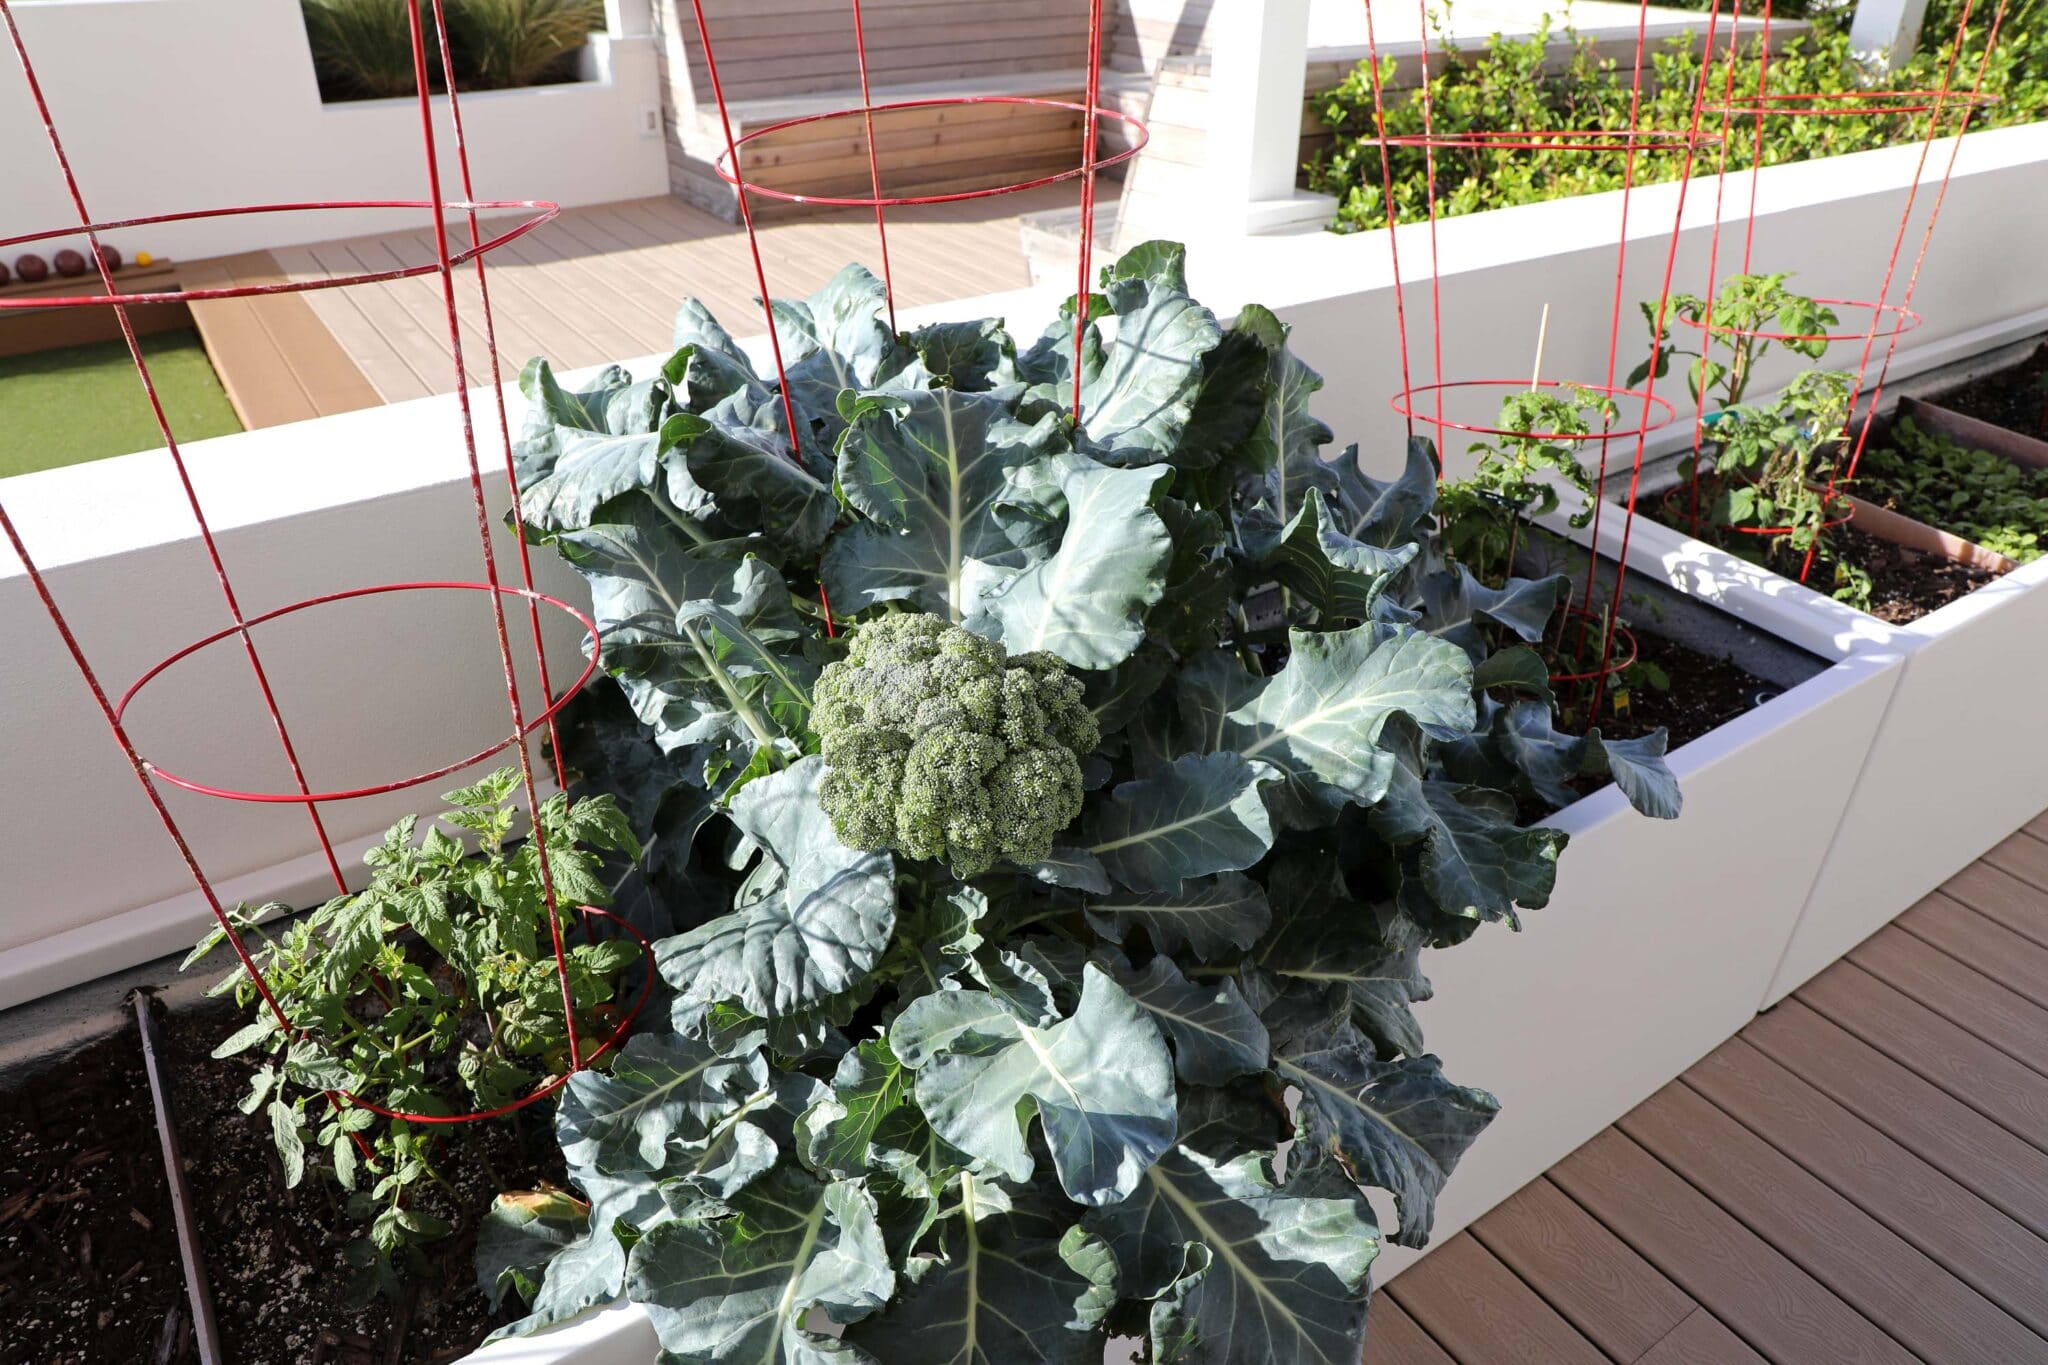
Harvesting The Head Of Broccoli: The initial or primary head will be the first harvestable part of your broccoli. For container-grown broccoli plants, the main head will be 3-6 inches in diameter at harvest.
Harvest in the morning when head buds are tight and before heads flower. If yellow petals develop, it is time to harvest right away.
To harvest the head, use a sharp, sanitized knife and make one swift cut through the stem.
Harvesting the side shoots: If you harvested the main head of broccoli correctly and the plant hasn’t yet bolted, your broccoli plants should grow a fair amount of side shoots. You can harvest the side shoots a few weeks after you harvest the main head of broccoli.
Learn More: We created a much more in-depth guide for harvesting broccoli so you ensure your harvest is sweet and delicious every single time!

Step 12: How to Store Broccoli
You can store your broccoli short-term or long-term:
For Short-Term Storage:
Place your broccoli stems into a vase or container filled with cold fresh water. The broccoli heads should be sticking out of the container. Cover the heads loosely with plastic wrap and place them in the refrigerator. Change out the water each day, and the broccoli will keep for a week in the fridge.
Or Place the broccoli in a plastic bag. You can poke holes in the bag or keep it open to maintain freshness. Broccoli will keep fresh for three to five days in the crisper drawer.
Freezing For Long Term Storage
You can store broccoli in the freezer for up to a year, but only if you blanch it first.
To blanch your broccoli bring a large pot of water to boil. While the water is boiling prepare a large bowl filled with ice and water and set it aside.
Cut broccoli heads into small pieces. Place the broccoli pieces into the boiling water for three minutes. Scoop out the blanched broccoli and drain off any excess water.
Once the broccoli is fully drained place it into the ice water. Allow the broccoli pieces to rest in the ice water for three minutes.
Drain the broccoli, pat dry with a clean dishtowel or paper towel, and freeze them on a baking sheet. Be sure to separate the pieces on the tray. Once the broccoli is fully frozen you can place it in freezer or vacuum sealer bags for up to a year.
Learn More: We have many great home preserving recipes you may want to check out:
- Easy Quick Pickled Red Onions Recipe
- How to Freeze Green Beans To Preserve Texture and Flavor!
- Jalapeno Pepper Jelly Recipe – Quick & Easy Instructions!
- How To Make Perfectly Crunchy Homemade Dill Pickles


Growing broccoli in containers may be easier than growing them in the garden!
There are many benefits to growing broccoli in containers:
You can place your container of broccoli where it will thrive during different points in the growing season. In early spring, place the container in full sun. In summer when it heats up, move the container to a shady cool area to prevent the plants from bolting. You do not get that flexibility when yo plant broccoli in the garden.
There is also far less maintenance for container-grown broccoli – fewer diseases, less likelihood of pests, and no need for weeding!

Want to Learn More About Container Gardening?
We have several free container gardening posts that may inspire you to start your own patio container garden:
You can also pick up the following books at your local library or bookstore. These books are books we personally own and refer to often:
- How to Grow Vegetables in Pots and Containers – by Luke Potter
- The Vegetable Gardener’s Container Bible – by Edward C. Smith


