How To Grow Catnip From Seed to Harvest
Catnip is a hardy perennial herb of the mint family, and it grows just as quickly as mint! The plants will bloom in early summer with fragrant flowers that smell a bit like citronella. The flowers can bloom in pinks, lavenders, purples, and white, and they put on quite the display when in bloom. If you want to know how to grow catnip from seed to harvest, we have you covered with all the information you need to grow healthy catnip plants year after year.
Catnip is a herbaceous perennial herb and has many uses for both cats and humans. Keep reading to find out how to grow and care for catnip.
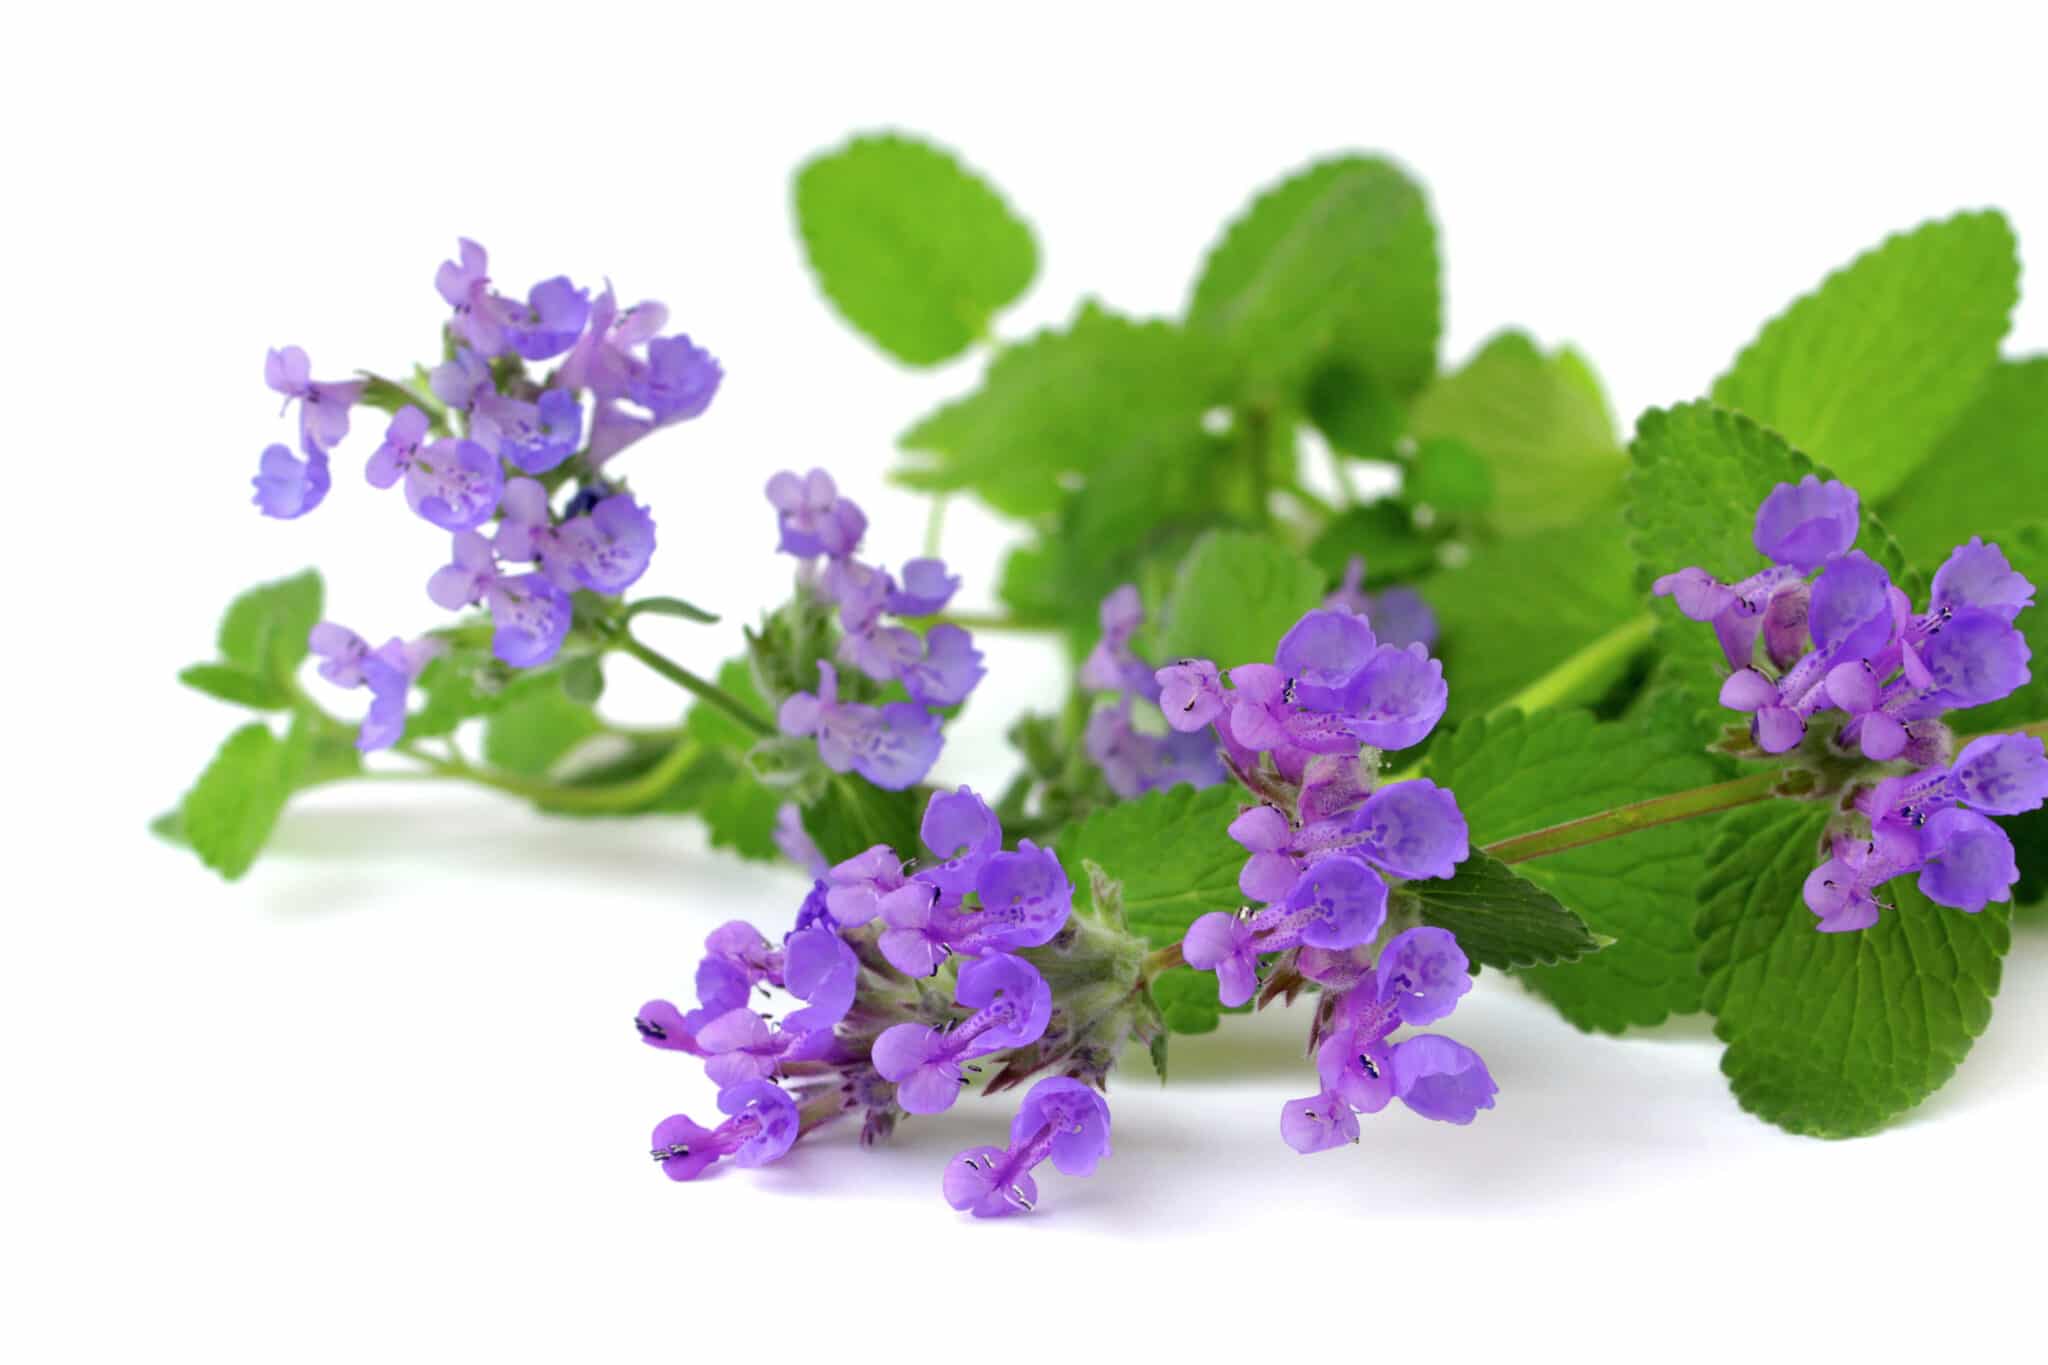
Choose the Variety of Catnip you Want to Grow
Before choosing your seeds, be sure you select the variety you will enjoy growing.
Catnip (nepeta cataria) is a common perennial plant native to Europe but grown extensively throughout North America. It is hardy to USDA zone 3-9, and with over 250 species, so there are many varieties to choose from.
- True catnip (Nepeta cataria)– Produces white to purple flowers and grows 36 inches high.
- Lemon catnip (Nepeta citriodora)– White and purple flowers, reaching about 36 inches tall.
- Persian catmint (Nepeta mussinii)– Lavender flowers and a height of 15 inches.
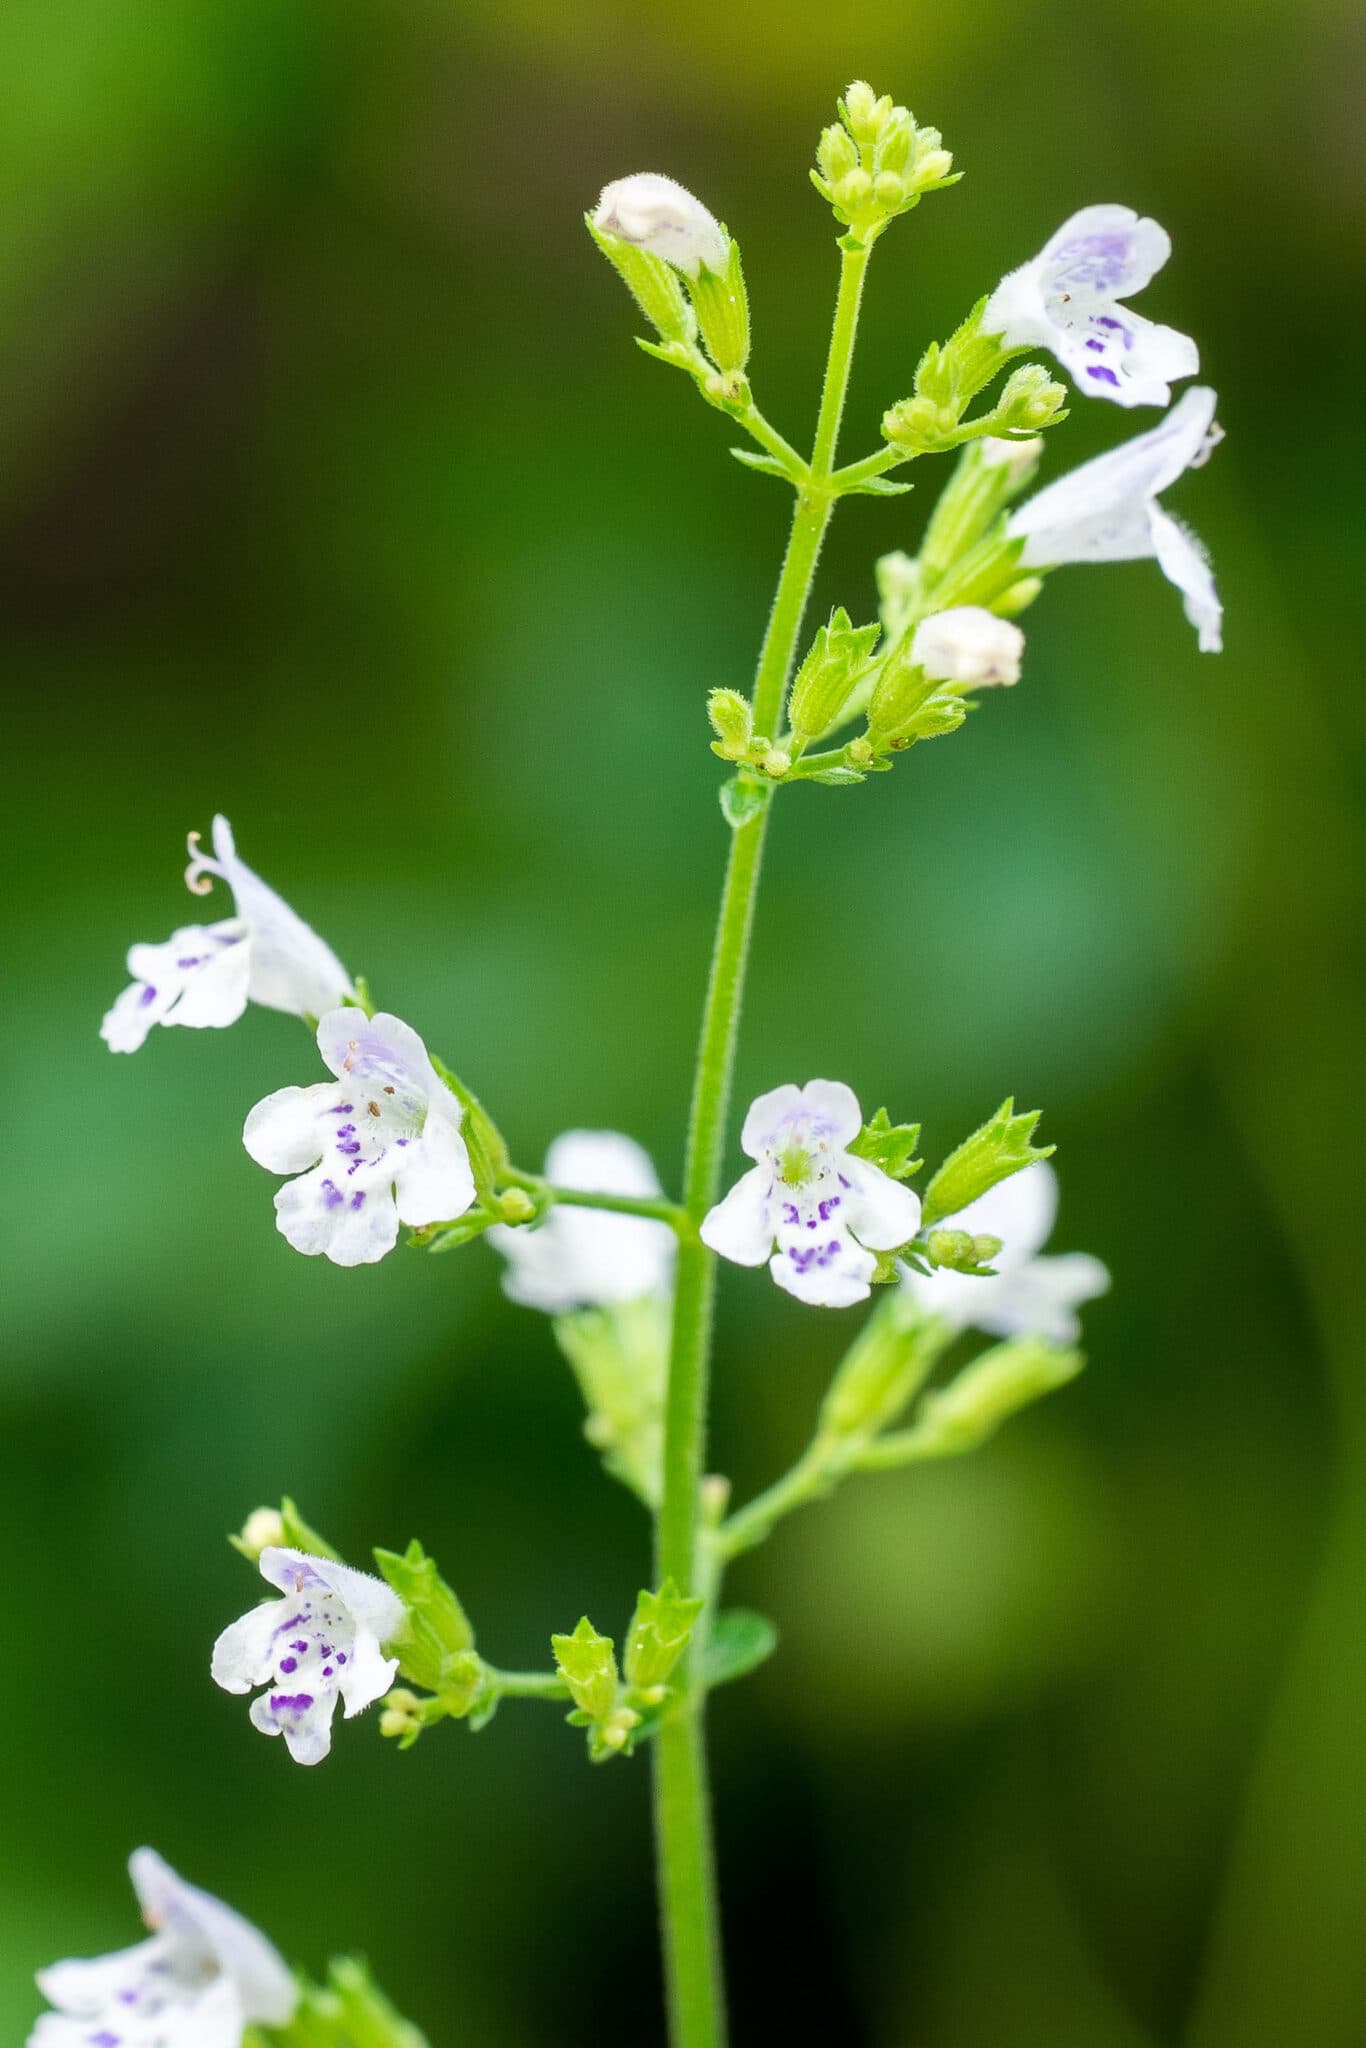
- Camphor catnip (Nepeta camphorata)– White flowers with purple specks, about 16 inches.
- Greek catnip (Nepeta parnassica)– Pale pink flowers and 16 inches tall.

Direct Sow Seeds Outdoors in Late Spring
Here are the simple steps for how to grow catnip from seed in your gardens:
- The first step is stratification: You’ll need to prepare the seeds properly. Catnip seeds are tough and need to go through stratification before they sprout. To stratify your seeds, place them in the freezer for 24 hours, and then soak them in water for an additional 24 hours before sowing. Stratification will allow for easier and more uniform germination rates.
- Sow the catnip seeds outdoors: Sow seeds 2 weeks before your last chance of frost. Plant seeds 1⁄8 inch deep in warm, dry, well-drained sandy soil. Thin plants to 12 inches apart.
or Sow Seeds Indoors in Late Winter
Sowing seeds indoors 8-12 weeks before your last frost date gives the plants a jump on the season and allows them time to get well established in the garden.
- Stratify the seeds: Seeds started indoors will also need to be stratified for an even rate of germination. Place the seeds in the freezer overnight and then allow the seeds to soak in water for 24 hours before sowing.
- Use a soilless growing medium: When starting seeds indoors, a soilless growing medium is best. Soilless mixes are usually made up of peat, perlite and vermiculite. These mixes are sterile, nutrient rich and airy which makes them best for successful germination.
- Provide Adequate Light: Light levels during germination are important for catnip. You will either need a south-facing sunny window sill or will need to supplement with artificial grow lights or a fluorescent lamp.
- Separate seedlings: After germination, the tiny seedlings can be separated and transplanted into larger containers.
You can also find catnip seedlings at garden centers in late spring.
Plant out After the Last Danger of Frost
- Choose the right planting site: Choose a planting site in full sun to partial shade in fertile soil with good drainage. The plants can tolerate light shade, but will bloom abundantly in direct sunlight. Catnip does very well in containers, raised beds, borders, or planted in the vegetable garden as a companion plant. Catnip is said to repel aphids and flea beetles, making it a wonderful companion plant for many plants in the vegetable patch. Like other mint plants and perennial plants, catnip is an aggressive grower and can spread rapidly in your garden. It’s a good idea to plant catnip in containers in the garden to prevent it from spreading.
- When to transplant seedlings: Transplant catnip seedlings outside when 3 inches tall after the last threat of frost for your region. Give the plants plenty of space to grow at least 12-18 inches between plants
Note: If planting catnip in a container, be sure to choose a large pot as the plant grows quite vigorously. The container will also require drainage holes.
Learn More: Are you interested in companion planting? Check out our guide to companion planting vegetables!
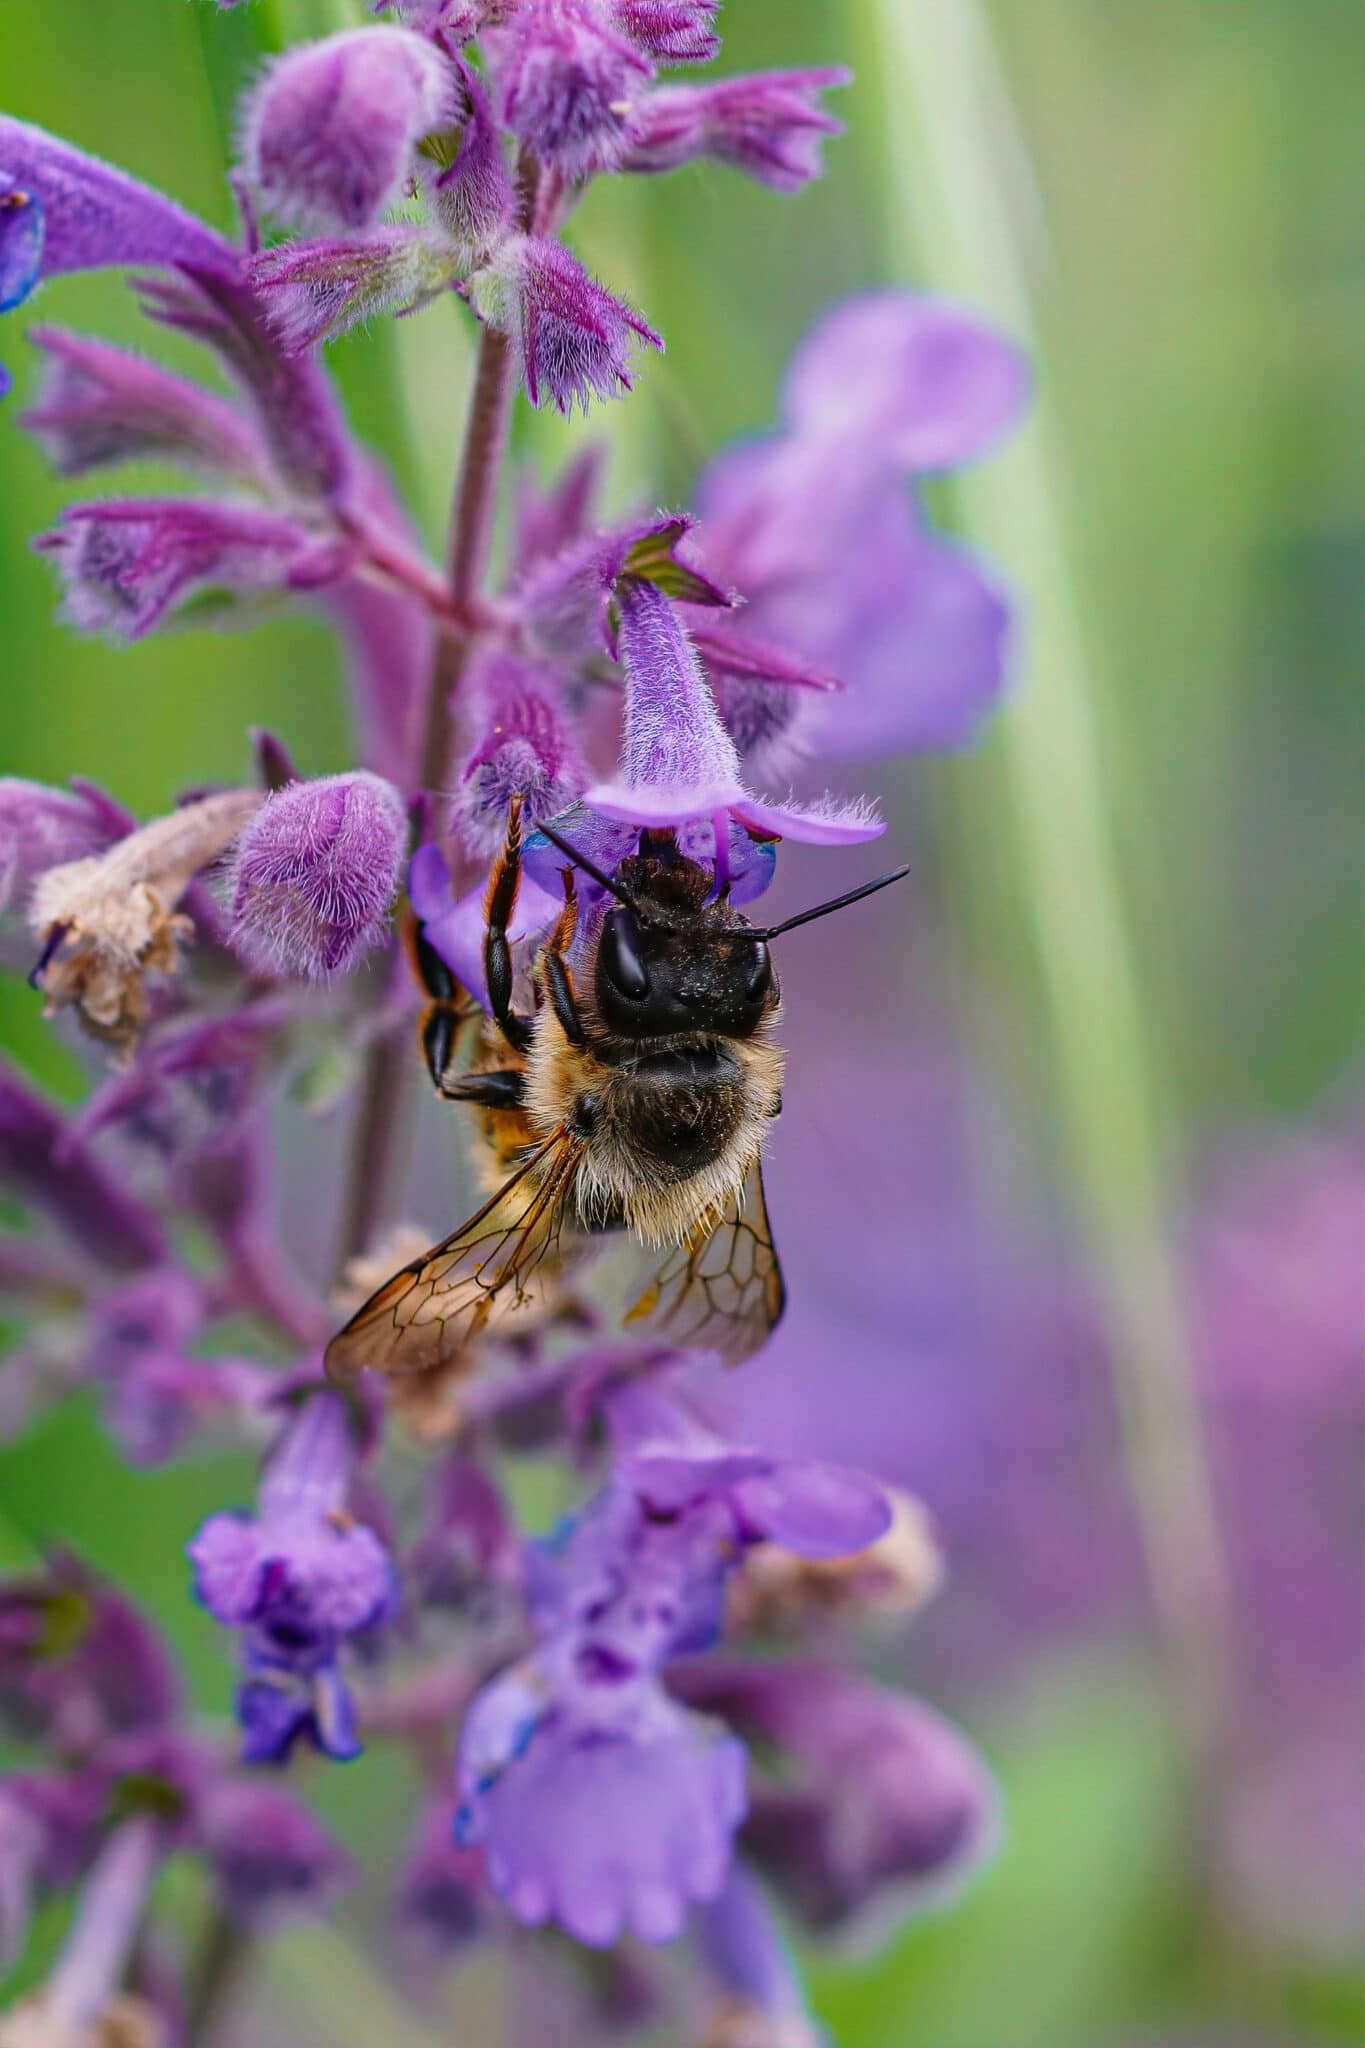
Cover Young Seedlings with Wire Netting
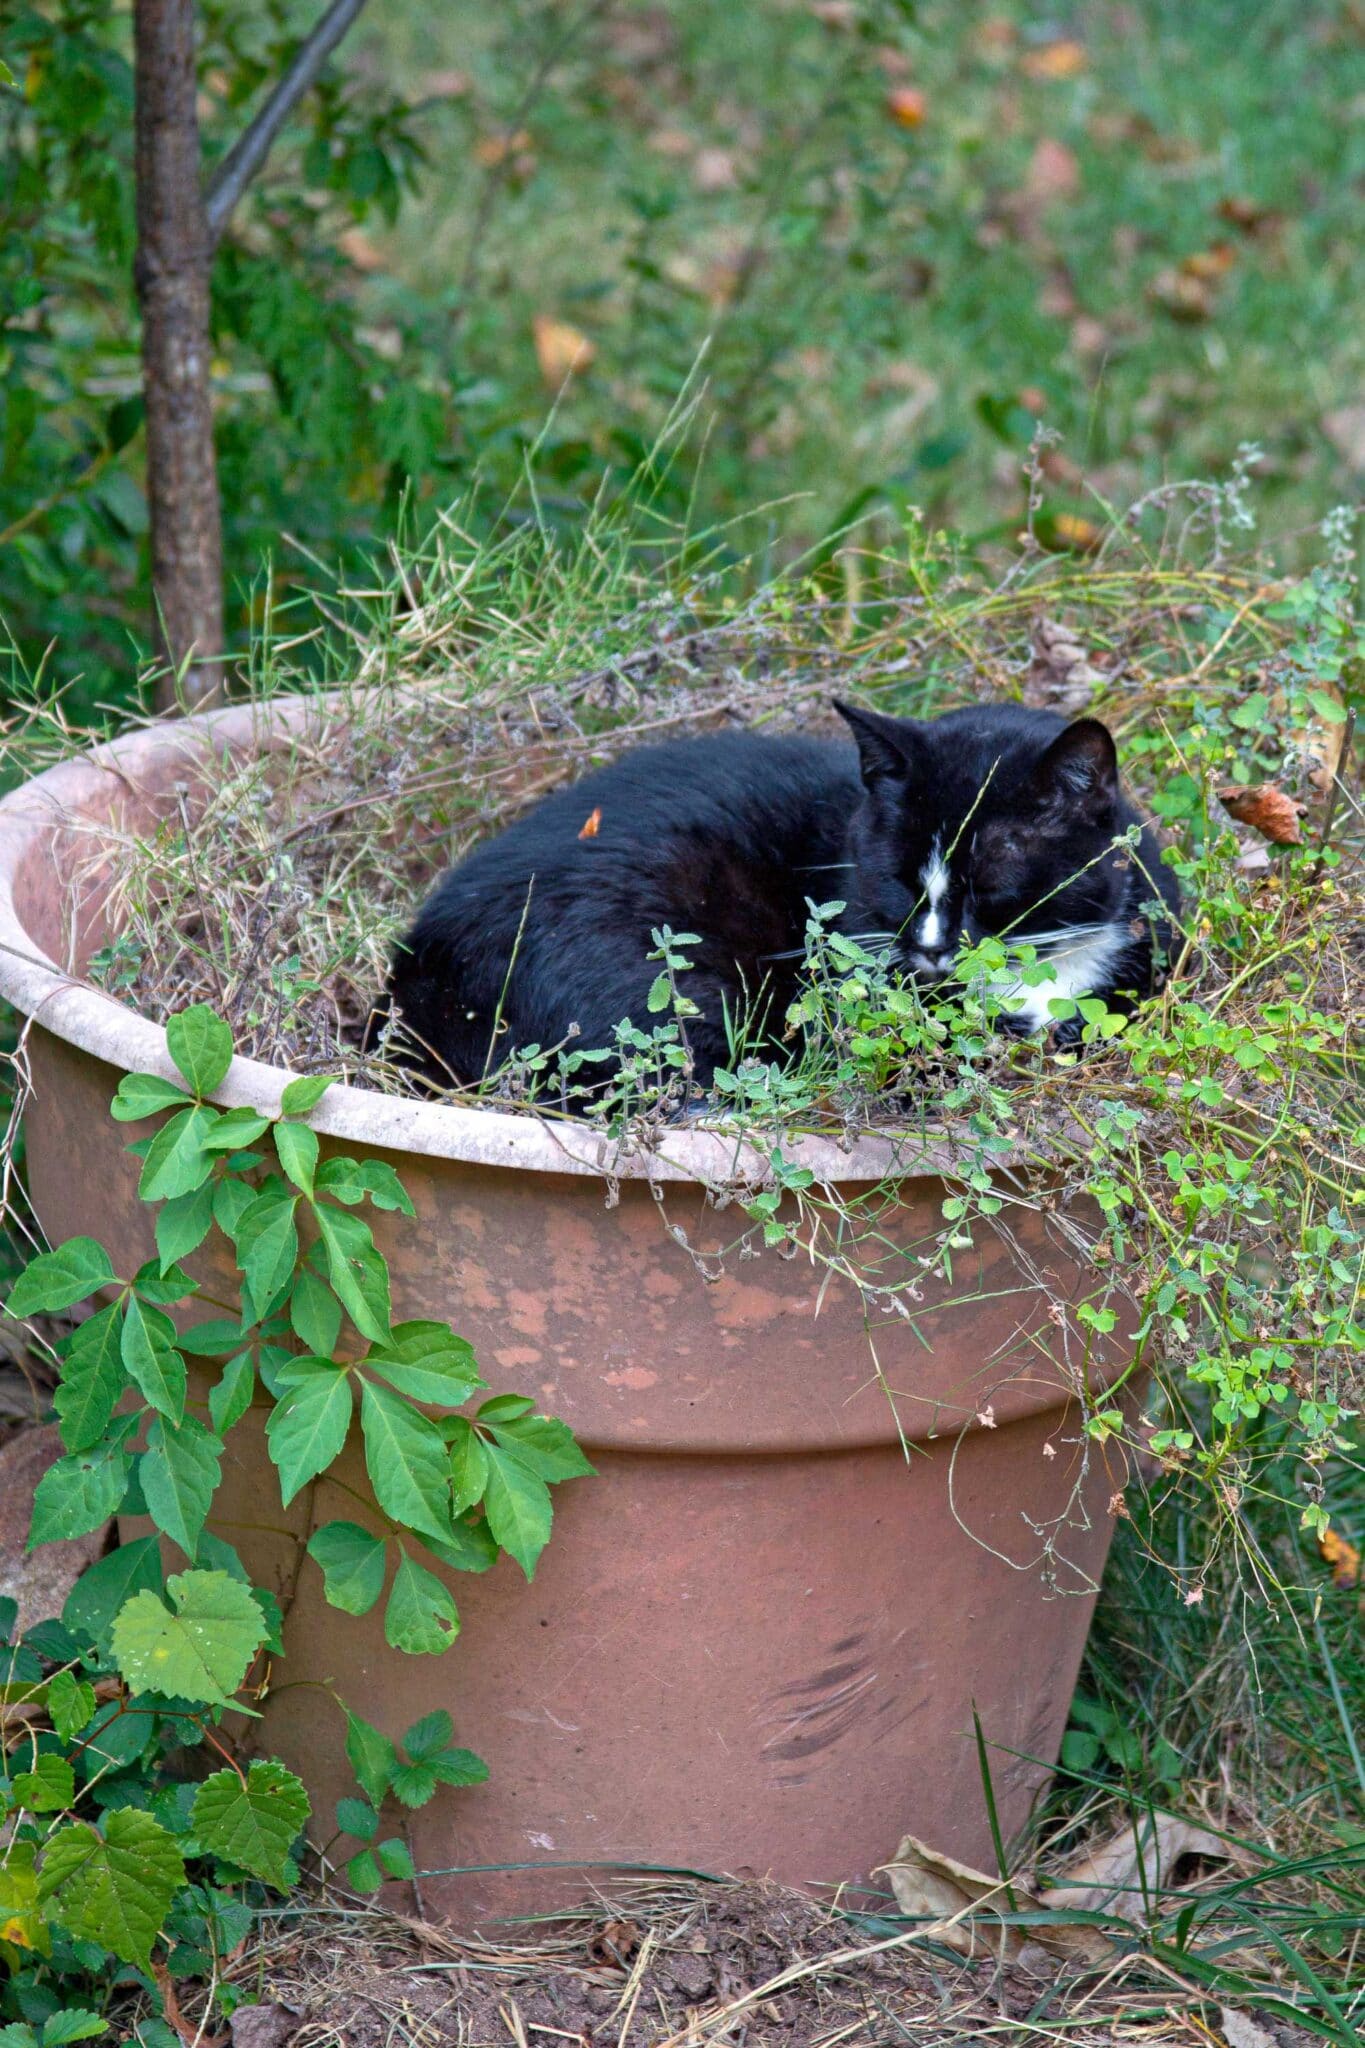
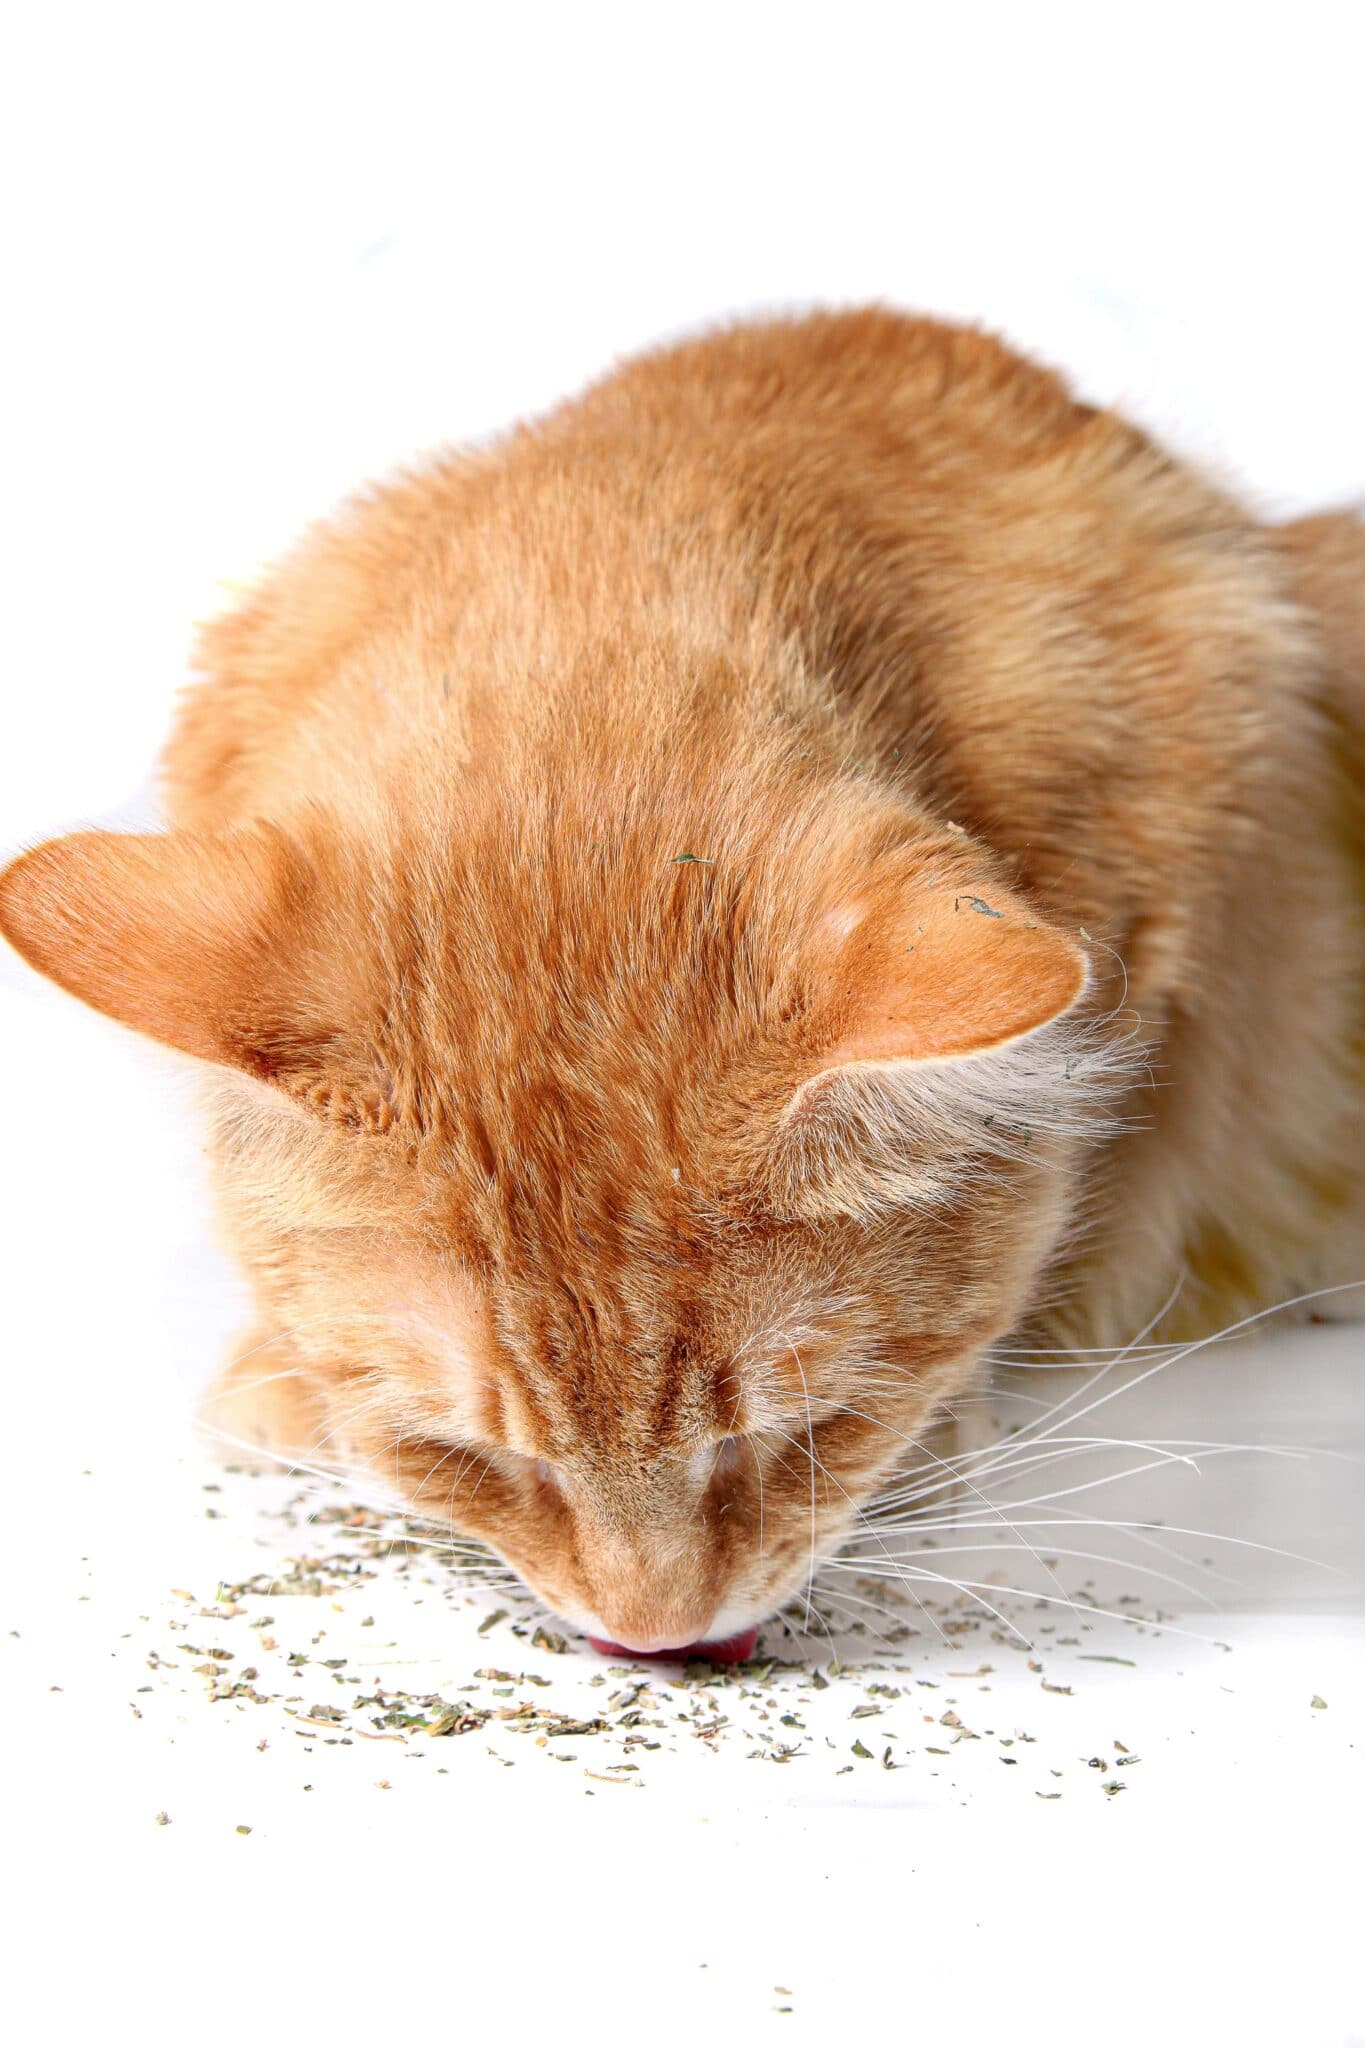
Cover young transplants with cloches or wire netting to protect them from curious cats. Playful felines can easily damage young plants. Protecting the plant during its early growth will protect the stems from breaking and allow the plant to fully mature. Cats that encounter this fragrant member of the mint family react by rolling in it. They find the scent irresistible. Mature plants can withstand a bit more love from the kitties.
The chemical nepetalactone in catnip triggers a chemical response in the brain of cats. About 70 percent of cats are affected by catnip. Catnip produces a euphoric reaction that lasts for about 10 minutes.
Stake the Plants Early
Catnip is an aggressive grower and can take over a garden bed quickly. As a result, the plants grow tall, bushy, and floppy. To prevent the plant from flopping, use stakes to help keep the plant upright.
You will want to stake the plant early. Adding stakes or any support system after the plant is fully established can damage the root system and stunt and destroy the catnip plants.
Water Young Plants Twice a Week
Water young plants twice a week for the first two weeks, reduce watering to every other week after plants become well established. Catnip is drought tolerant and can resist heat as it grows older, however during the height of summer with long periods of heat, increase watering to once a week or even more if needed.
Take Care of Diseases as Soon as Possible
Several diseases can take hold of your catnip plants:
Cercospora Leaf spot
Cercospora is a common fungal disease that can cause leaves to drop. You can recognize symptoms of Cercospora as leaf spots first appear as individual, circular spots that are tan to light brown with reddish-purple borders. As the disease progresses, individual sites die.
Leaf spot occurs where air circulation is poor after heavy periods of rain. The disease will appear as gray spots with dark margins. As the spores multiply, the leaf is suffocated and dies. To treat leaf spot you will need to:
- Prune and remove infected leaves. Destroy, do not compost the diseased leaves.
- Provide treatments of neem oil or another fungicide to the foliage every 3-4 days for 3 weeks or until the disease is under control.
- Avoid overhead watering and try to prevent any water from getting on the leaves while treating the plant.
Root rot
Root rot can cause problems for your catnip plant. Once plants start to show signs of root rot, the disease will have already taken hold in the roots, making it a challenge to remedy.
Cercospora is a prevalent fungus on all types of plants. You can recognize the disease by haloed, yellow spots that darken as they age. Septoria leaf spots occur in closely planted plots during rainy periods. The disease develops as gray spots with dark margins. As the spores multiply, the leaf is suffocated and drops.
Many types of root rot can cause problems with catnip. They can be hard to spot until the stems rot out of the soil. Correct cultural care can help minimize the chances of root rot taking over your catnip plant. Well draining soil, and preventing overwatering are the two most important things you can do to help prevent root rot.
An organic copper fungicide applied in early spring is also beneficial.
Manage Pests Before they Become a Nuisance
Catnip is generally pest-free but can be attacked by spider mites and thrips.
Spider Mites
Spider mites are difficult to spot, but you may notice telltale webbing and tiny, black spots moving around the leaves if you look closely. Leaves infested by spider mites are dry and take on a stippled, yellow appearance.
Thrips
Thrips may be black, brown, or gold, are tiny, narrow insects that suck the sweet juices from catnip plant leaves. They leave silvery specks or streaks as they feed and can significantly weaken a plant if left untreated.
BAD BUG BEGONE!
$5.99
Are harmful insects running your gardening season?
Our guide to organic pest control methods offers practical solutions for dealing with common garden pests without using harmful chemicals. With step-by-step instructions and easy-to-follow tips, you’ll learn how to create a pest-resistant garden that is safe for your family and the environment. A great on-hand resource for any gardener!
A must-have resource for Gardeners
Our digital e-book is for you if you’re a home gardener passionate about growing healthy, pesticide-free plants! Over 100 pages of organic pest management information are perfect for beginner gardeners and pros alike.
Harvest your Catnip Once the Plant is Established
Harvest leaves when the plants have become well established. You can harvest your catnip in the second year by gathering the top 3/4 of the plant.
To dry, hang branches upside down in a dry, dark location with good air circulation.
Learn More: If you are interested in drying herbs, we wrote an entire post about preserving herbs from the garden you will want to check out!

Store your Dried Catnip in an AirTight Container
Be sure to store your dried catnip in an air-tight container stored away in a dark, cool location. Catnip will lose its potency if not stored properly. Cats seem to get the most out of fresh catnip.
Catnip can be used in herbal tea and is said to help remedy ailments like nausea, toothaches, and migraines.
And of course, you can use catnip to entertain both you and your kitties. Catnip will not harm your cats. Cats usually roll around catnip, but they can ingest it, and in small doses, it is perfectly safe. However, too much of a good thing can be harmful. Overindulgence can lead to drooling, vomiting, and diarrhea.
Learn More: Check out this article by the Humane Society about catnip and your indoor cats.
Propagate your Catnip For New Plants
Once established, catnip is very hardy and self-sows readily.
Catnip also propagates easily from cuttings and seeds. To take a cutting, remove a small piece of new growth early in the growing season. Use a rooting hormone to increase the chances of success, and plant the cutting in a fresh container of sterile potting soil. Provide water, and light until the cutting has taken root.
And that’s the full process of how to grow catnip from seed to harvest! If you plant catnip this year let us know how it goes, we would love to hear your gardening stories and anecdotes. Tag us on social media, leave a comment or send us an email! We would love to hear from you.
Looking For More Garden Inspiration:

Author: Laura Kennedy
Writer & Owner of Little Yellow Wheelbarrow
Laura is a highly skilled gardener and fervent flower enthusiast. Despite her playful battle with plant spacing guidelines, Laura’s work inspires gardeners to create thriving, beautiful spaces that reflect both creativity and sustainability.


