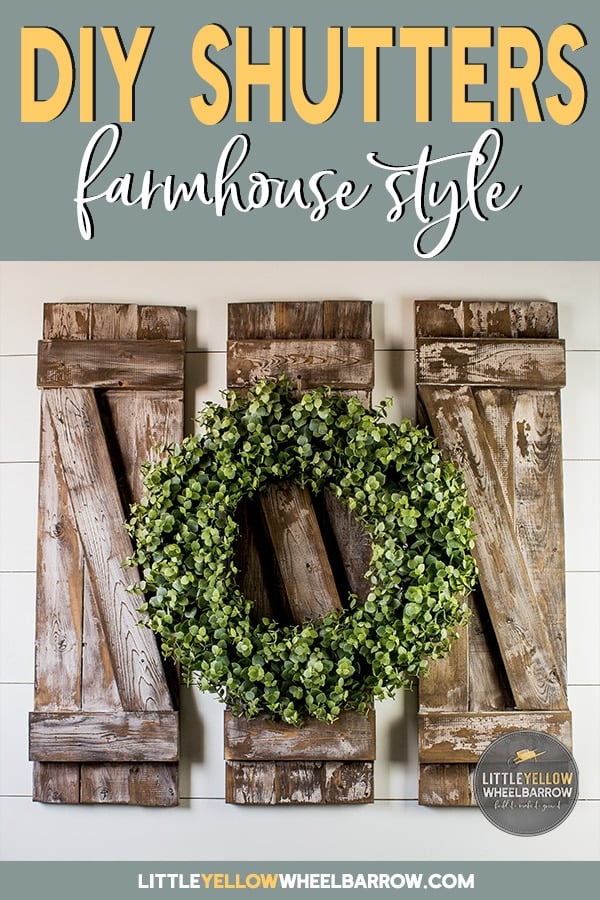
How to Build Simple and Inexpensive Decorative Shutters

These decorative shutters were so easy to make. I had them cut in a matter of minutes and gluing them together was a breeze. Anyone could make them! They only took a few cheap 1×4’s and some staining to give them a rustic look, and they were ready to go.
I built them for our dining nook. Is that a thing? Kitchen nook + dining room = dining nook? Sure, why not, right?
Our Newly Renovated Dining Area
We recently finished renovating our dining area (er..nook) and the space is super small. In fact, it’s so small that I could not fit my farmhouse table in the middle of the room and have my chairs pull out without hitting a closet door.
I couldn’t part with the table, though, because it’s one of the first projects that my husband built for us and I adore it. So, the only way we could make the table work in that room was to push it against the wall and create a nook.
The nook bench was custom made by yours truly. It’s a testament to how even with the smallest bit of woodworking skill you can put together a custom solution for your home.
Never mind the fact that I had to pull apart that bench and start over not once…but twice.
I digress.
As the dining room was near completion, I was irritated by this giant blank wall that we created.
I looked high and low for rustic wall decor that would work, and I couldn’t find anything that I liked.
If you’ve read any other snippets on this blog, you will find that this has become a running theme. The perfect “thing” exists in my head but I can never source it, so my solution is always to build it, or make it, or have my husband create it.
And, that’s what we did.
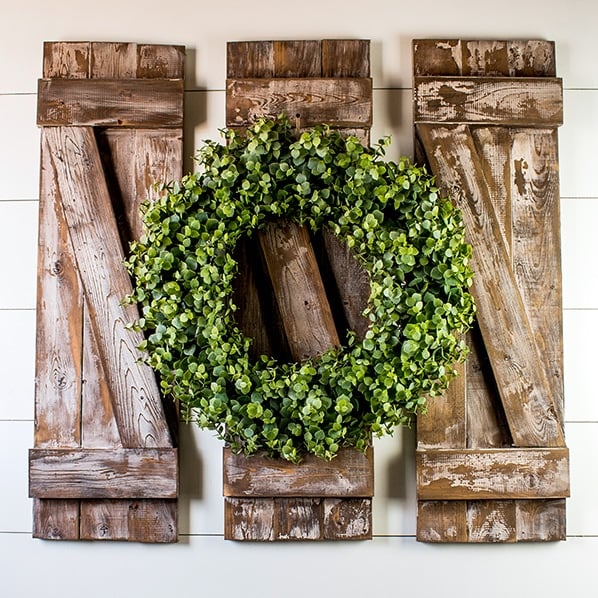
Rustic Decorative Shutters for a Touch of Farmhouse Charm
The great thing about these rustic shutters is you can make them as small or as large as you want. The ones I made are:
- 36 inches high
- 36 inches wide
- Spaced with two inches in-between
I had to make mine over a few days because we only have one set of clamps. We really need to amp up our clamp game!
Maybe I will buy the husband a few sets of clamps for Christmas this year. We can name them all Homer (I hope someone got that joke)!
Moving right along…ahem.
You can make all 3 of these rustic shutters for about $30.00 (CDN). Cheap and easy – just the way I like all my DIY projects.
For me, the DIY shutters were beyond cheap because they ended up being free.
I dug through our scrap wood pile and found a few 1×4’s that we had for another project and didn’t use. So, technically this project cost me nothing, except the cost of that beautiful eucalyptus wreath.
The wreath is artificial (has no smell), making it perfect for the dining nook.

~This post may contain affiliate links. If you click one and make a purchase, I may receive a commission at no additional cost to you.~
Tools, supplies and cut list required to make a set of farmhouse shutters
Here is the list of everything I used when making my rustic shutters.
Tools required
- Nail gun (or hammer, either will work here)
- Woodworking Clamps
- Miter Saw OR a hand-saw, if you don’t mind the workout
- -Optional- Combination or Speed Square (if you’re using a hand saw these will help you draw perfect cut-lines)
Supplies needed
- 7 1 inch x 4-inch x8 feet pine lumber.
- Finishing nails
- Carpenters glue – Always Gorilla Wood Glue
 , it’s the only glue I use.
 - Stain – We used Minwax Dark Walnut
- Eucalyptus Wreath
Cut List
- 9 – 1x4x36-inches
- 6 – 1x4x10.75-inches
- 3 – 1x4x27-inches
Step-By-Step Instructions to make rustic shutters
Here is the step-by-step process I used to make my decorative shutters.
Step 1 – Glue Boards together
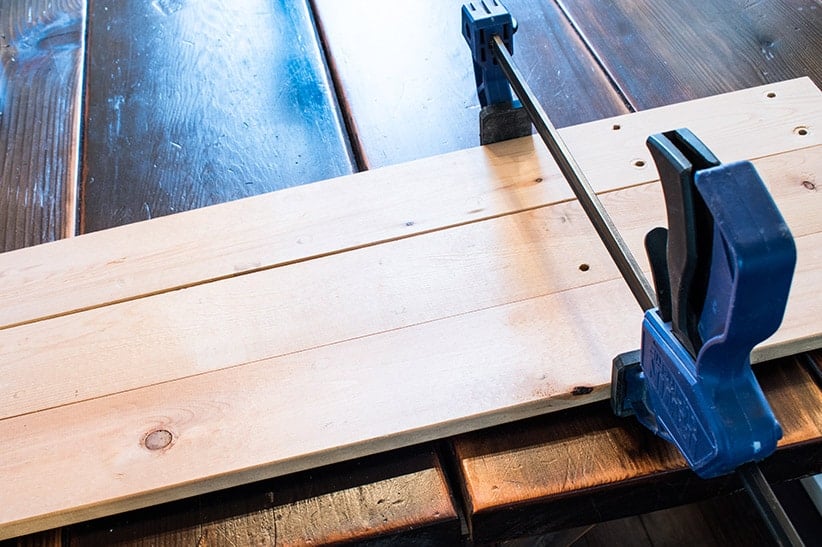
Line up 3 36-inch 1×4’s and add glue to the inside edges of the boards. Be sure to add the bead of glue all the way down from top to bottom.
Once your two inside board edges have glue, you are going to clamp them together.
Let your glue dry for at least an hour before removing the clamps. Handle the project carefully – the glue will hold but won’t be fully set for 24 hours.
Step 2 – Glue the horizontal boards
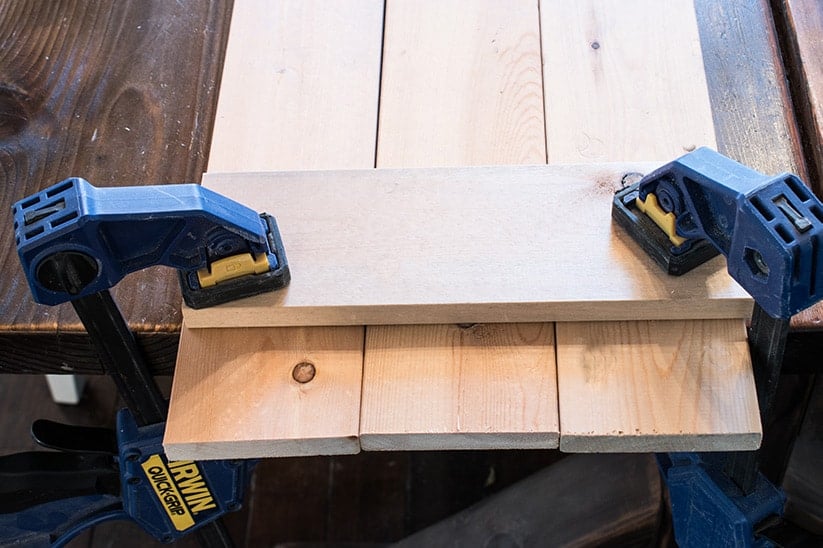
Add the 10.75-inch board horizontally across the top. Place this board 3 inches from the top. Add a double bead of glue under the horizontal piece and clamp in place.
Add the bottom piece the same way and clamp place.
Let dry for 24 hours.
Step 3 – cut and glue your angle board piece
Now, this is the step where professional woodworkers would give you instructions to cut the piece at a specific angle on your miter saw.
Good thing I am an amateur because I am going to tell you how I skipped the angle lesson and still got a perfect fit.
My solution to getting the inside slanted shutter piece cut correctly is to mark a line and then cut my board based on the line I marked. It ends up perfect every time, and I don’t have to fuss around with geometry formulas.
Adulting is hard enough, don’t make me do math too.
Here is a diagram because honestly, it explains it far better than I ever could.
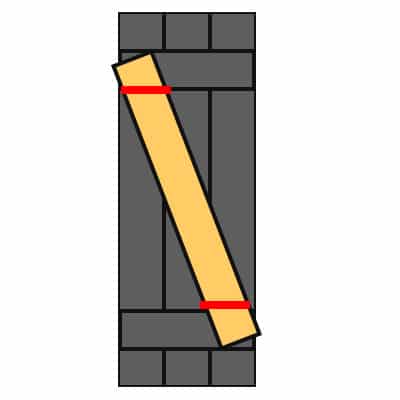
Lay one 27in (or longer) 1×4 diagonally across your shutters as shown.
Using a straight edge, draw a line across the board where it will need to be cut to fit inside the top and bottom horizontal pieces. The line will need to be just inside the frame, along with the edge of the 1×4. Do this at both ends and cut the board just inside those lines.
Test fit the board before resetting the angle on your saw!
Once your piece is cut, you are going to slide it into place and glue it the same way we did the bottom and the top.
Let your glue dry overnight.
Step 4 – add finishing nails (optional)
Step four is an optional step.
If you clamped and glued your wood pieces well enough, you shouldn’t need to add the finishing nails.
I like to err on the safe side, and I always add the extra step to make sure my build stays together.
Flip your decorative shutters over and add small finishing nails through the backboards into the front pieces. These finishing nails add an extra layer of stability.
You can also use a hammer and a few very small finishing nails instead of a nail gun.
Repeat steps 1-4 to build the rest of your decorative shutters.
Step 5 -Finishing your rustic shutters
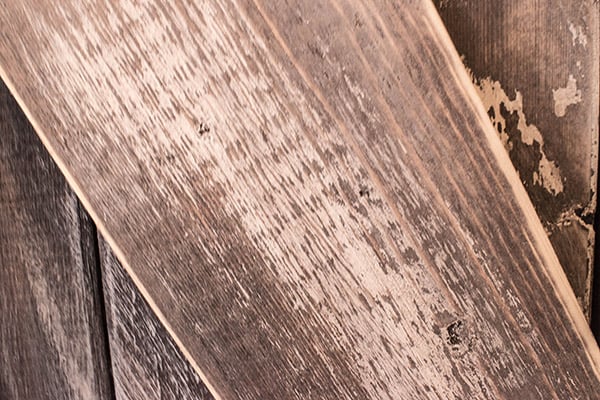
You can choose to refinish your decorative shutters anyway you want. I wanted to paint mine a funky color, but funky colors do not work well in my all neural wood and white farmhouse, so I stayed safe and stained them and roughed them up to create a rustic finish.
If you like the finish that I used, you can check out THIS POST. It will take you to our DIY headboard tutorial, and if you scroll down to the bottom, you will find the detailed instructions for that chippy, worn wood look.
A very cheap way to fill a blank wall space!
These shutters are an easy and inexpensive project to build. The only thing that takes time is the gluing and clamping. I took a few days to make these just because I had to wait for the glue to set! I also had to wait for a day for my stain to dry.

These rustic shutters would also make an adorable Christmas farmhouse wall decor item as well. I can see them with a Christmas wreath, or even used as Christmas cardholders. I think there are all kinds of fun things you could do with them.
If you do decide to make them, or if you have some fun ideas for them, let me know in the comments!
If you like this project head on over to see these other rustic farmhouse style projects:
- Build an Easy DIY Headboard
- Industrial Desk Made from Vintage Sewing Machines
- Rustic Industrial Style Command Center
- Hardwood Floor Restoration: After Years of Neglect
- 13 Inexpensive Small Kitchen Storage Ideas
- How to Build a DIY Pot Rack
UPDATE: I had to add an update to this post because I have been receiving lots of questions about our dining nook.
- The color on the wall is Sherwin Williams Alabaster.
- We purchased the light fixture from Lowes.
- My husband designed and built the table.
- We used a vinegar and steel wool stain solution on the table.
- The nook bench was designed and built by me.
- The chairs are simple inexpensive Ikea chairs.
- I am still hunting auctions and vintage shops for the perfect Windsor chairs of my dreams.
If you have any other questions, feel free to drop me a line.


Simple, Inexpensive Decorative Shutters
Beautiful rustic shutters that are so easy to make for a gorgeous farmhouse touch.
Materials
- SUPPLIES NEEDED
- 7 1 inch x 4-inch x8 feet pine lumber.
- Finishing nails
- Carpenters glue
- Stain
- Eucalyptus Wreath
- CUT LIST
- 9 - 1x4x36-inches
- 6 - 1x4x10.75-inches
- 3 - 1x4x27-inches
Tools
- TOOLS REQUIRED
- Miter Saw
- Nail gun (or hammer, either will work here)
- Woodworking clamps
- Set square
Instructions
- Glue the vertical boards together - Line up 3 36 inch 1x4's and add glue to the inside edges of the boards. Clamp together for at least an hour before removing clamps.
- Glue the horizontal boards - Add the 10.75-inch board horizontally across the top. Place this board 3 inches from the top. Clamp and dry for 24 hours.
- Cut and Glue Your Angled Board - Lay one 1x4 diagonally across your shutters. Cut the board just inside the frame. Glue it down and let dry for 24 hours.
- Add finishing nails (optional) - Flip your decorative shutters over to add small finishing nails through the backboards into the front pieces for extra stability.
- Finish them by staining them and roughing them up to create a rustic finish