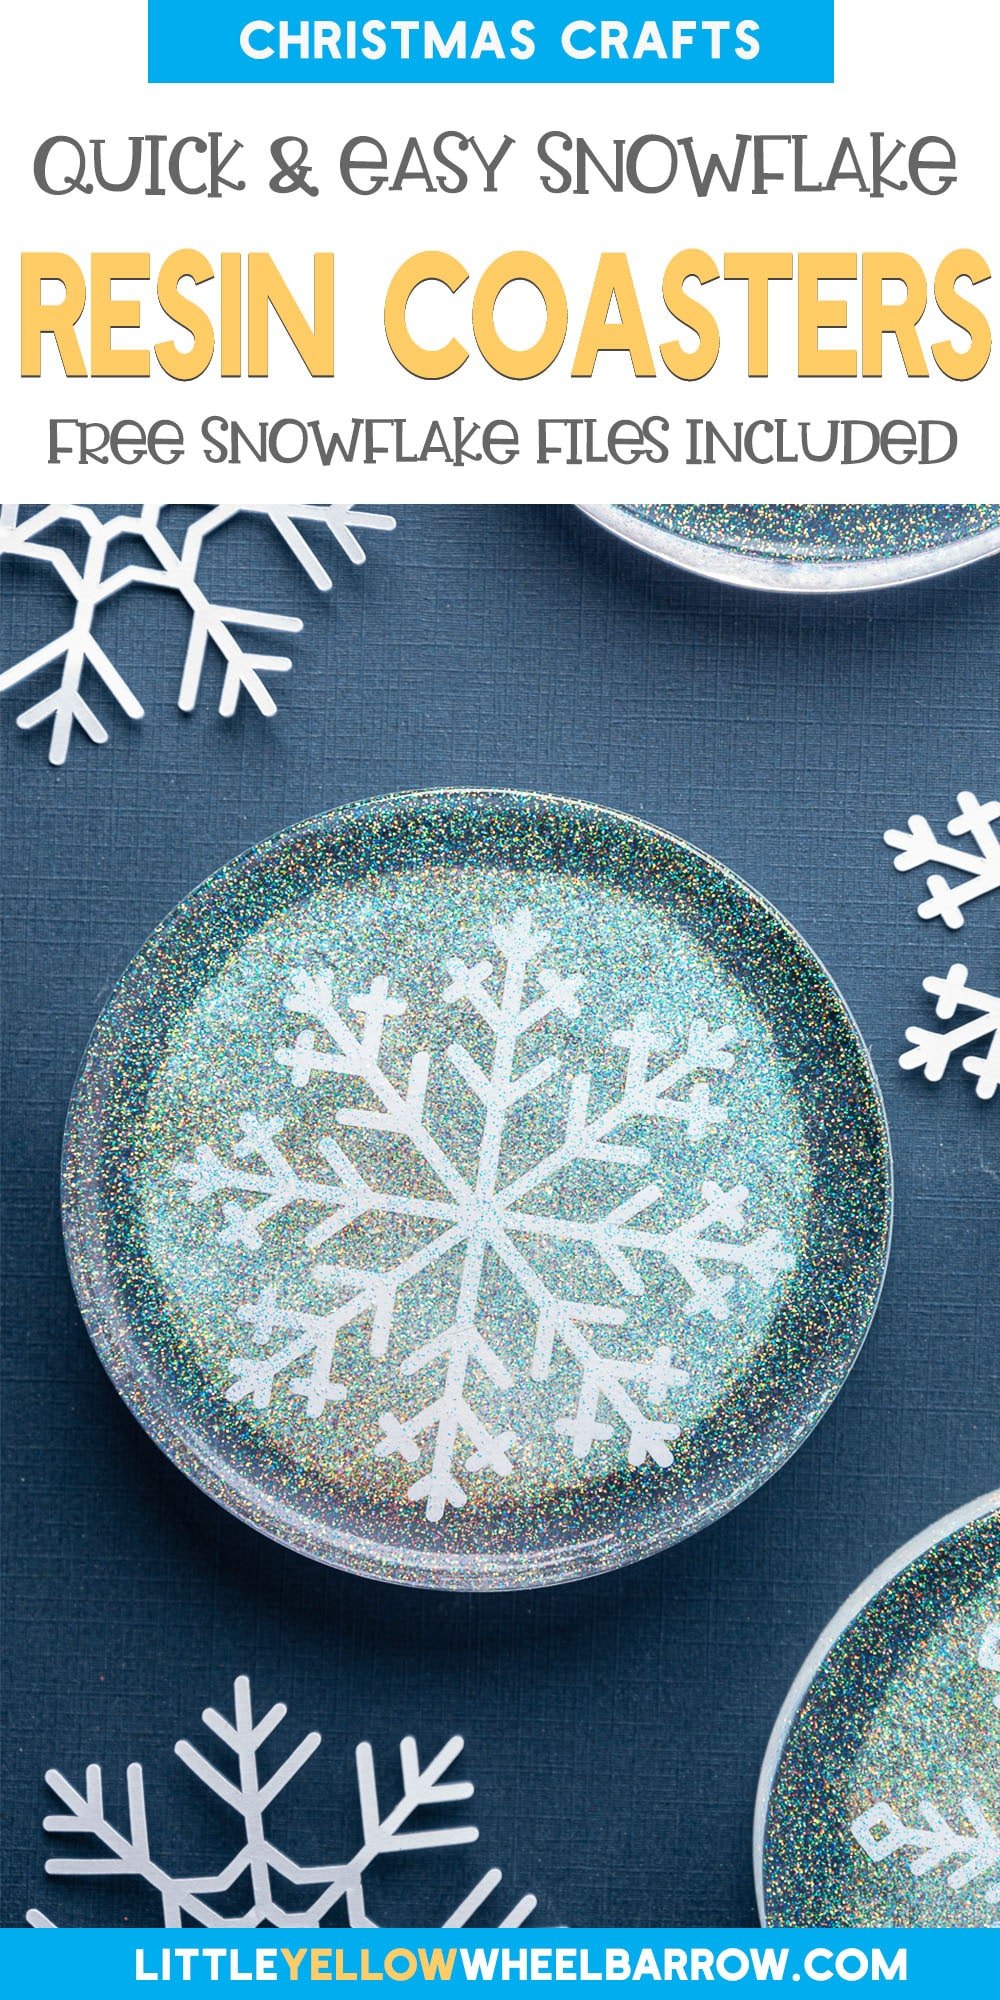
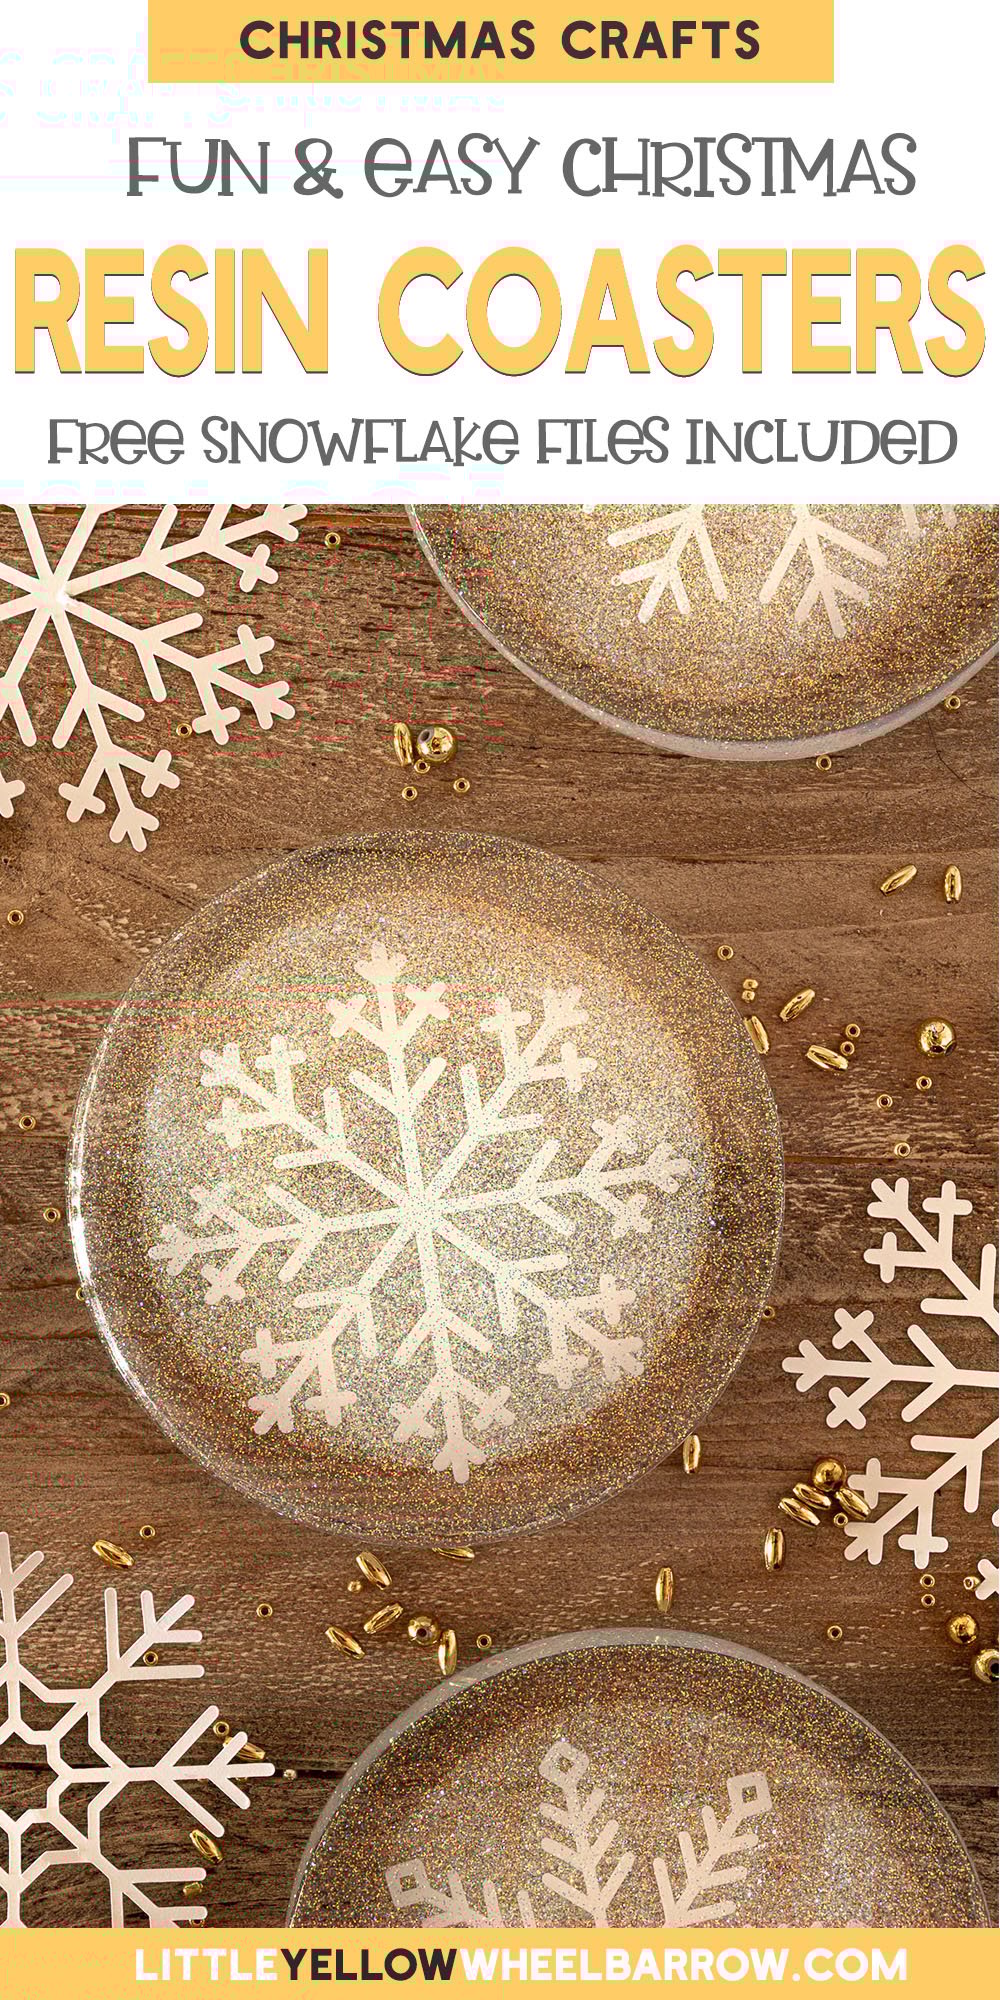
Lovely Epoxy Resin Coasters With Snowflakes and Glitter!

I love Christmas crafts. The glitter, the holiday themes, the pretty things that seem to appear out of nowhere. These lovely handmade resin epoxy coasters seemed to manifest in about 15 minutes from the start of an idea to a completed project.
That’s my kind of project.
These snowflake coasters were very difficult to photograph, but they look like beautiful flat snow globes!

You can make these without or without a cutting machine.
Have a cutting machine? Great, we have the SVG files for you and you can download them below at Step 1.
No cutting machine? You don’t need perfect snowflakes for this project. You can also simply make your own snowflakes out of paper. To straighten them back out place the snowflake between two pieces of cotton and press with a sligthly warm iron.
The Cricut will give you a nice clean cut, but having the kiddos make their own snowflakes for this project would be wonderful. This is an adult project, I would not have the younger kiddos participate in the stirring or pouring of the epoxy resin.

Materials & Tools Required
Affiliate Disclosure
This post may contain affiliate links. If you click one and purchase, I may receive a commission at no additional cost. You can read our disclosure policy here.
Materials required
- Coaster Mold
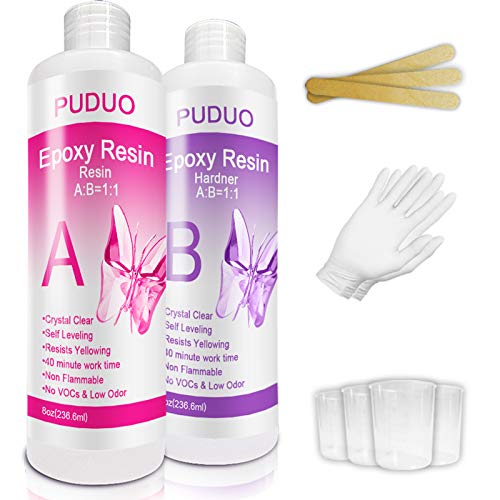
- 1 1/2 cup ( 360 ml) Expoxy Resin
- Stir sticks
- Disposable cups for mixing
- Glitter (two different sizes)
- White card stock paper
Tools Required
- Cutting Machine
- Weeding Tools
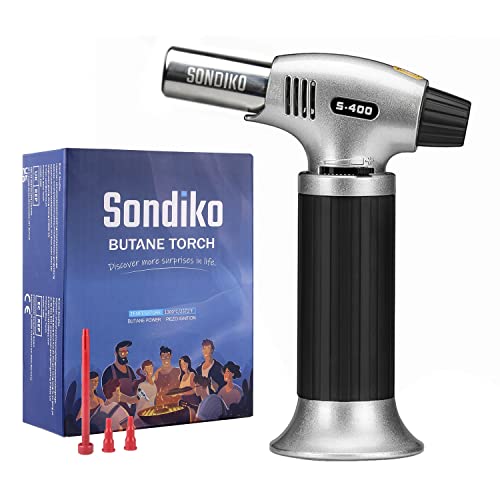
- Kitchen Torch
- Scissors
Step 1
Download and cut out the snowflake templates. Gently and carefully pull the paper from the cutting mat.
Click here to download the files


Step 2
Use the weeding tools to lift the snowflakes from the cutting mat.

Step 3
Mix resin (follow the manufactures instruction fort the resin that you have) to create 3/4 cup (180ml) of finished resin. Mix in 1/2 teaspoon of your smallest size glitter. Pour 1/4 cup (60 ml) of resin into each mold. Use the kitchen torch to remove any air bubbles. Don’t get too close with the torch, you want to be just close enough for the bubbles to smooth out.


Step 4
Carefully lay the paper snowflakes on the top of the resin. If any ends are curled up, use one of the stiring sticks to press it into the resin enough for it to stick to the top.

Step 5
Mix 3/4 cup (180 ml) of resin and mix in 1/2 teaspoon of larger size glitter. Pour 1/4 cup (60ml) over each snowflake. Use the kitchen torch again to remove any bubbles. Sprinkle a thin layer of fine glitter over the top. This will sink into the back and give the whole coaster a bit of background colour.


Step 6
Allow resin to harden according to the instructions, and then remove them from the molds. Our resin took 24 hours to cure completely.

Final notes
This snowflake epoxy resin coasters would make a lovely gift. A bit of rustic twine and a handmade tag, and you’re ready for gift giving.
I know a few people are going to ask how we got the glitter lay in the back to create that rim around the edge of the coaster. No magic there, it’s just how our glitter clumped together. The rim came about all on its own.

Looking for more QUICK & EASY HOLIDAY CRAFT IDEAS?
- 30 Minute Knit Look Wreath
- Quick & Easy Crochet Garland
- Snowflake Ornaments
- Christmas Tree Decorating Tips
- Drop Cloth Stockings
- Christmas Tree Storage: The Ultimate Guide


Love Epoxy Resin Coasters Featuring Snowflakes and Glitter
Pretty sparkly epoxy resin coasters with snowflake cut-outs and prismatic glitter. They make lovely gifts!
Materials
- Coaster Mold
- 1 1/2 cup ( 360 ml) Expoxy Resin
- Stir sticks
- Disposable cups for mixing
- Glitter (two different sizes)
- White card stock paper
Tools
- Cutting Machine
- Weeding Tools
- Kitchen Torch
- Scissors
Instructions
Step 1
- Download and cut out the snowflake templates. Gently and carefully pull the paper from the cutting mat.
Step 2
- Use the weeding tools to lift the snowflakes from the cutting mat.
Step 3
- Mix resin (follow the manufactures instruction fort the resin that you have) to create 3/4 cup (180ml) of finished resin. Mix in 1/2 teaspoon of your smallest size glitter. Pour 1/4 cup (60 ml) of resin into each mold. Use the kitchen torch to remove any air bubbles. Don't get too close with the torch, you want to be just close enough for the bubbles to smooth out.
Step 4
- Carefully lay the paper snowflakes on the top of the resin. If any ends are curled up, use one of the stiring sticks to press it into the resin enough for it to stick to the top.
Step 5
- Mix 3/4 cup (180 ml) of resin and mix in 1/2 teaspoon of larger size glitter. Pour 1/4 cup (60ml) over each snowflake. Use the kitchen torch again to remove any bubbles. Sprinkle a thin layer of fine glitter over the top. This will sink into the back and give the whole coaster a bit of background colour.
Step 6
- Allow the resin to harden according to the instructions, and then remove them from the molds. Our resin took 24 hours to cure completely.
Notes
* Check the manufactures instructions for your resin and follow their mixing and drying directions.
Recommended Products
As an Amazon Associate and member of other affiliate programs, I earn from qualifying purchases.